Shabbat Shalom to artists everywhere working hard to create their chosen art form!

Shabbat Shalom to artists everywhere working hard to create their chosen art form!

Shabbat Shalom to artists everywhere working hard to create their chosen art form!


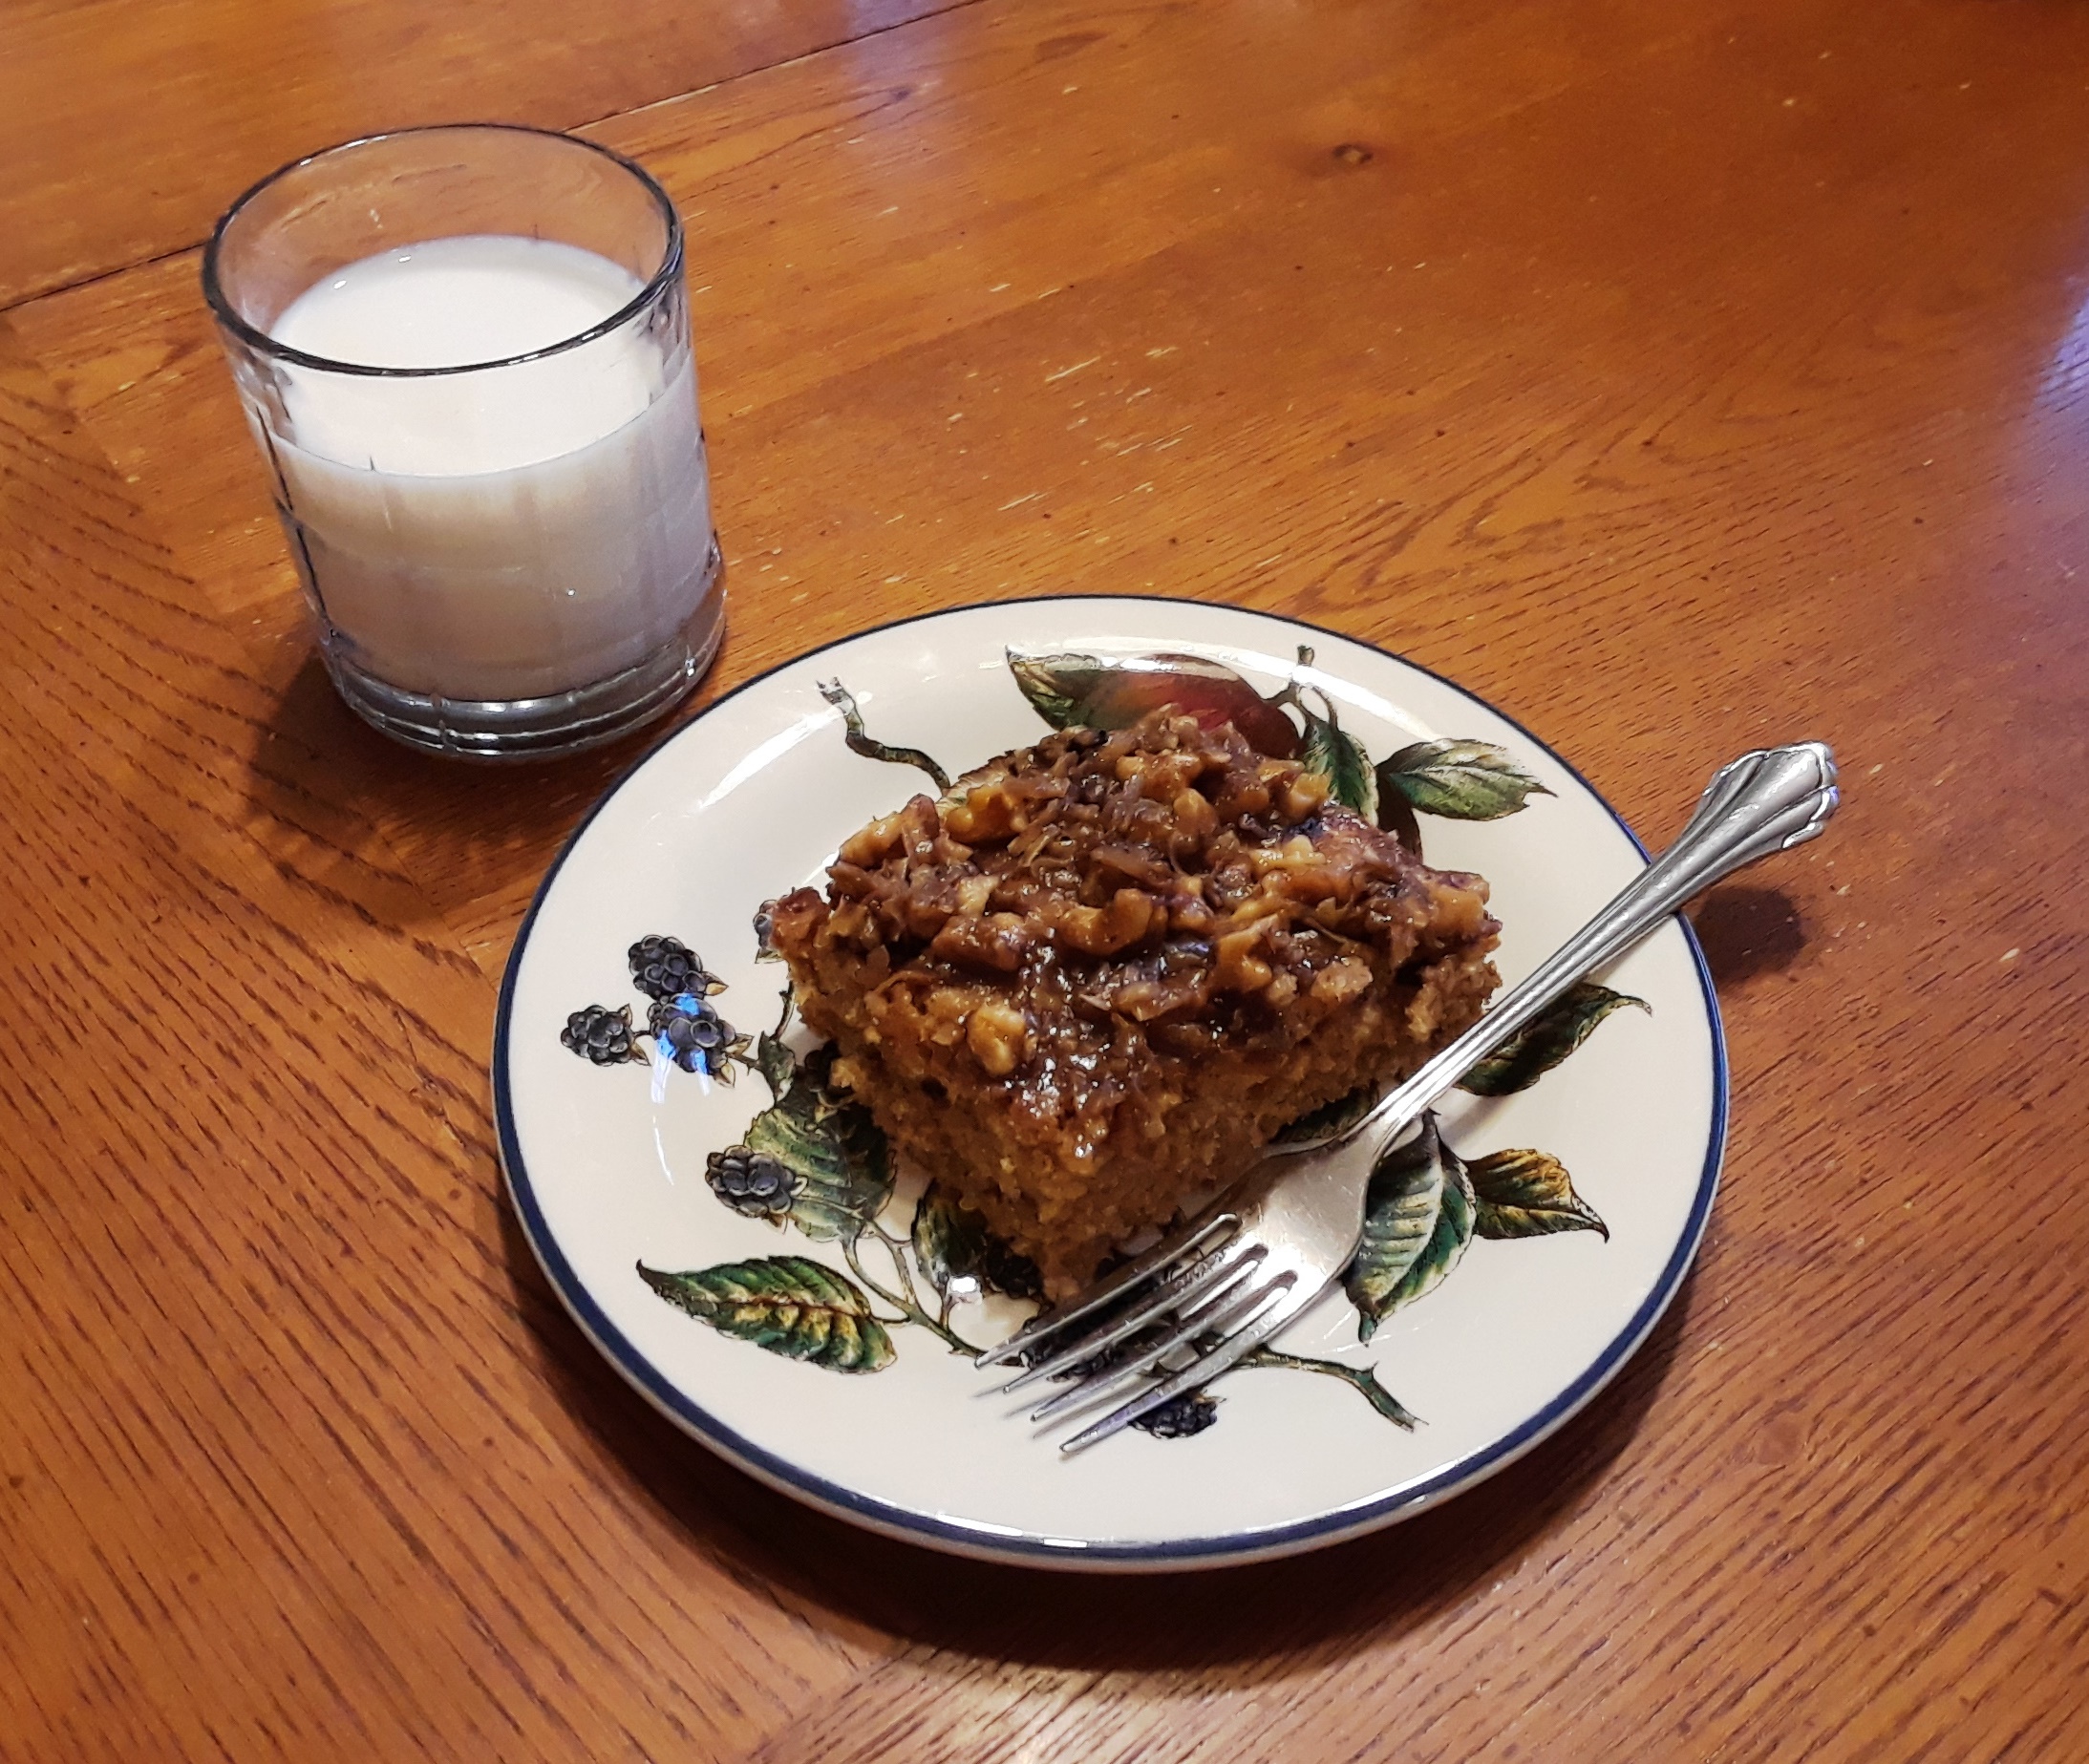 The last recipe I’d like to share with you from our Hanukkah celebration is one that always popped up in church cookbooks. Unfortunately, those old cookbooks are disappearing and no one seems to produce them anymore. I held on to this recipe and tweaked it a little by using raw sugar in place of white and dark brown sugar instead of light brown. The changes make for an even richer cake that still receives lots of praise. Not to mention I love pulling out this old recipe to share with people who’ve never tasted it.
I made this cake to share at my writers group. Even though a few ladies took two pieces, there was plenty left for my boys. And then it was game on. They ate it for breakfast with coffee, as a midday snack, and again after dinner. I had to battle them to get a piece myself. The only thing to do was make another which worked out for me as I needed one more blog post this week.
This easy, delicious cake would be great on Christmas morning while opening gifts or to have on hand for when friends stop by during the holidays. The ‘everything mixed in one bowl’ batter and topping along with ingredients one almost always has on hand makes you look like a culinary genius when the guests taste that first bite.
Old-fashioned Oatmeal Cake
1 ¼ c boiling water
1 c oats
1 stick butter, unsalted
1 c sugar (I use raw)
1 c packed dark brown sugar
2 eggs
1 t vanilla
1 ½ c flour
½ t salt
1 t baking soda
1 ½ t cinnamon
Preheat your oven to 350°.
Pour the boiling water over the oats and allow them to stand for 20 minutes or until the water is absorbed and the oats are cool. Using a handheld mixer, cream the butter, both sugars, eggs, and vanilla. Add the oats and mix thoroughly. Sift the flour, salt, soda, and cinnamon. Add the dry ingredients to the wet mixture and blend well. Pour the batter into a 9 x 13 inch pan that has been greased or sprayed with cooking spray. Bake at 350° for 35 to 40 minutes. A knife inserted in the center should come out clean.
Five minutes before the oatmeal cake comes out, prepare the topping mixture.
Topping:
½ c dark brown sugar
½ stick of unsalted butter, softened
¼ heavy whipping cream (can substitute whole milk)
1 c chopped pecans or walnuts
½ c flaked coconut
½ t vanilla
Mix all ingredients together and spread carefully over the hot cake so as not to tear the surface. Work with small dollops of topping. Heat from the cake will melt the butter and sugar as you spread.
Enjoy!

 There’s nothing quite like a well-seasoned turkey coming to golden-brown perfection in my roaster to bring tears to my eyes. The smell alone reminds me of my Grandmother Smith, God bless her, clomping around her kitchen (she was not the most graceful) tending to the Thanksgiving turkey and many side dishes in preparation for dinner.
I mentioned in another post (When Maturity Strikes) that our son, Joshua, earned his first turkey at his first job. My husband received a turkey from work for our Thanksgiving dinner, so Joshua willingly saved his for Hanukkah. He quizzed me on my intended preparation including seasonings and made me promise him that it would turn out juicy. Based on the way we ravaged the poor bird, I believe I achieved success. Here’s the kicker: I don’t have a single picture of this culinary masterpiece.
My recipe is classic, simple, and tasty. I know deep frying, brine baths, and flavor injections are popular, but I chose to keep it teenager friendly. It was, after all, his turkey.
Joshua’s Thanksgiving Turkey
1 proudly earned turkey, approximately 23 pounds
1 stick unsalted butter, cold and cut into eight pieces
½ stick unsalted butter, softened
½ T parsley
½ T rubbed sage
½ T rosemary
½ T thyme
½ T sea salt
½ T black pepper
Paprika
2 lemons
3 – 6 cloves of garlic, peeled
2 – 14.5 oz. cans chicken broth
I started with a fully defrosted turkey that I rinsed, trimmed, and patted dry. You will not need the giblets, neck, liver, gizzard, or heart for this recipe. I worked with the turkey breast side up in my roaster.
Mix all the seasonings except the paprika. Dip the cold pats of butter into the seasoning mixture on both sides and gently shoved beneath the skin of the turkey. Use your fingers to separate the skin from the meat enough to place the butter. Two pats on each side of the breast for a total of four, and two beside each of the legs also totaling four. You will not use all of the seasonings for this.
Rub the surface of the turkey with the softened butter. Sprinkle the surface, taking care to get the legs and wings, with the remaining seasoning mixture. Sprinkle lightly with paprika. Cut the ends off the lemons and quarter them lengthwise. Place all eight sections of lemon and the peeled garlic cloves in the cavity of the turkey.
Tuck the wing tips beneath the turkey so they don’t burn. Add two cans of chicken broth to the roaster. Do not pour them over the turkey, or the seasonings will be rinsed off.
How to Roast is a good guideline to follow, however, keep in mind there are slight differences between cooking in a roaster versus an oven. My advice is to stay with your turkey if it’s your first time and also because you’ll want to baste it throughout the cooking process. Once your turkey is cooked to golden-brown perfection, allow it to sit for ten minutes before serving and carving.
Enjoy!
**If you don’t have a half tablespoon measure, the equivalent is 1 1/2 teaspoons.

 As we continue our Hanukkah celebration, I have to laugh because yet again the Gibson Household is experiencing What I Like About Being American. By that I mean we enjoyed another, non-traditional yet delicious meal. We love to include the best a culture has to offer, namely their food.
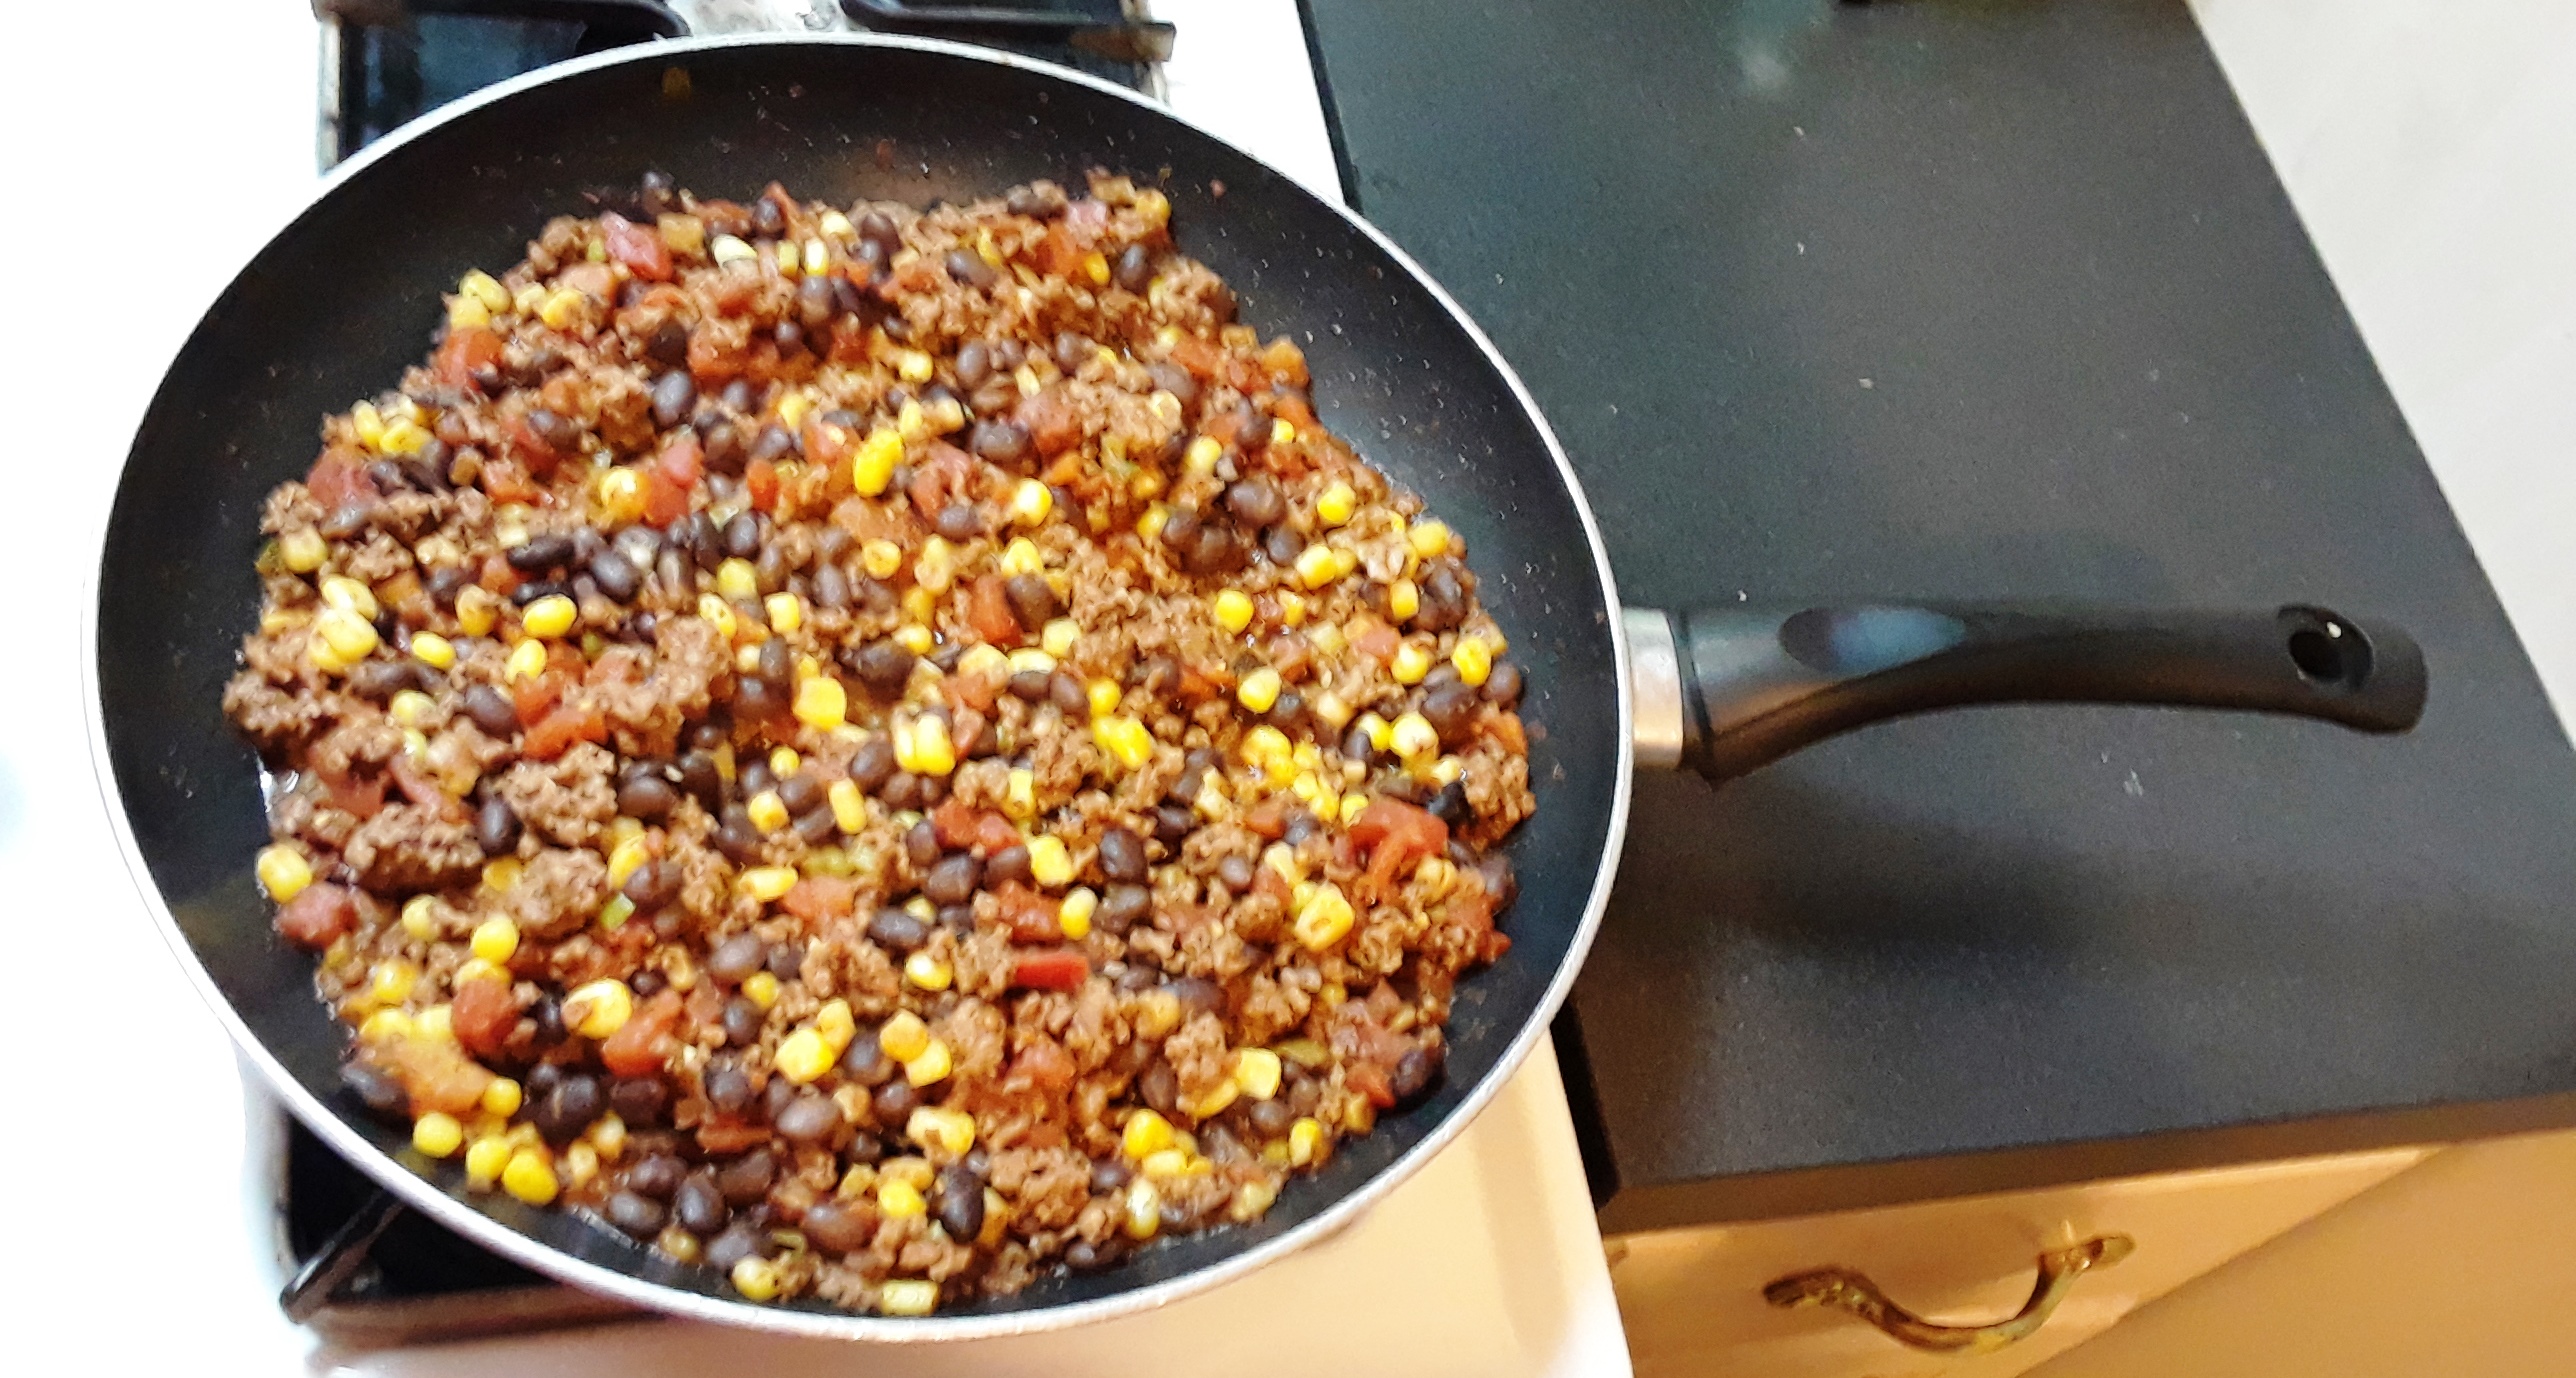
Mexican Family Skillet was invented a few days before I was due to grocery shop, and I needed to extend a pound of ground beef to feed and satisfy two hungry men as well as myself. A little scrounging through my pantry shelves and spice cupboards, and a new dish was invented.
I don’t doubt that it’s a much Americanized version of Mexican cuisine, but the blending of cultures through food produces peace in a way that is often overlooked. While it may sound too common to be served for a holiday, it still draws my family together over dinner, and that’s what really counts.
Mexican Family Skillet
1 lb. ground beef
6 green onions, the white and a small portion of the green, diced –OR– 1 small sweet onion, diced
1 can black beans, drained and rinsed
1 can corn, drained and rinsed
1 can petit diced tomatoes, DO NOT DRAIN
1 T chili powder
¼ t garlic powder
¼ t onion powder
¼ t crushed red pepper flakes
¼ t oregano
½ t paprika
1 ½ t ground cumin
1 t sea salt
1 t black pepper
1 – 8 oz. block of cheddar, shredded
Sour cream, guacamole, chopped avocado, optional
Cook the ground beef in a skillet with the onions until the meat is no longer pink. Drain the mixture thoroughly and return to the skillet. Add the black beans, corn, and tomatoes with their juice. Stir to mix. Add the spices, stir, and heat through.
Serve the meat and vegetable mixture in tortillas. Top with cheddar cheese. Sour cream, guacamole, or chopped avocado is optional.
Enjoy!

Shabbat Shalom to artists everywhere working hard to create their chosen art form!


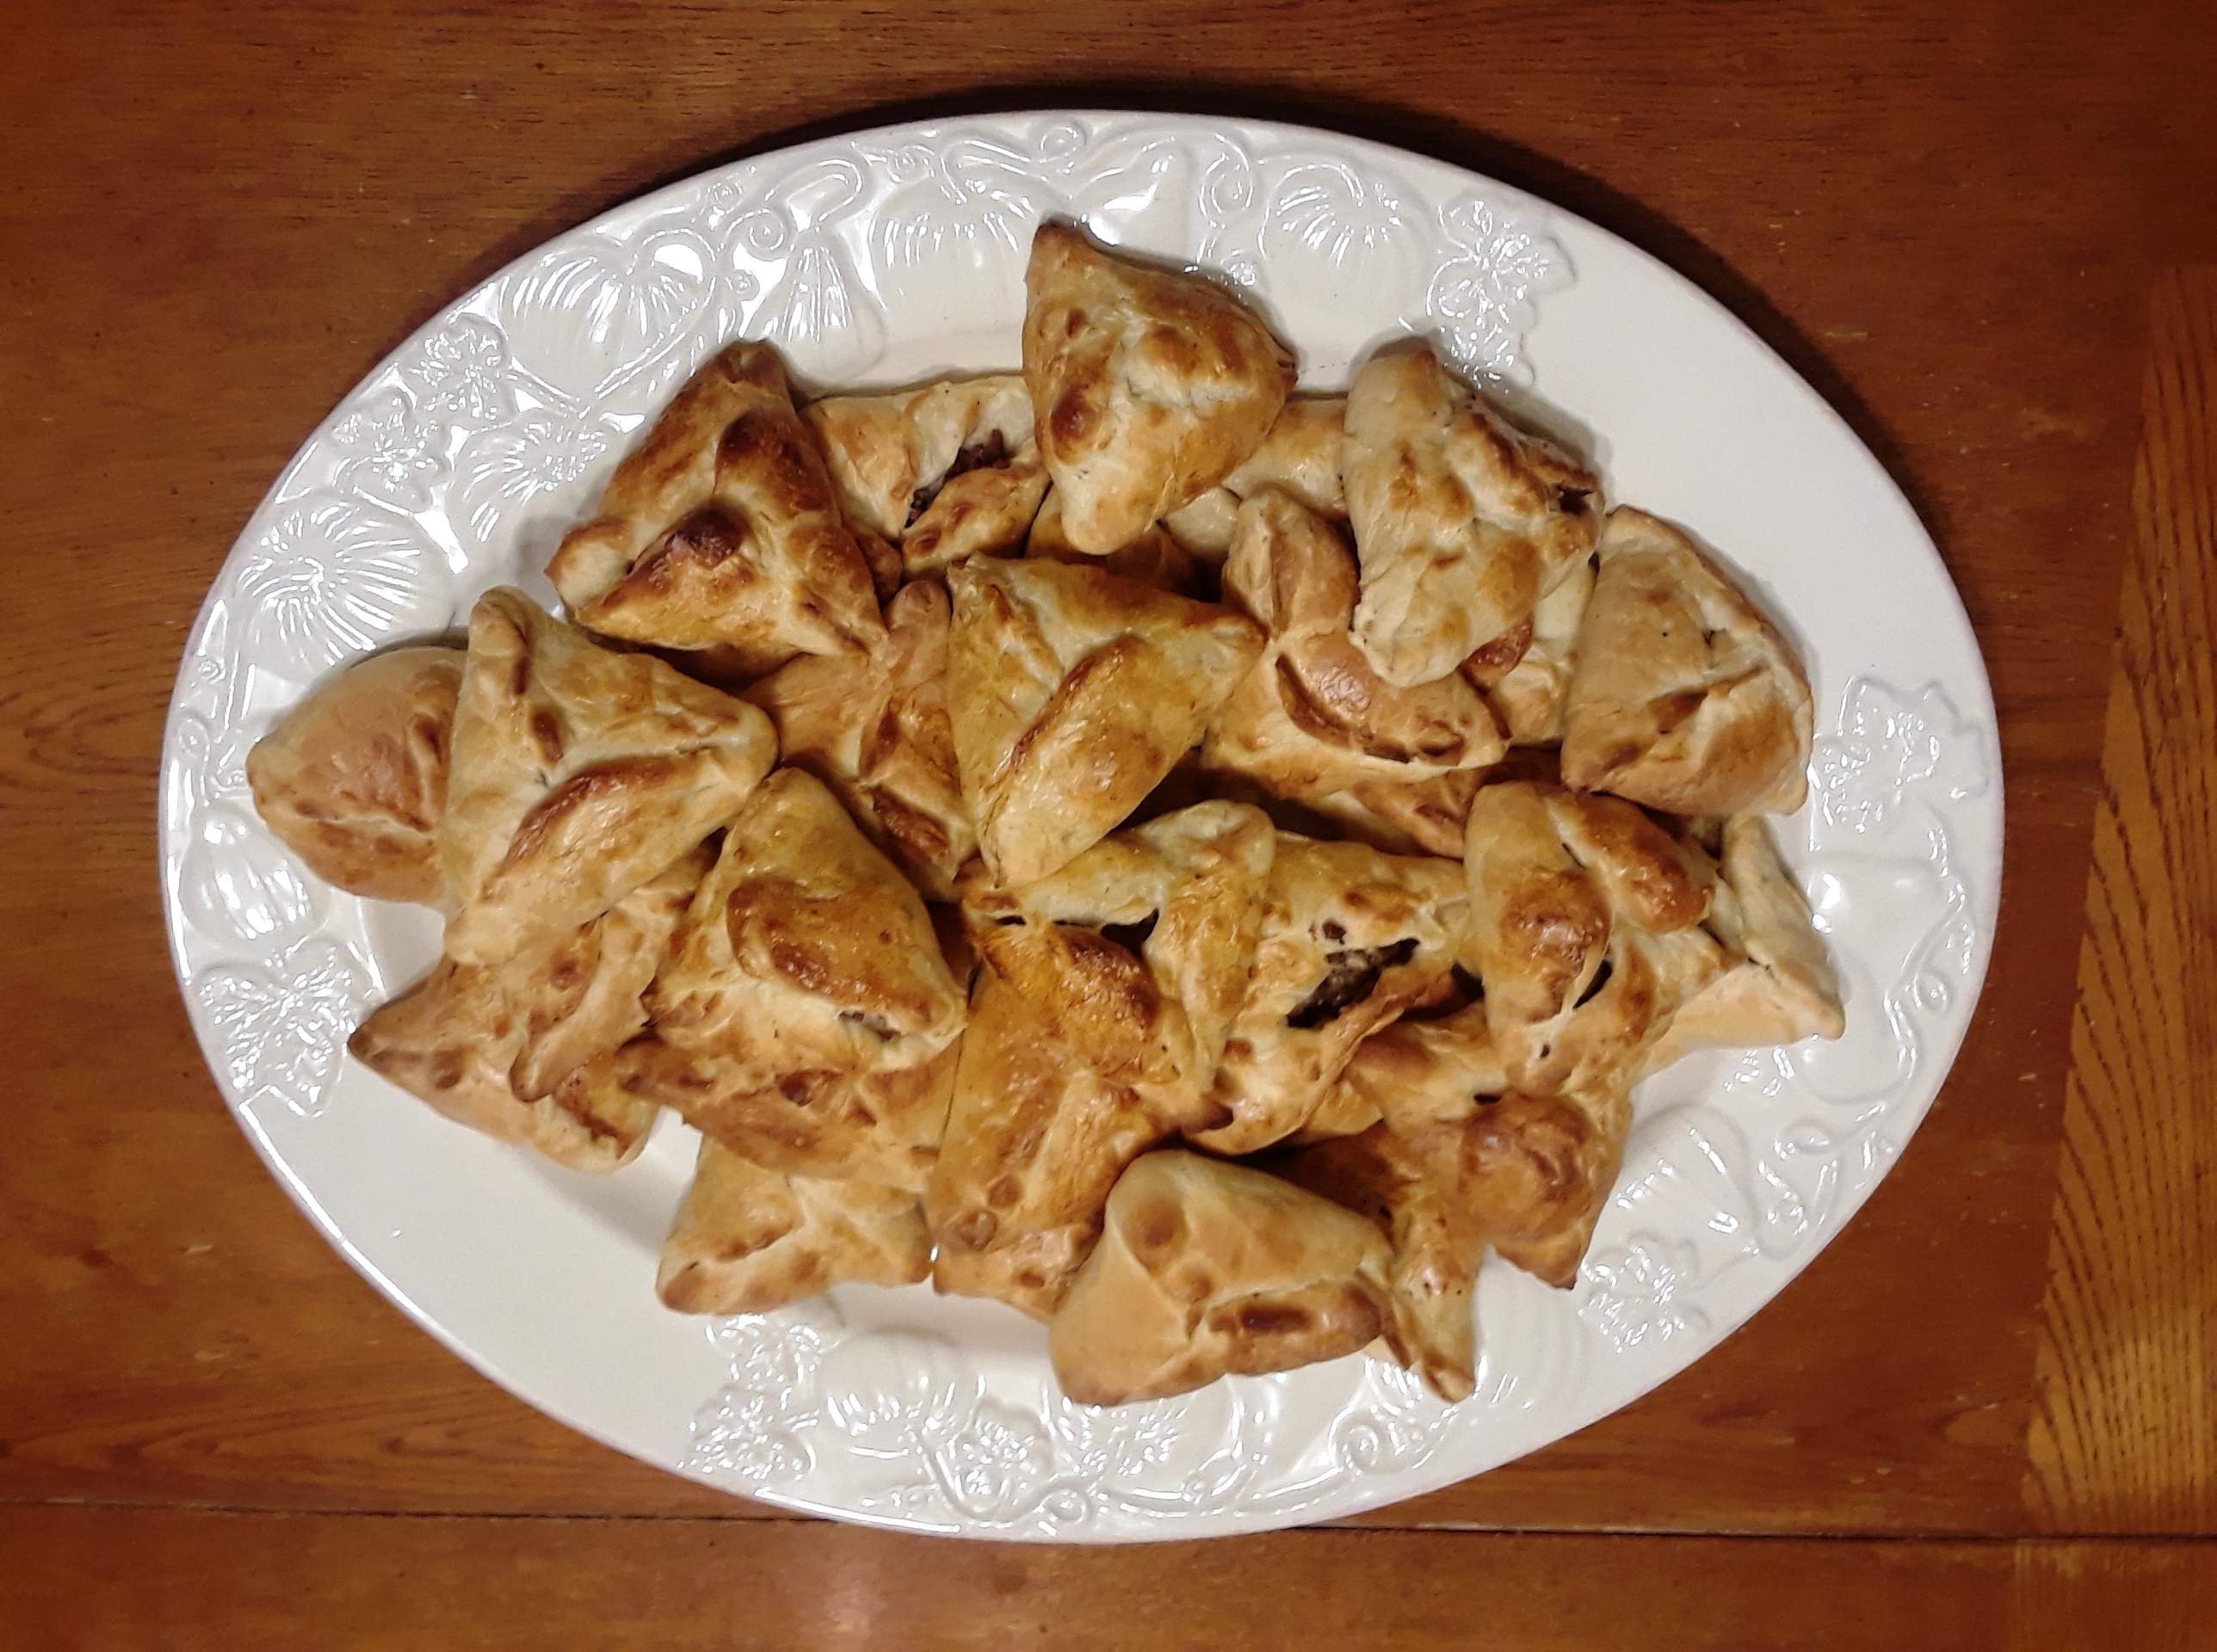 Here at the Gibson Ranch, we like to step outside the corral of meat and potatoes to try a little something different. For Hanukkah this year, we indulged in one of our favorites: Lebanese meat pies. They’re perfect as an appetizer, a side dish, or even a main dish. It’s all a matter of perspective, what you’re serving them with, and how many you want to eat!
This easy recipe is a great introduction to Middle Eastern cooking. I’m sure you’ll end up making it part of your holiday traditions, too.
Lebanese Meat Pies
2 lb. ground beef or ground lamb
¾ c pine nuts, toasted
2 large sweet onions, diced
Juice of 2 lemons
½ – 1 t sea salt
½ t black pepper
Hearty dashes of cinnamon
Slight dash of allspice
36 frozen dinner rolls (I used Rhodes)
Egg white for glazing
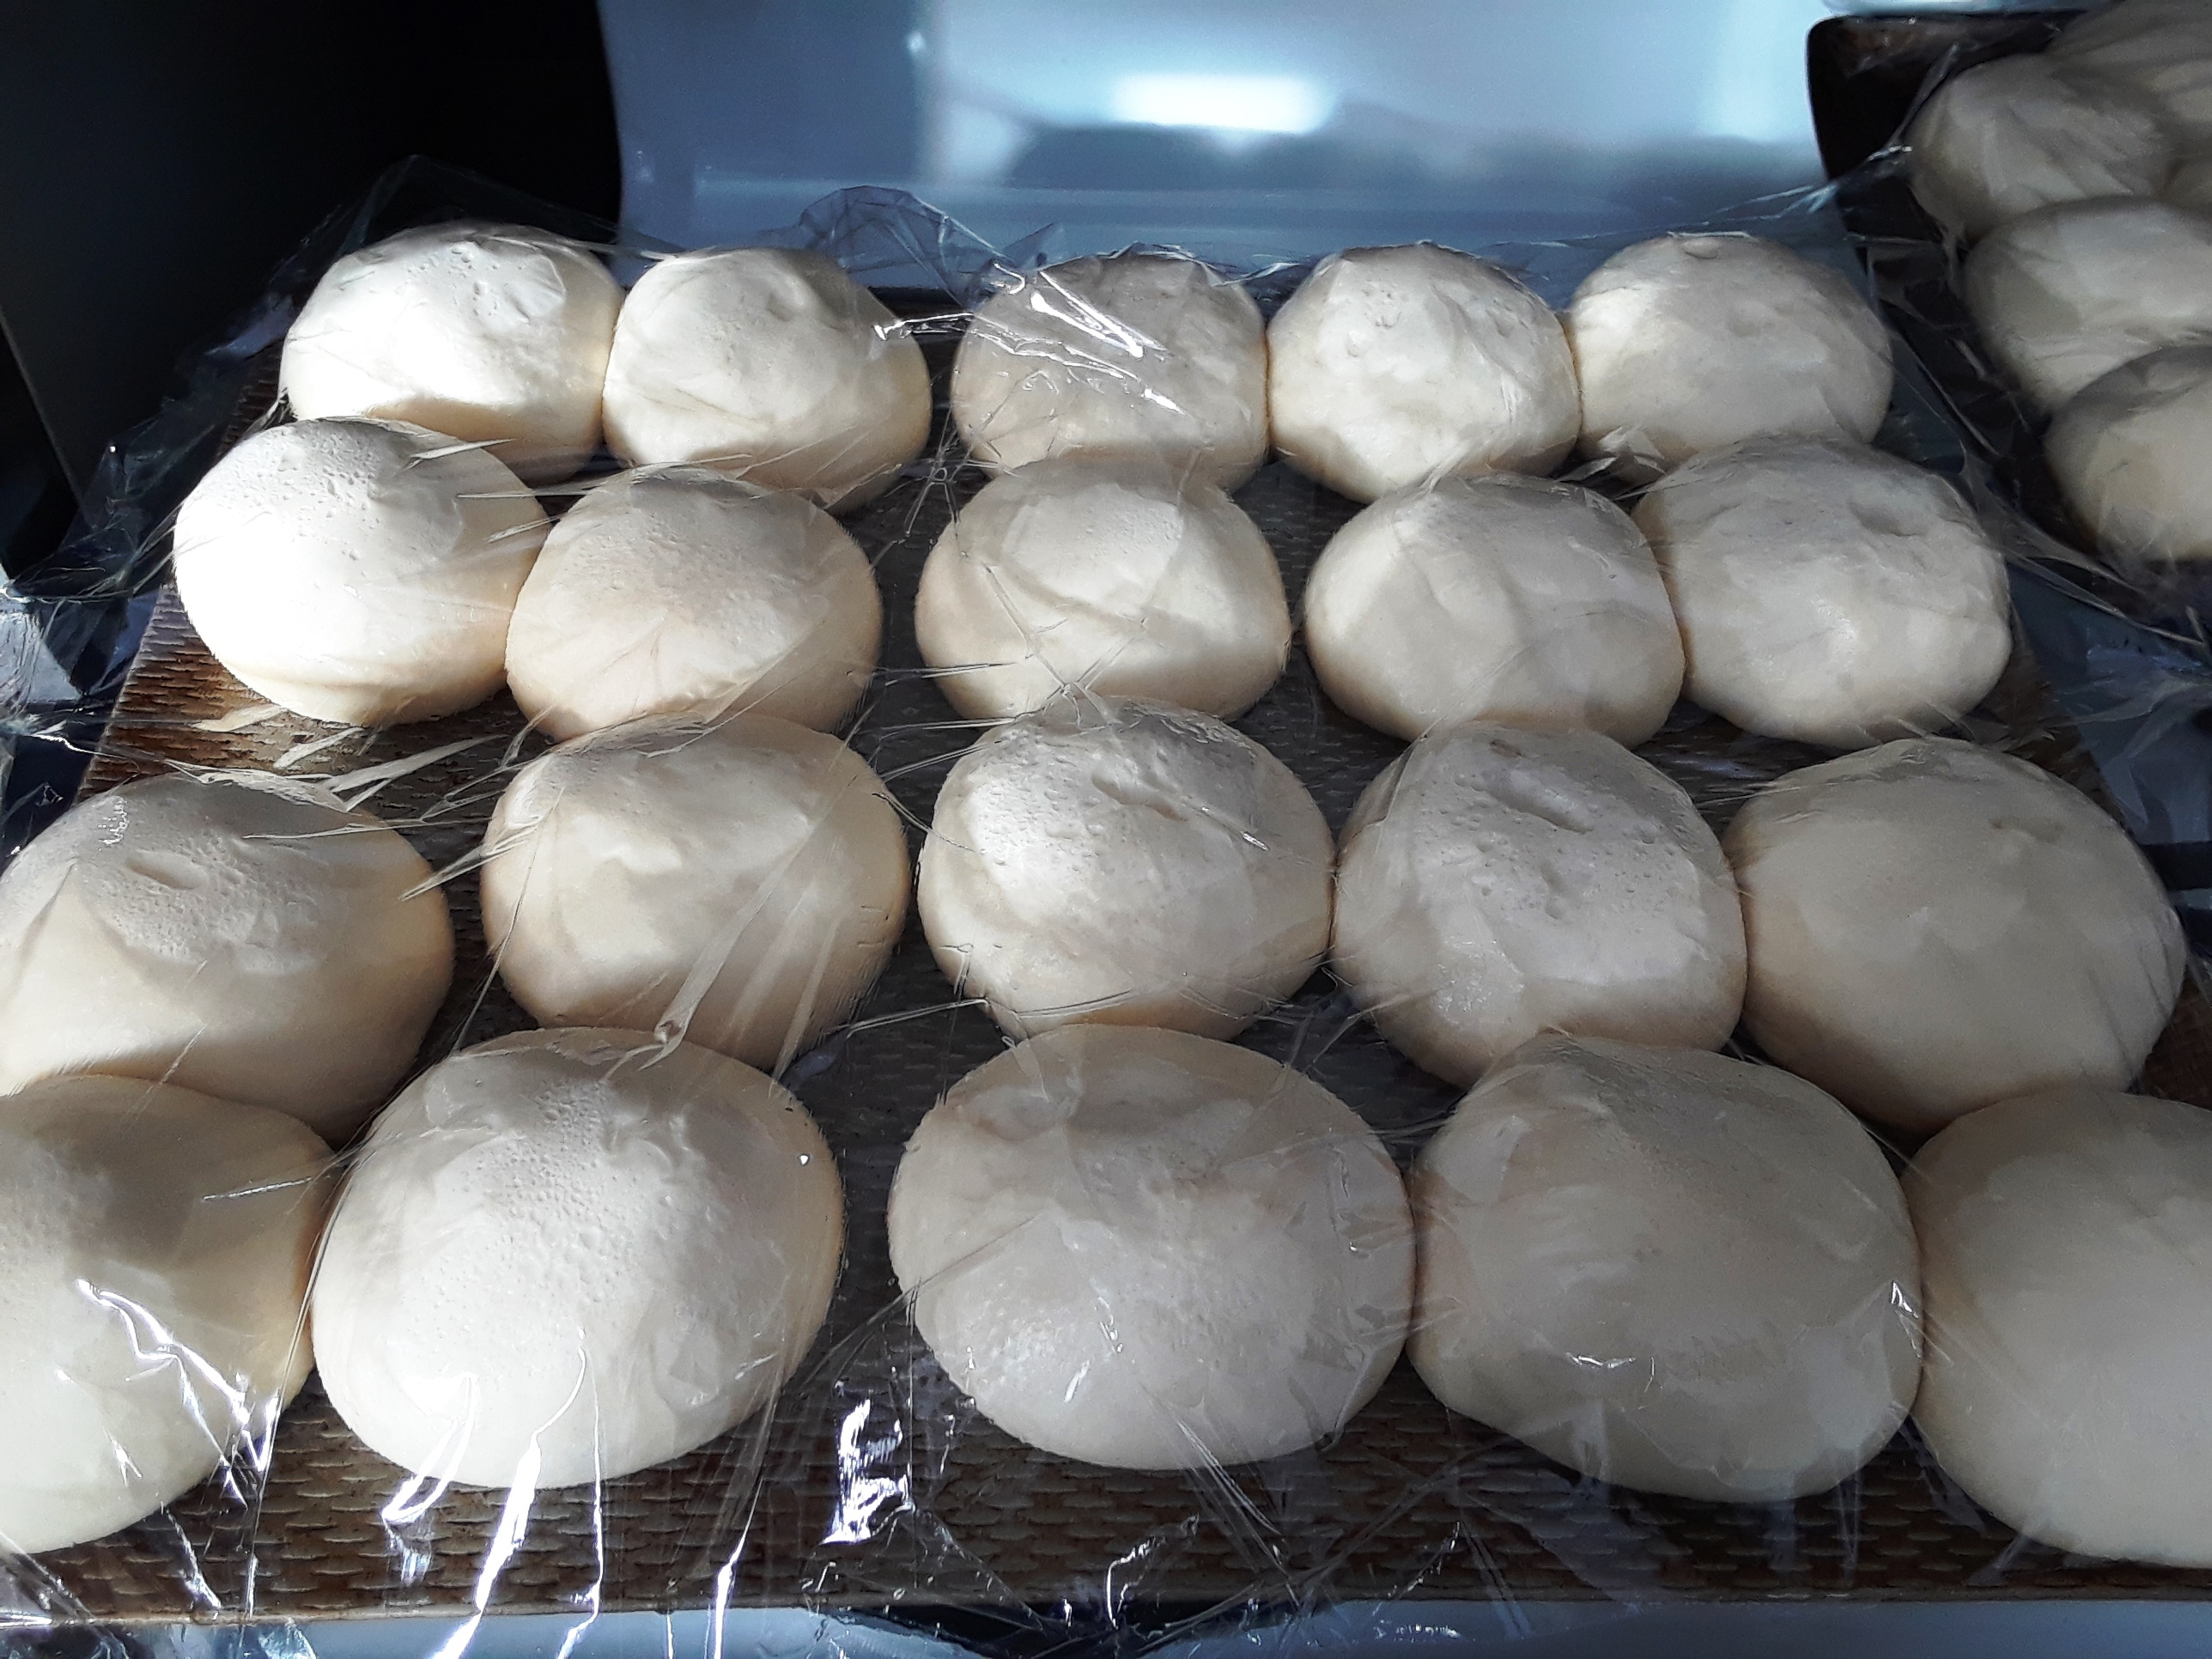 Prepare the dinner rolls the night before. Place them on baking sheets coated with cooking spray taking care to leave room for rising. Cover with plastic wrap also coated with cooking spray and place the trays in the refrigerator. The rolls will defrost in the refrigerator, but you will need to let them rise at room temperature until they are at least doubled in size.
When the rolls are ready, preheat your oven to 450° degrees.
Toast the pine nuts in a toaster oven at 325° for 5 minutes stirring at least once. Pine nuts burn easily, so start with 5 minutes and only cook in additional minutes, if necessary, until they are golden. You can do these in a conventional oven, but keep an eye on them. Set aside to cool, and then chop or grind coarsely.
Dice the onion and place it in a skillet with the ground beef. Cook until the meat is no longer red and the onions are translucent. Drain thoroughly; there will be quite a bit of liquid. Return the meat/onion mixture to the skillet and add the lemon juice, salt, pepper, cinnamon, and allspice. Stir to mix and warm through.
To assemble the meat pies, take one roll, stretch it out round, and place a spoonful of meat mixture in the center. Fold one side in toward the center, and then fold up another side. Pinch the seam shut between the two sides. Fold up the third side, and pinch the other two seams shut as well. You will end up with a triangular-shaped pie. Some people bake them seam down, but I’ve always baked them seam up. If your seams are secure, I’ve found it really doesn’t matter.
Brush the sealed pies with beaten egg white taking care not to rip them open. Bake for 10 – 11 minutes until golden brown, ending up more on the golden end of the color spectrum. Depending on your oven, you may go 12 – 15 minutes, but do not burn the bottoms or overbake the tops.
Enjoy!

 I love the craziness that is planning for Hanukkah, especially the food. Traditionally, fried foods are consumed as part of the commemoration of the Maccabees not having enough oil for the menorah which miraculously burned for eight nights despite the small quantity. Why fried foods you ask? Because it’s fried in oil. Get the connection?
We’ve tried an all-fried or mostly fried menu in the past, and our stomachs lived to regret it. There are, however, many delicious recipes one can make for Hanukkah that aren’t fried. They also probably aren’t traditional, and may raise a few eyebrows, but good eating is part of what it’s all about for us, and Adonai has blessed us richly!
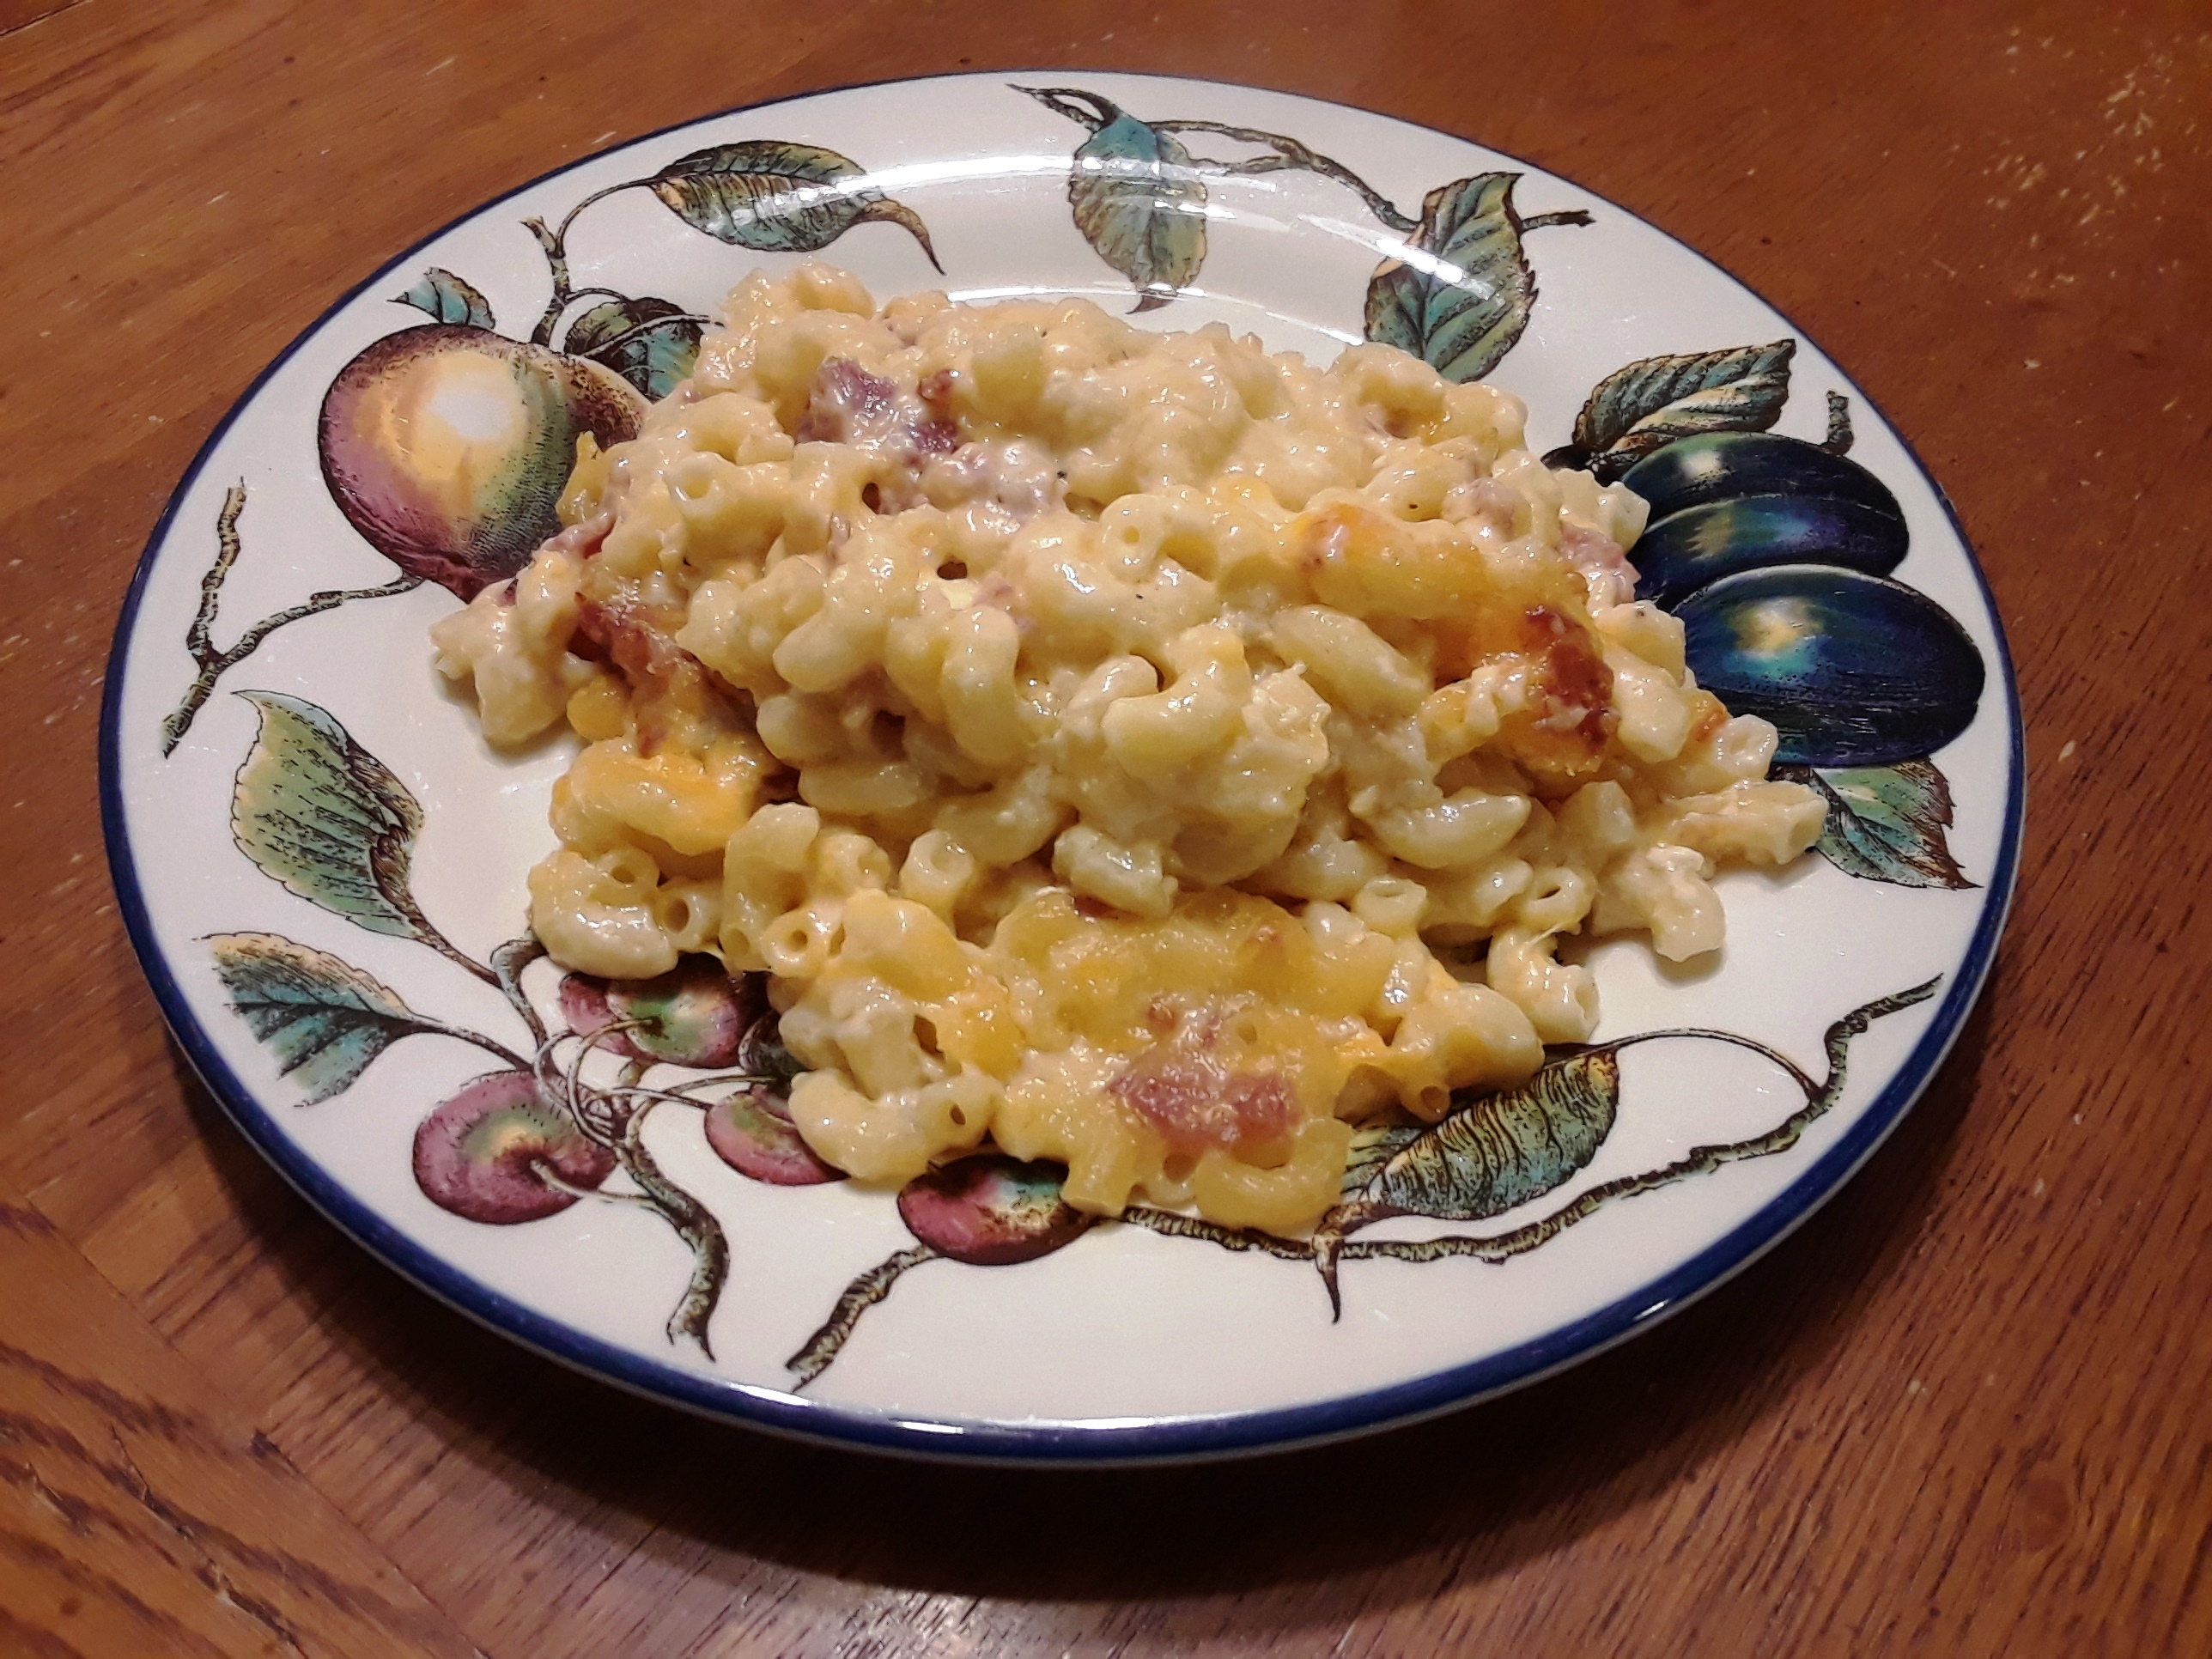
So don’t laugh when I tell you the Gibson household will be dining on my homemade macaroni and cheese for Hanukkah tonight. It’s so rich and cheesy that it’s almost sinful. Fear not, we pray over it before eating to counterbalance that last point.
HL’s Homemade Macaroni & Cheese
1 – 1 lb. box of elbow macaroni
½ c (1 stick) unsalted butter
½ c all-purpose flour
4 c whole milk
3 – 8 oz. blocks of cheese, shredded
Salt and pepper to taste
½ – 1 t dry mustard, optional
 Side note: I start with blocks of cheese over pre-shredded because it’s creamier. The pre-shredded stuff always seems dry to me. Also, I suspect the quantity isn’t exactly what the packaging says. You’ll want at least six cups of cheese, however, I’ve found that a little more never hurts which is another reason I prefer blocks of cheese.
When choosing cheeses, I like to include at least one orange cheese to make it look like traditional, American mac-n-cheese. However, an all-white version is just as tasty and visually pleasing.
Consider mild, sharp, or extra sharp orange cheddars, NY white cheddar, mozzarella, Gruyère, Swiss, Monterrey Jack, Colby-Jack, Longhorn, etc. I know some of these are considered to be the same, but I’ve found subtle taste differences that make choosing half the fun.
Recipe:
Preheat your oven to 400°.
Cook the macaroni according to package instructions until al dente. Drain thoroughly as macaroni holds a lot of water in the crook of the elbow. While the macaroni is draining, use the hot pot you cooked it in to melt the butter over a low heat. Add the flour and whisk until smooth. Cook for one minute and do not let it burn.
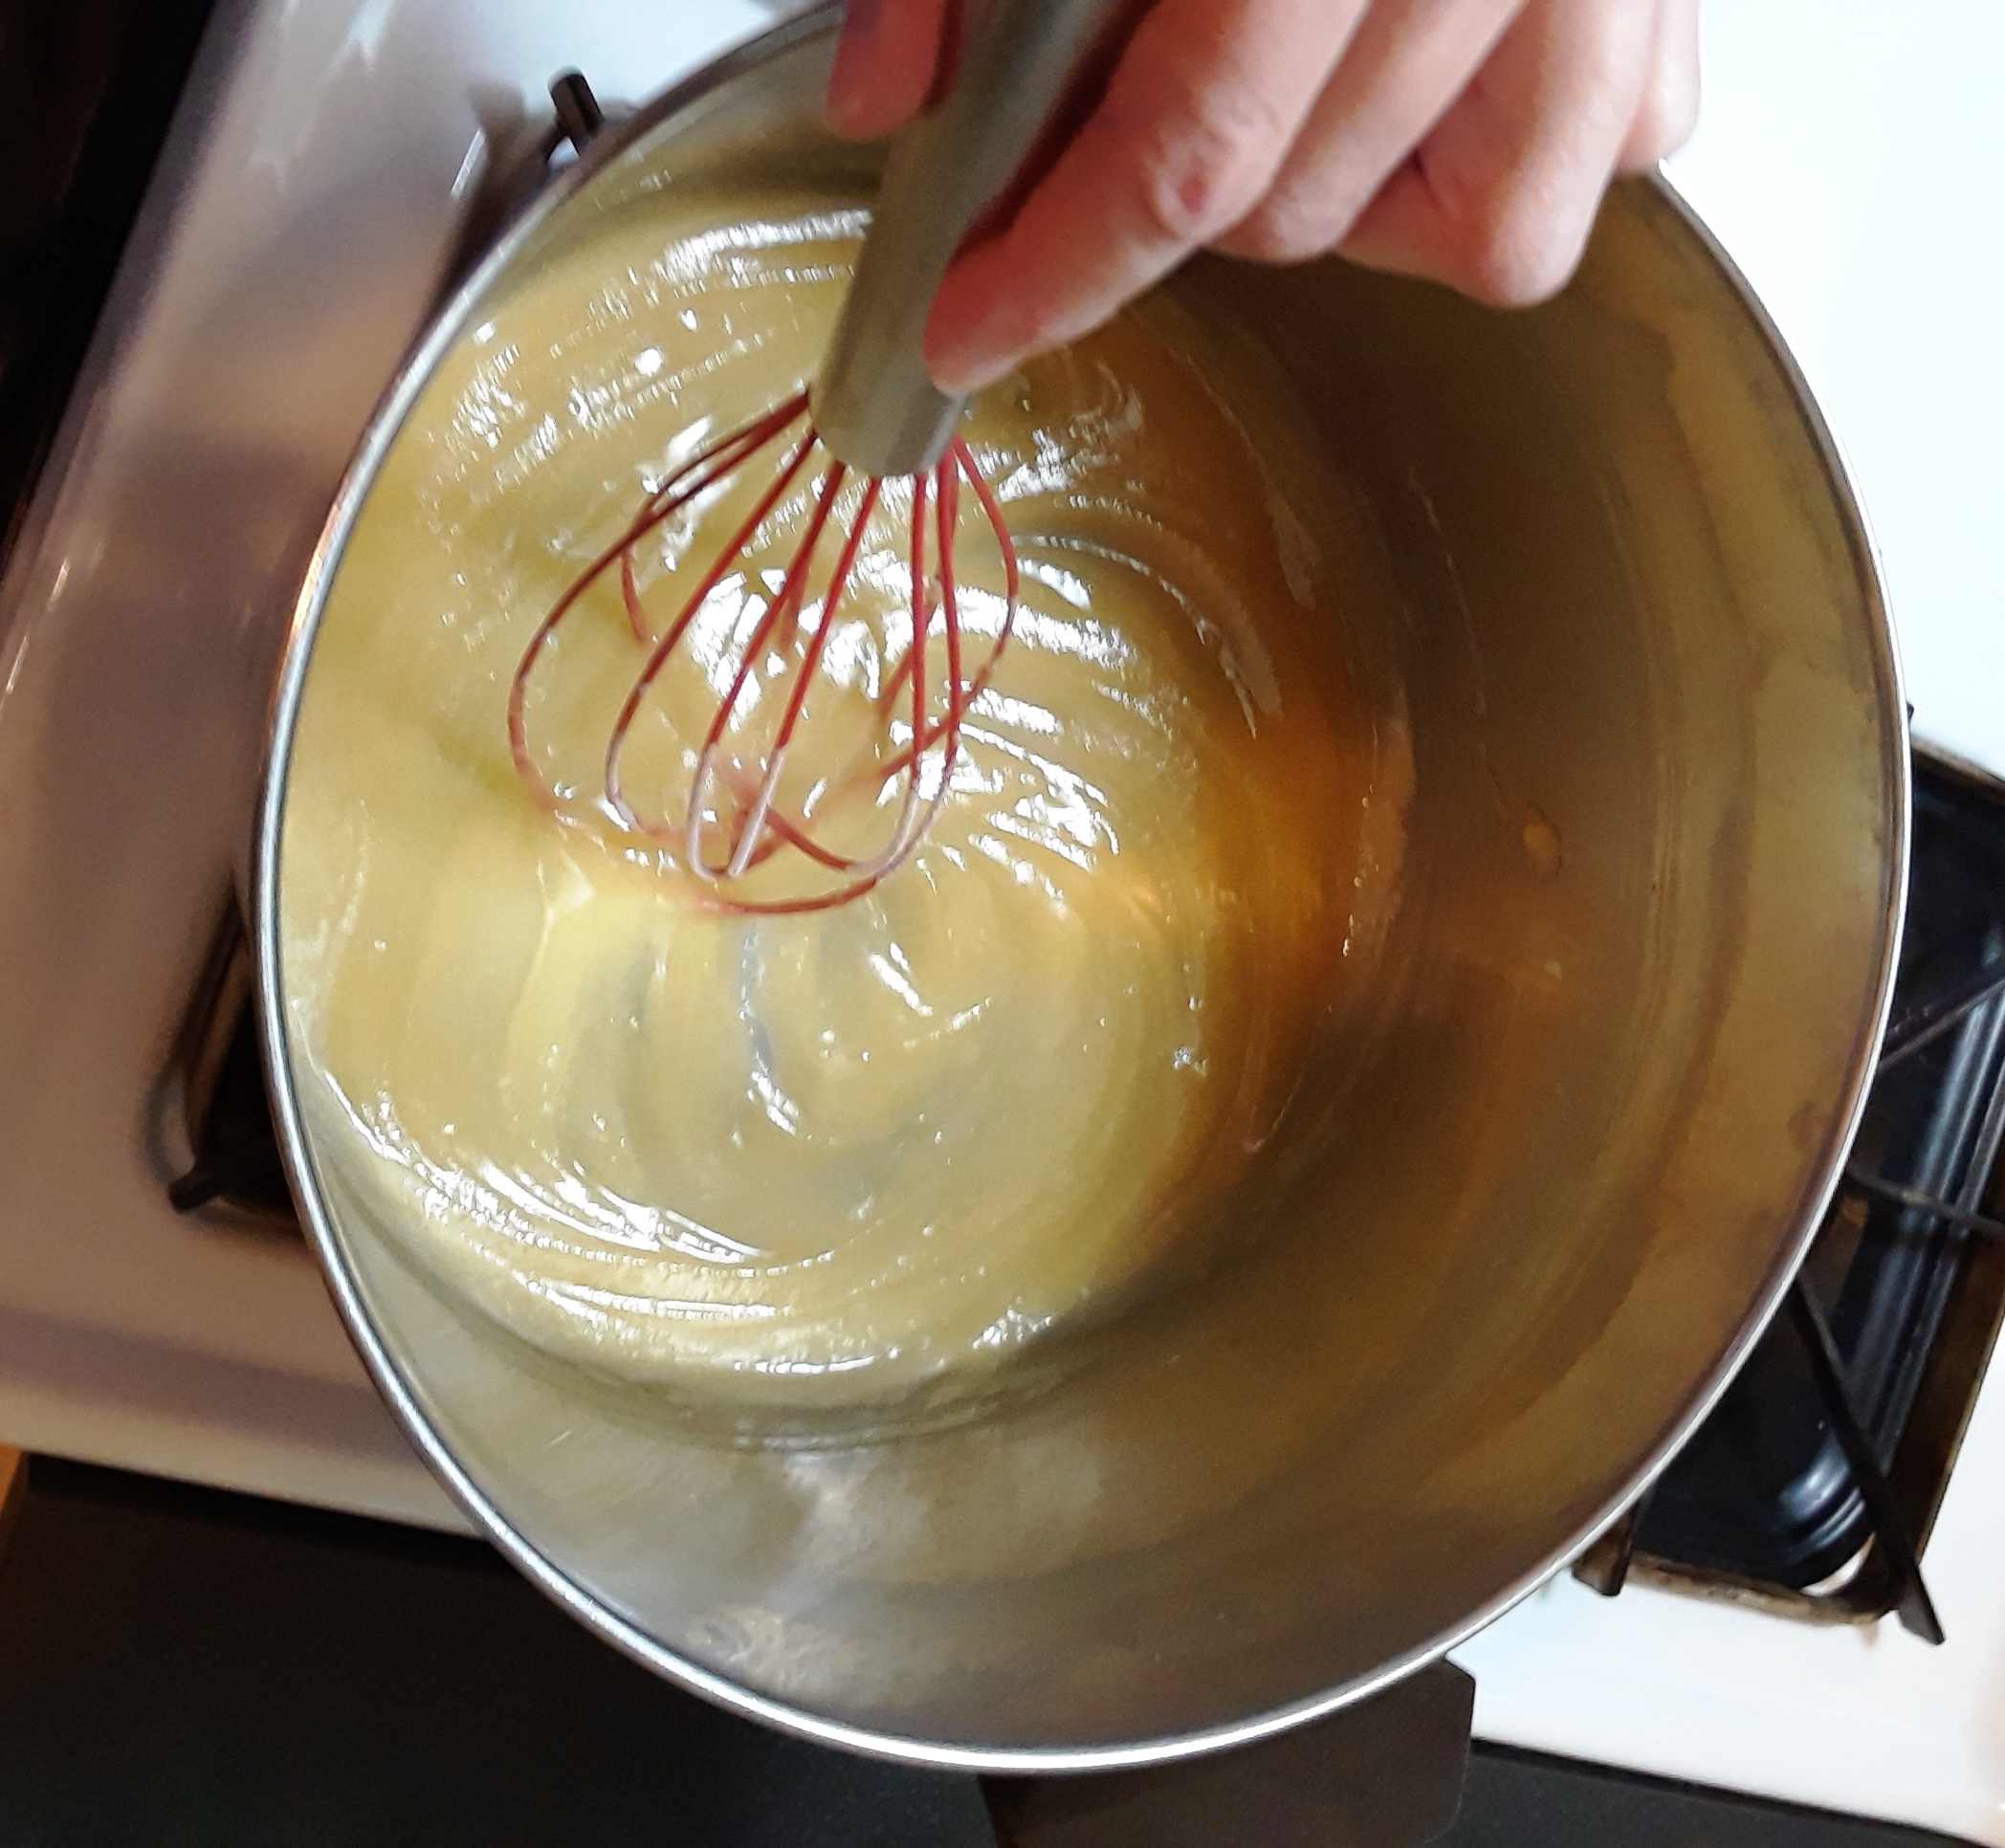 Slowly add the milk, whisking thoroughly, and cook for another minute over medium heat. Add all but a half cup of the cheese by handfuls, stirring after each addition. Continue cooking until the cheese melts and becomes stringy. Not all the cheese may melt, but this is acceptable.
Add the drained macaroni to the mixture and stir to coat. Carefully pour the mixture into a well-greased 9 x 13 glass baking dish. (Do not panic if it seems soupy. The extra liquid will be absorbed and make the mac-n-cheese creamy.) Top with the last half cup of cheese. Bake at 400° for 25 minutes or until the cheese on the top browns and bubbles. Let it sit for ten minutes before serving.
Options:
I’ve chosen all Italian cheeses, added ½ – 1 T of Italian seasoning, grilled chicken, and topped with slices of provolone.
Bread crumbs tossed with parmesan cheese is also a delicious topper.
Uncured turkey bacon, cooked and diced, tastes wonderful stirred in. We use Applegate.

 Most of the recipes I supply are connected to my writing, but this time I’m offering a favorite Gibson Family recipe just because. Well, that and we’ll be eating it for Hanukkah this year. This recipe comes highly recommended by my husband and son, and it’s super easy to make. Factor in the deliciousness, and you’ll want to make it part of your holiday traditions, too.
We’re ice cream freaks at the Gibson household, and nothing makes ice cream a little tastier than a homemade sauce. With that thought in mind, what could be more American in flavor than peanut butter? The following recipe is one we enjoy time and again on chocolate or vanilla ice cream. It’s also good on waffles, pancakes, banana bread, and shortbread cookies. I’m sure you’ll come up with a few places to try it, too.
Peanut Butter Sauce
1 c smooth peanut butter
⅓ c sugar (I use raw)
¾ c heavy cream
2 T butter
¼ c light corn syrup
1 t vanilla
If using raw sugar, place the heavy cream and sugar in a small saucepan over the lowest heat possible. Stir constantly but gently until the sugar dissolves. This step is necessary to melt the larger crystals.
If using regular white sugar or a small-grained, organic sugar, place all the ingredients in a saucepan over medium-low heat. Stir until the ingredients are combined thoroughly. Do not boil or overcook as this will make the sauce too thick.
Cool the sauce slightly before using. I’m told you can store it covered in a refrigerator for two weeks, but ours never lasts that long. You can reheat the chilled sauce in a saucepan on a low heat. Thin it with 1 – 2 tablespoons of heavy cream if necessary. Do not microwave the sauce or it will become grainy.

 If I’ve said it once, I’ve said it a thousand times: there are advancements to technology, but they aren’t always advancements to the quality of our lives. Yet every day I find myself more dependent on some form of technology, and I must admit that a few have become quite the convenience. Take my laptop, for example.
About six years ago, my parents surprised us with a laptop because our son had reached the stage of his schooling where he needed one to complete his homework. Then there was the fact that the school insisted communication with students and parents be conducted mostly, if not solely, via e-mail and homework sites. We had an old desktop model, but it just wasn’t cutting it anymore.
Since the generous gifting of the laptop, I have come to enjoy it for online banking, communicating with friends (although I still argue that social media makes people who once met for socializing somewhat lazy), watching movies, and my favorite, ripping CDs into custom-made playlists. And then one horrific day, the DVD/CD drive thingy stopped working.
At first I couldn’t open it. Not even with the cool trick using a paperclip the guy at the store showed me. And when I placed a DVD or CD inside and shut the drawer, the laptop no longer read it. Imagine my dismay. My playlists would grow no more, and worse, it may be time to look for another laptop.
There was the option of an external drive, but even the sales clerk thought the price his employer was charging to be a little outrageous. He suggested I try shopping online if I absolutely needed one. At least he didn’t try to sell me a laptop I wasn’t prepared to buy at the moment. Our finances aren’t ready for that commitment yet.
I’m not exactly technologically challenged, but I’m not savvy either. Perhaps with all this streaming, DVDs and CDs were going by the wayside. One day while running errands, I consulted our in-house IT geek also known as our son. When I posed this thought to him, he agreed that an external drive would simply be a convenience for old-schoolers like me.
“You could rip all your CDs, Mom. They even have external connections for those other things you and Dad have.”
“What other things?”
He cupped his left hand with a U-shaped slot between his thumb and fingers and inserted his other flattened hand inside, mimicking something.
“You know, those square things.”
Images of 3.5-inch floppy disks sprang to mind, but they had nothing to do with our discussion.
“What things, Joshua?”
Again, and with much exasperation on his part, he mimicked some bizarre function by rotating his index fingers in circles going the same direction.
“Those things that are square and go ‘round and ‘round.”
“You mean…cassettes?”
Let the laughter begin. I rarely get one up on this kid these days. He’s a titch smug from time to time with all he knows technologically, so when I have the opportunity to laugh (and I’m talking Precious Pup, wheezing type laughter as I’m driving) I take it. Joshua is a good sport, though, and after turning beet red, he joined in the hilarity. Still, he’ll never know the satisfaction of saving a favorite cassette from destruction by rewinding it with a pencil.

