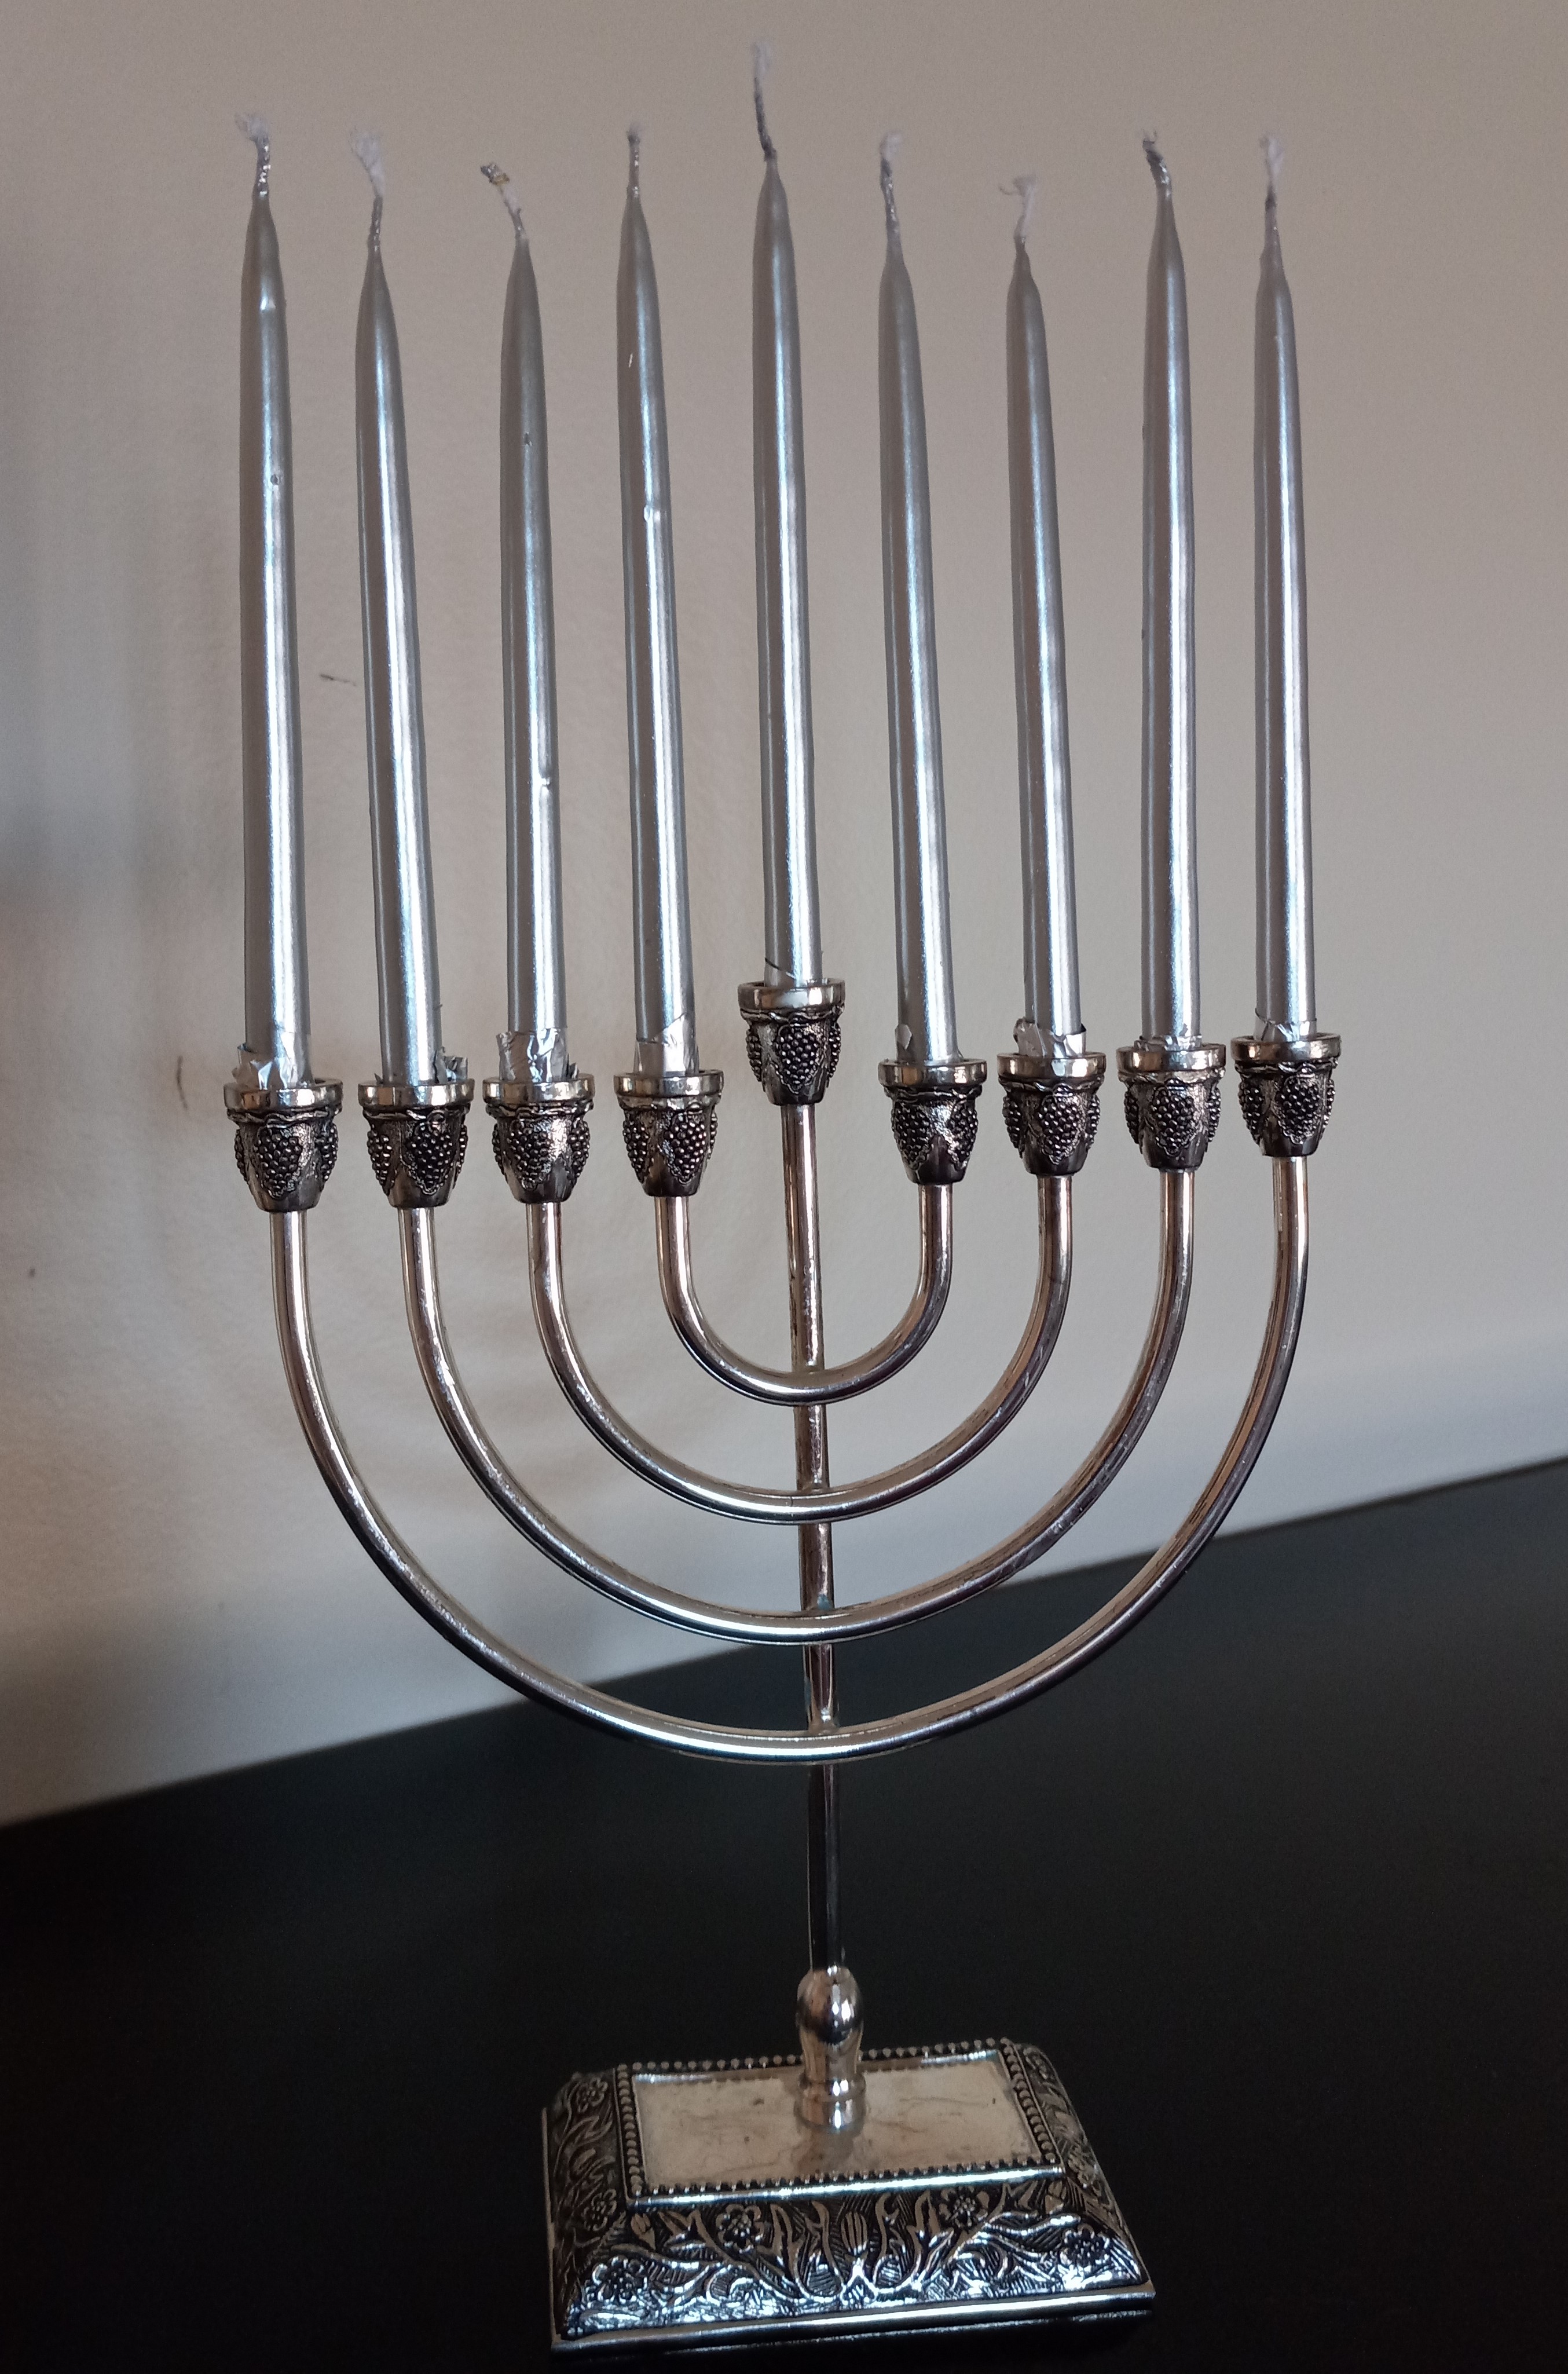
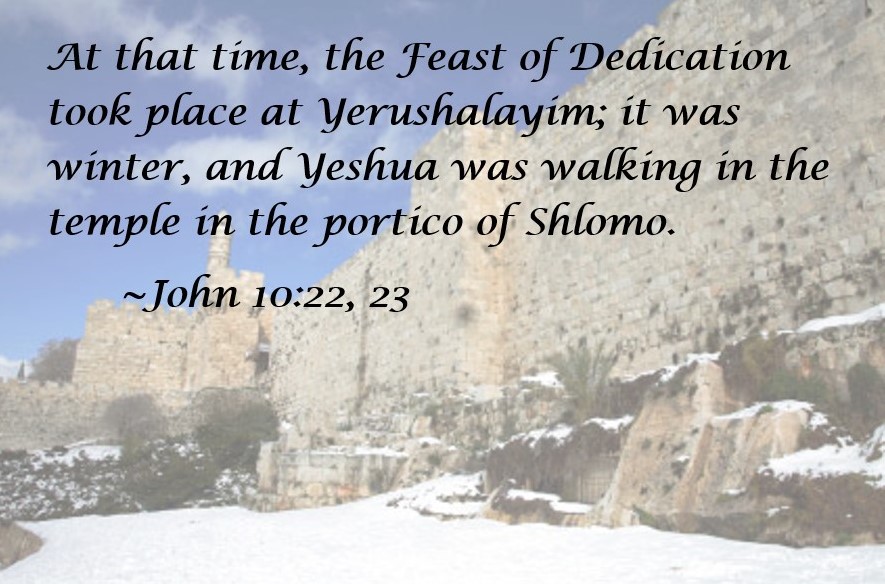
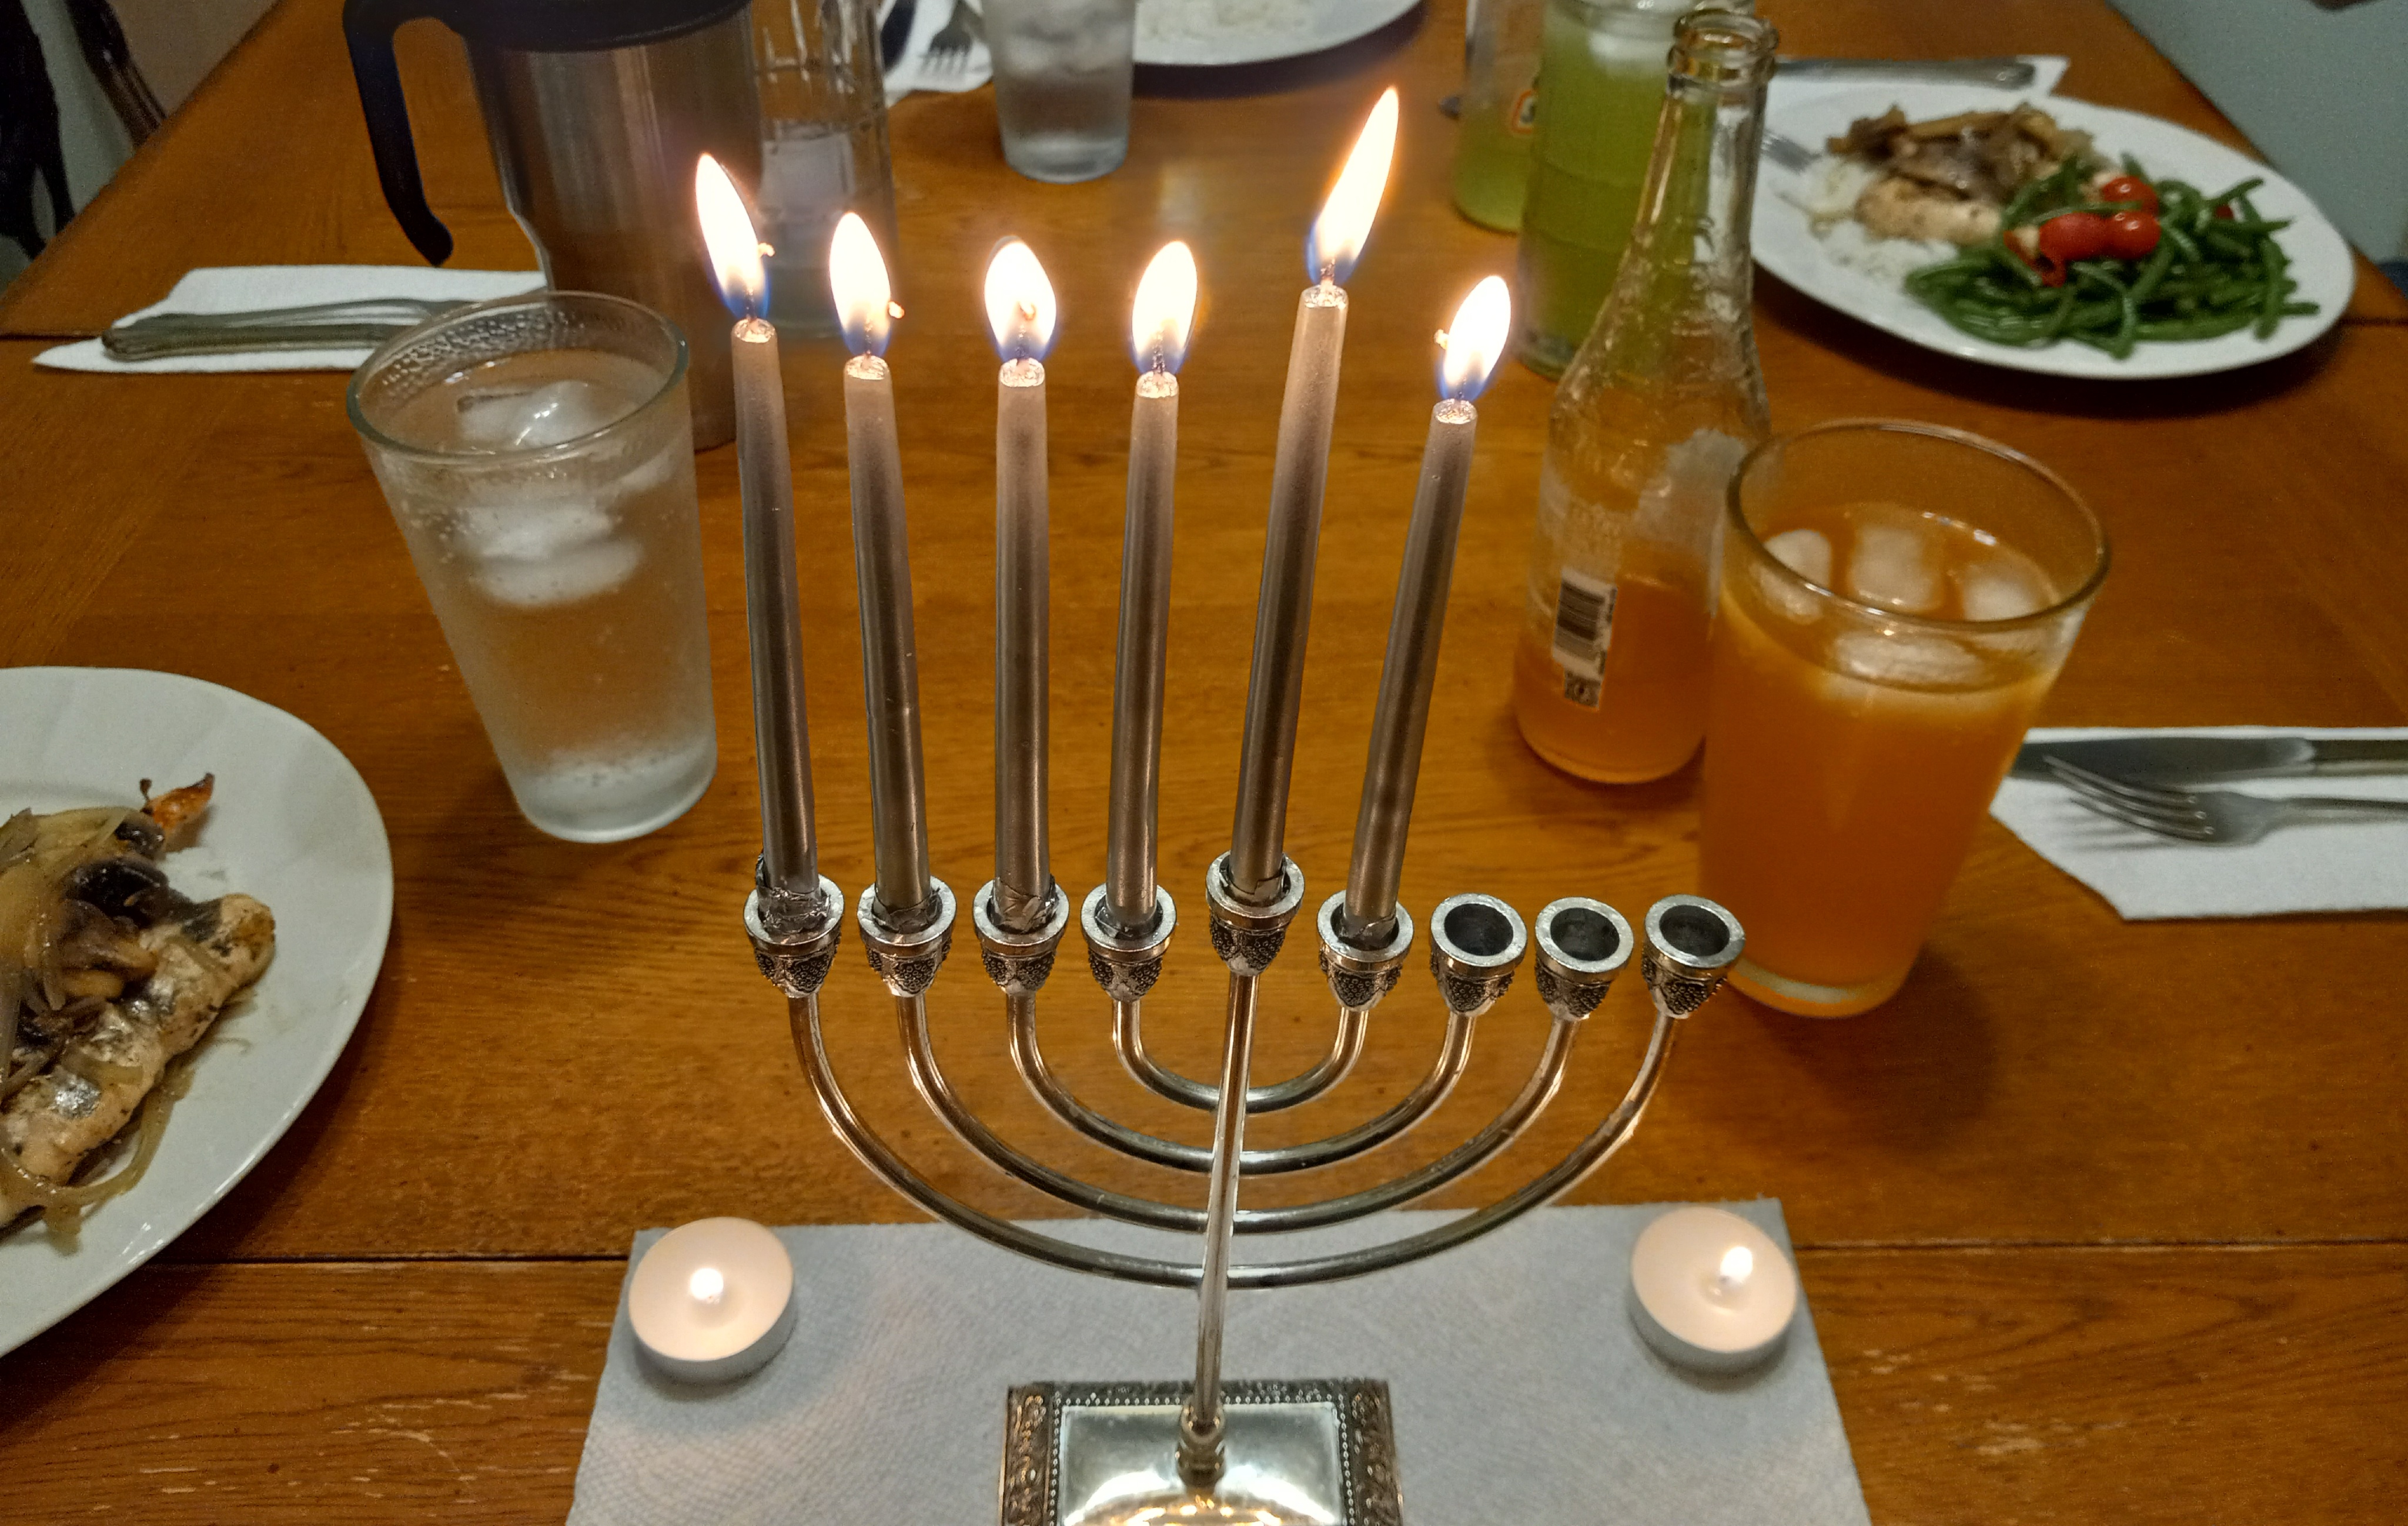
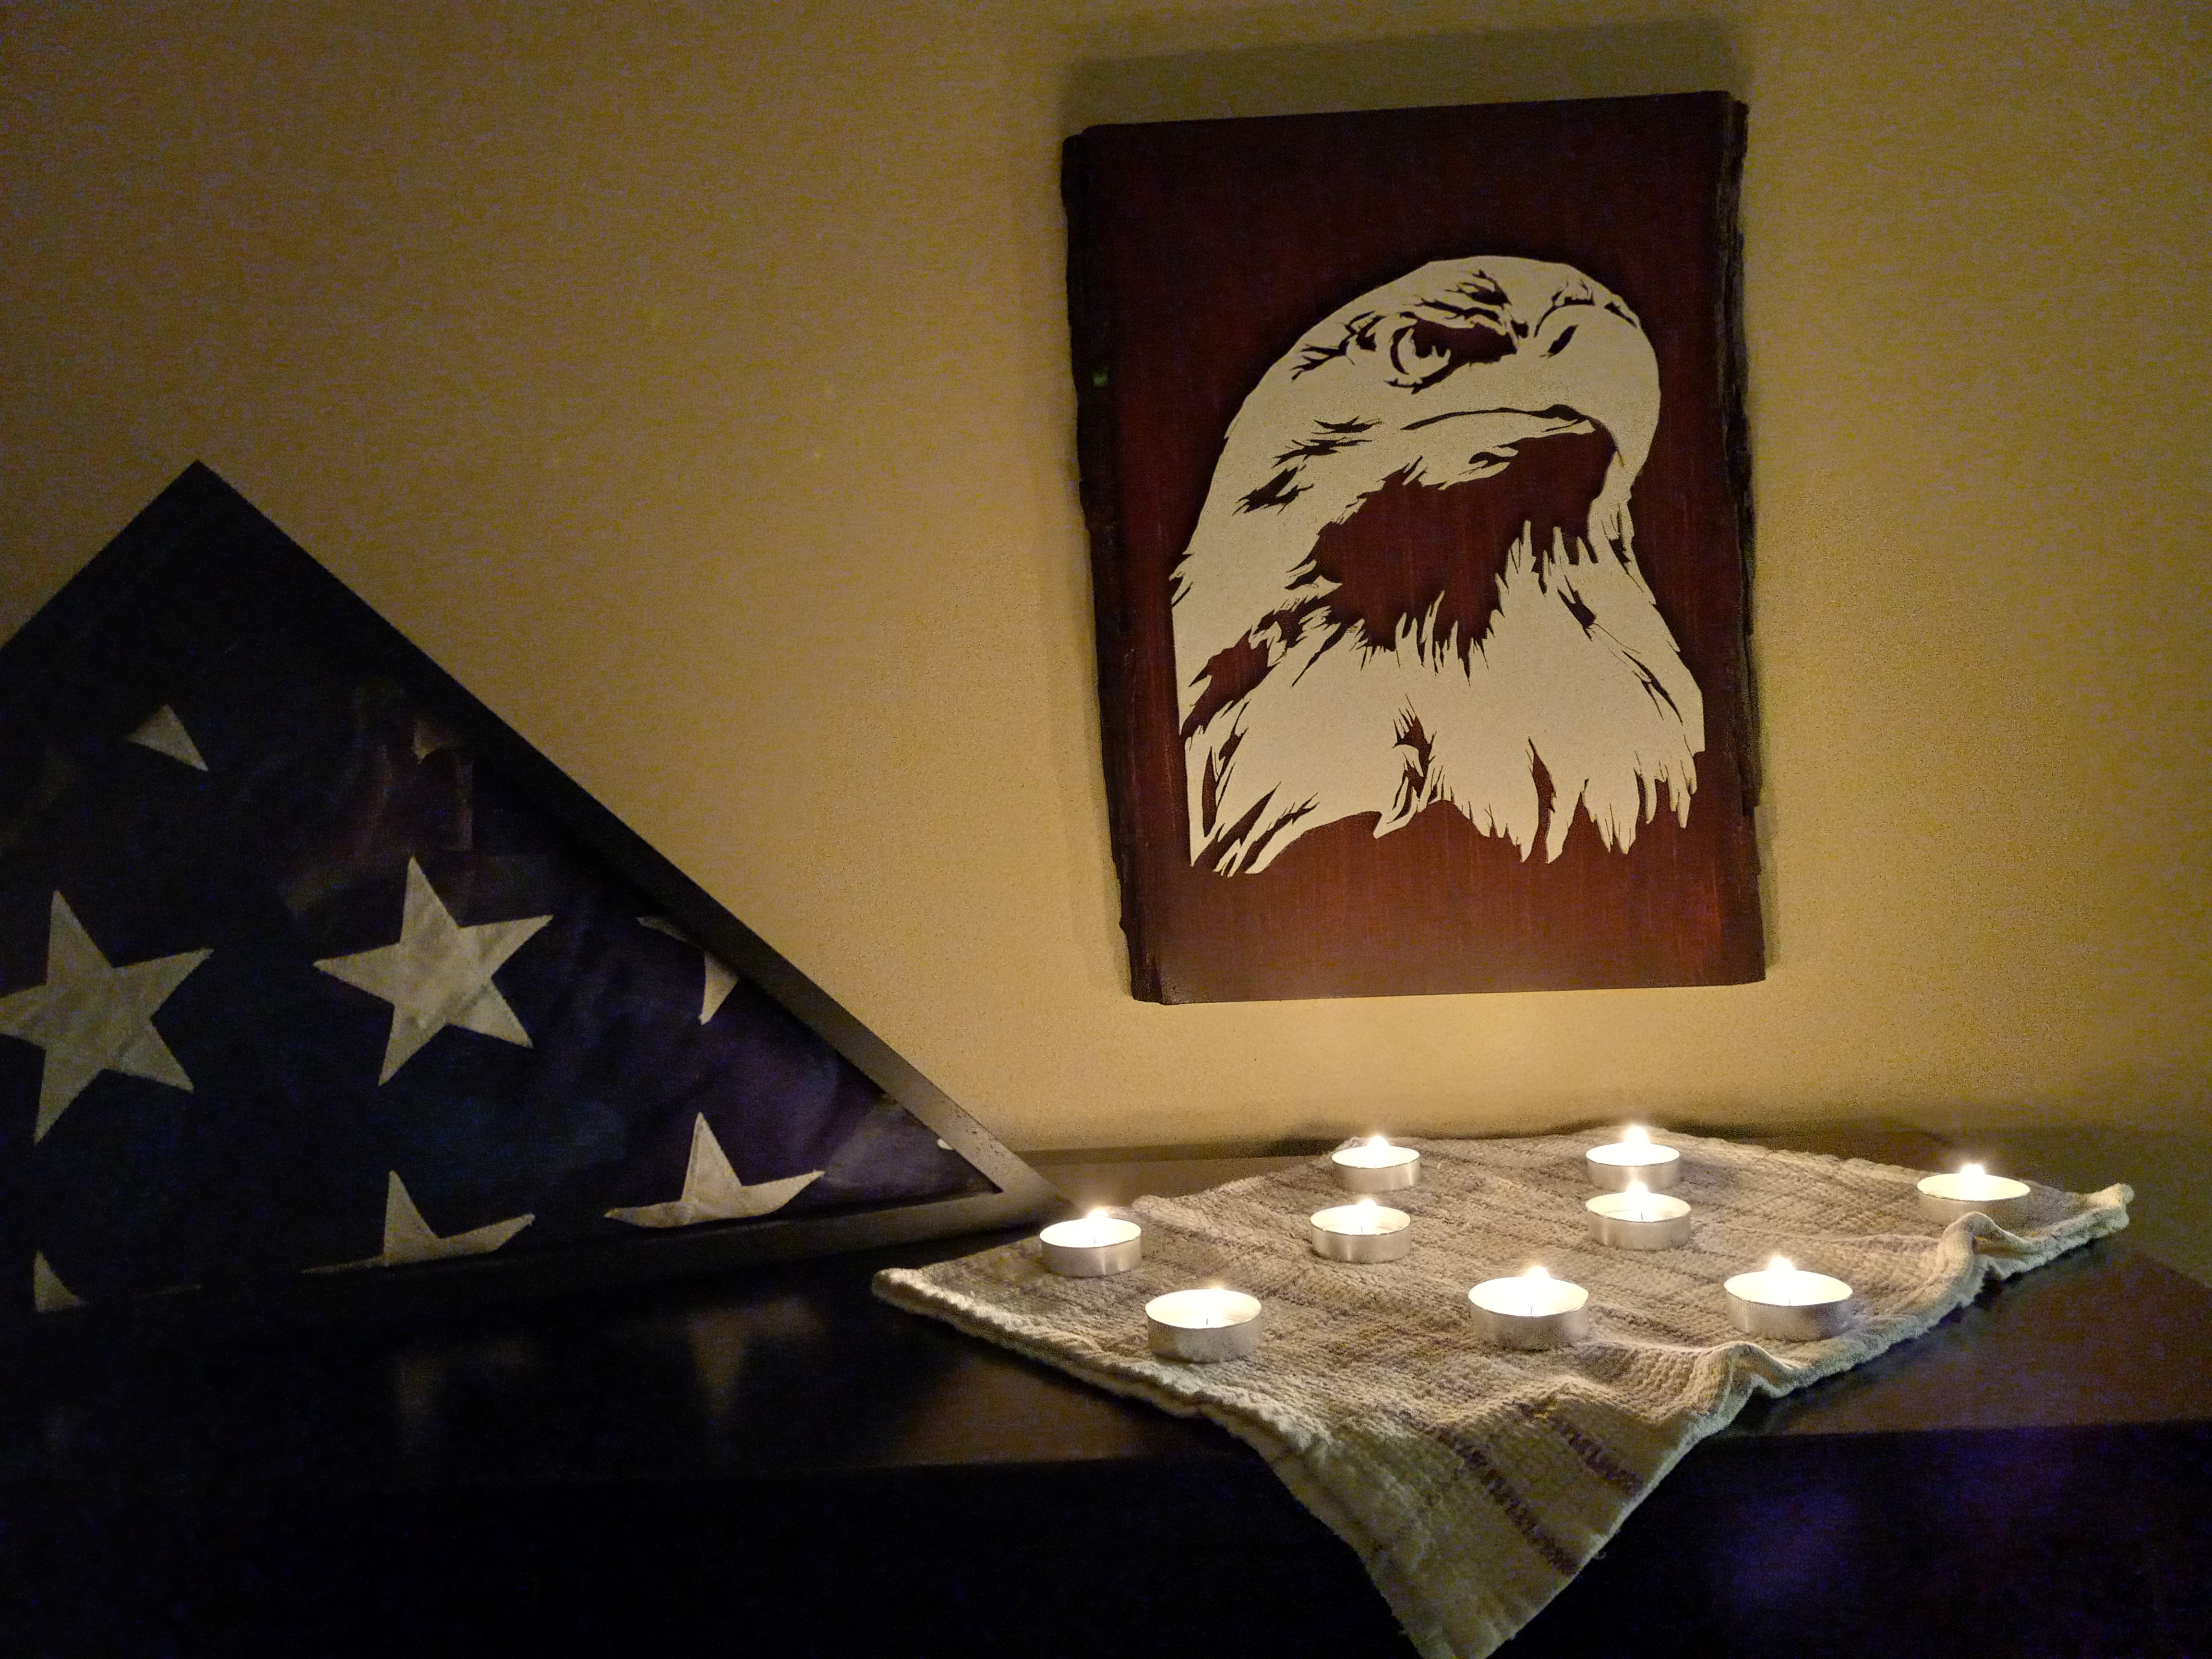
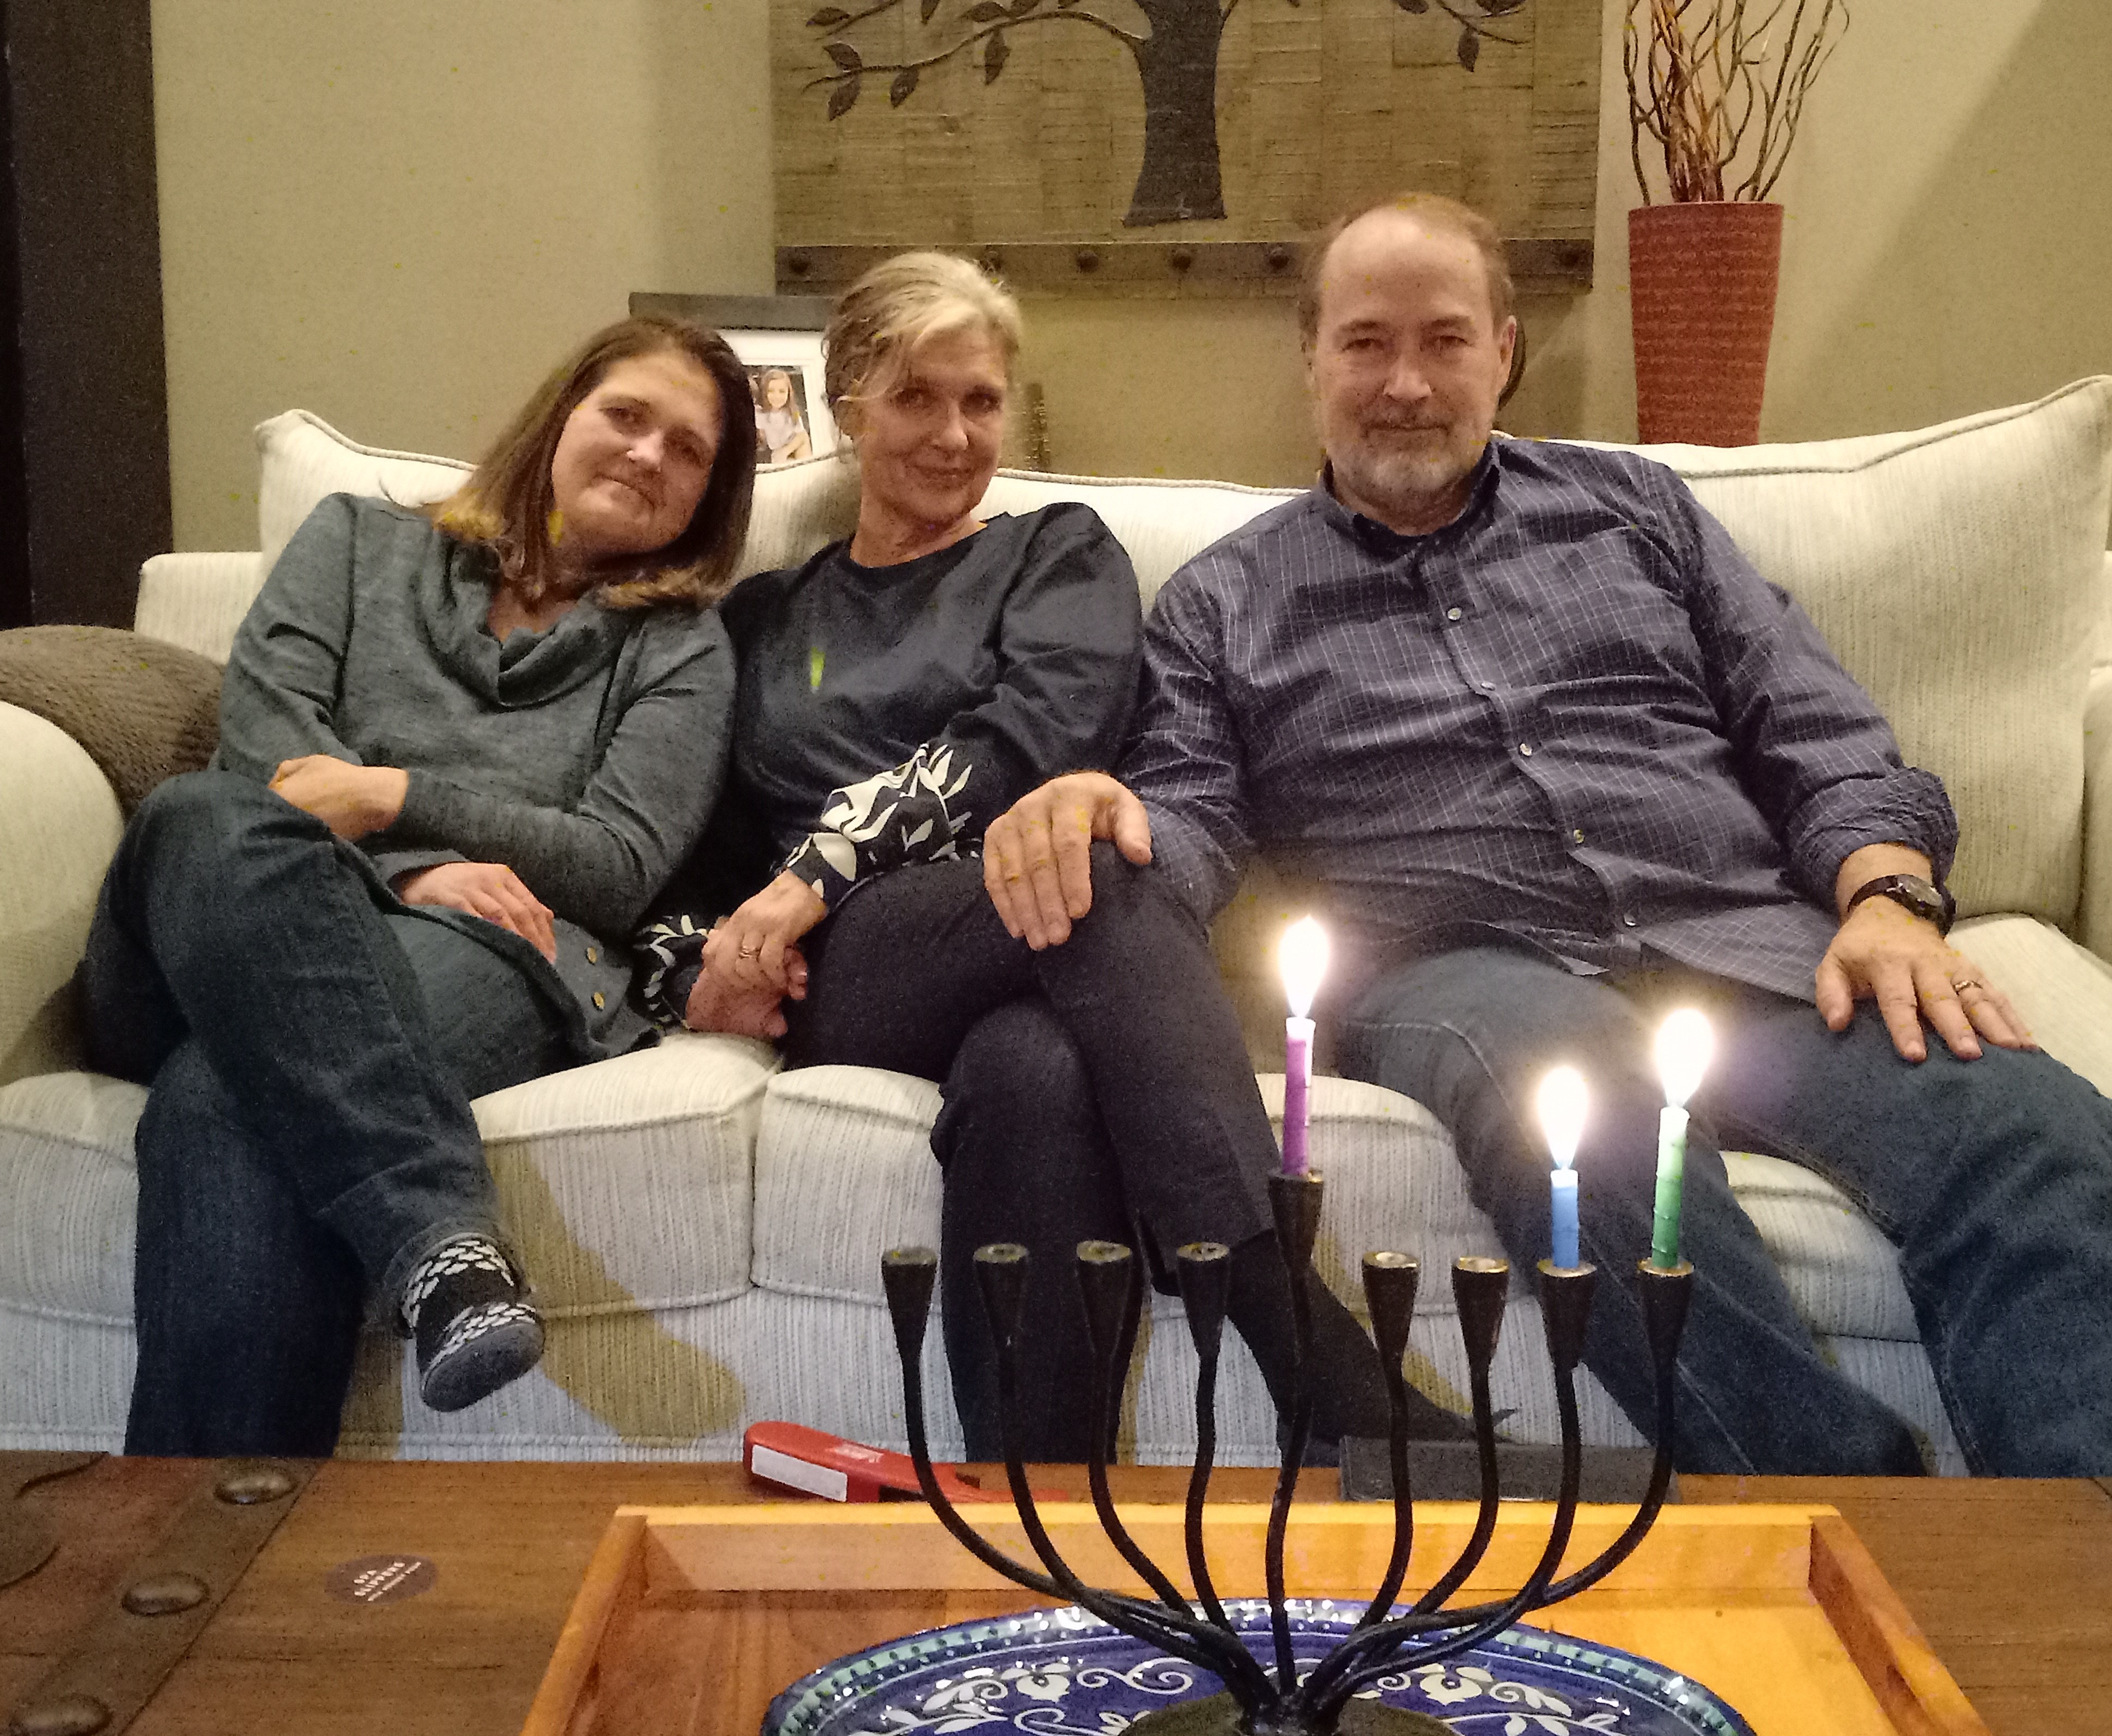
The eight days of Hanukkah celebration this year were amazing as we filled them with love, laughter, and light! Read any of my posts from the past week, and you’ll see what I’m talking about.
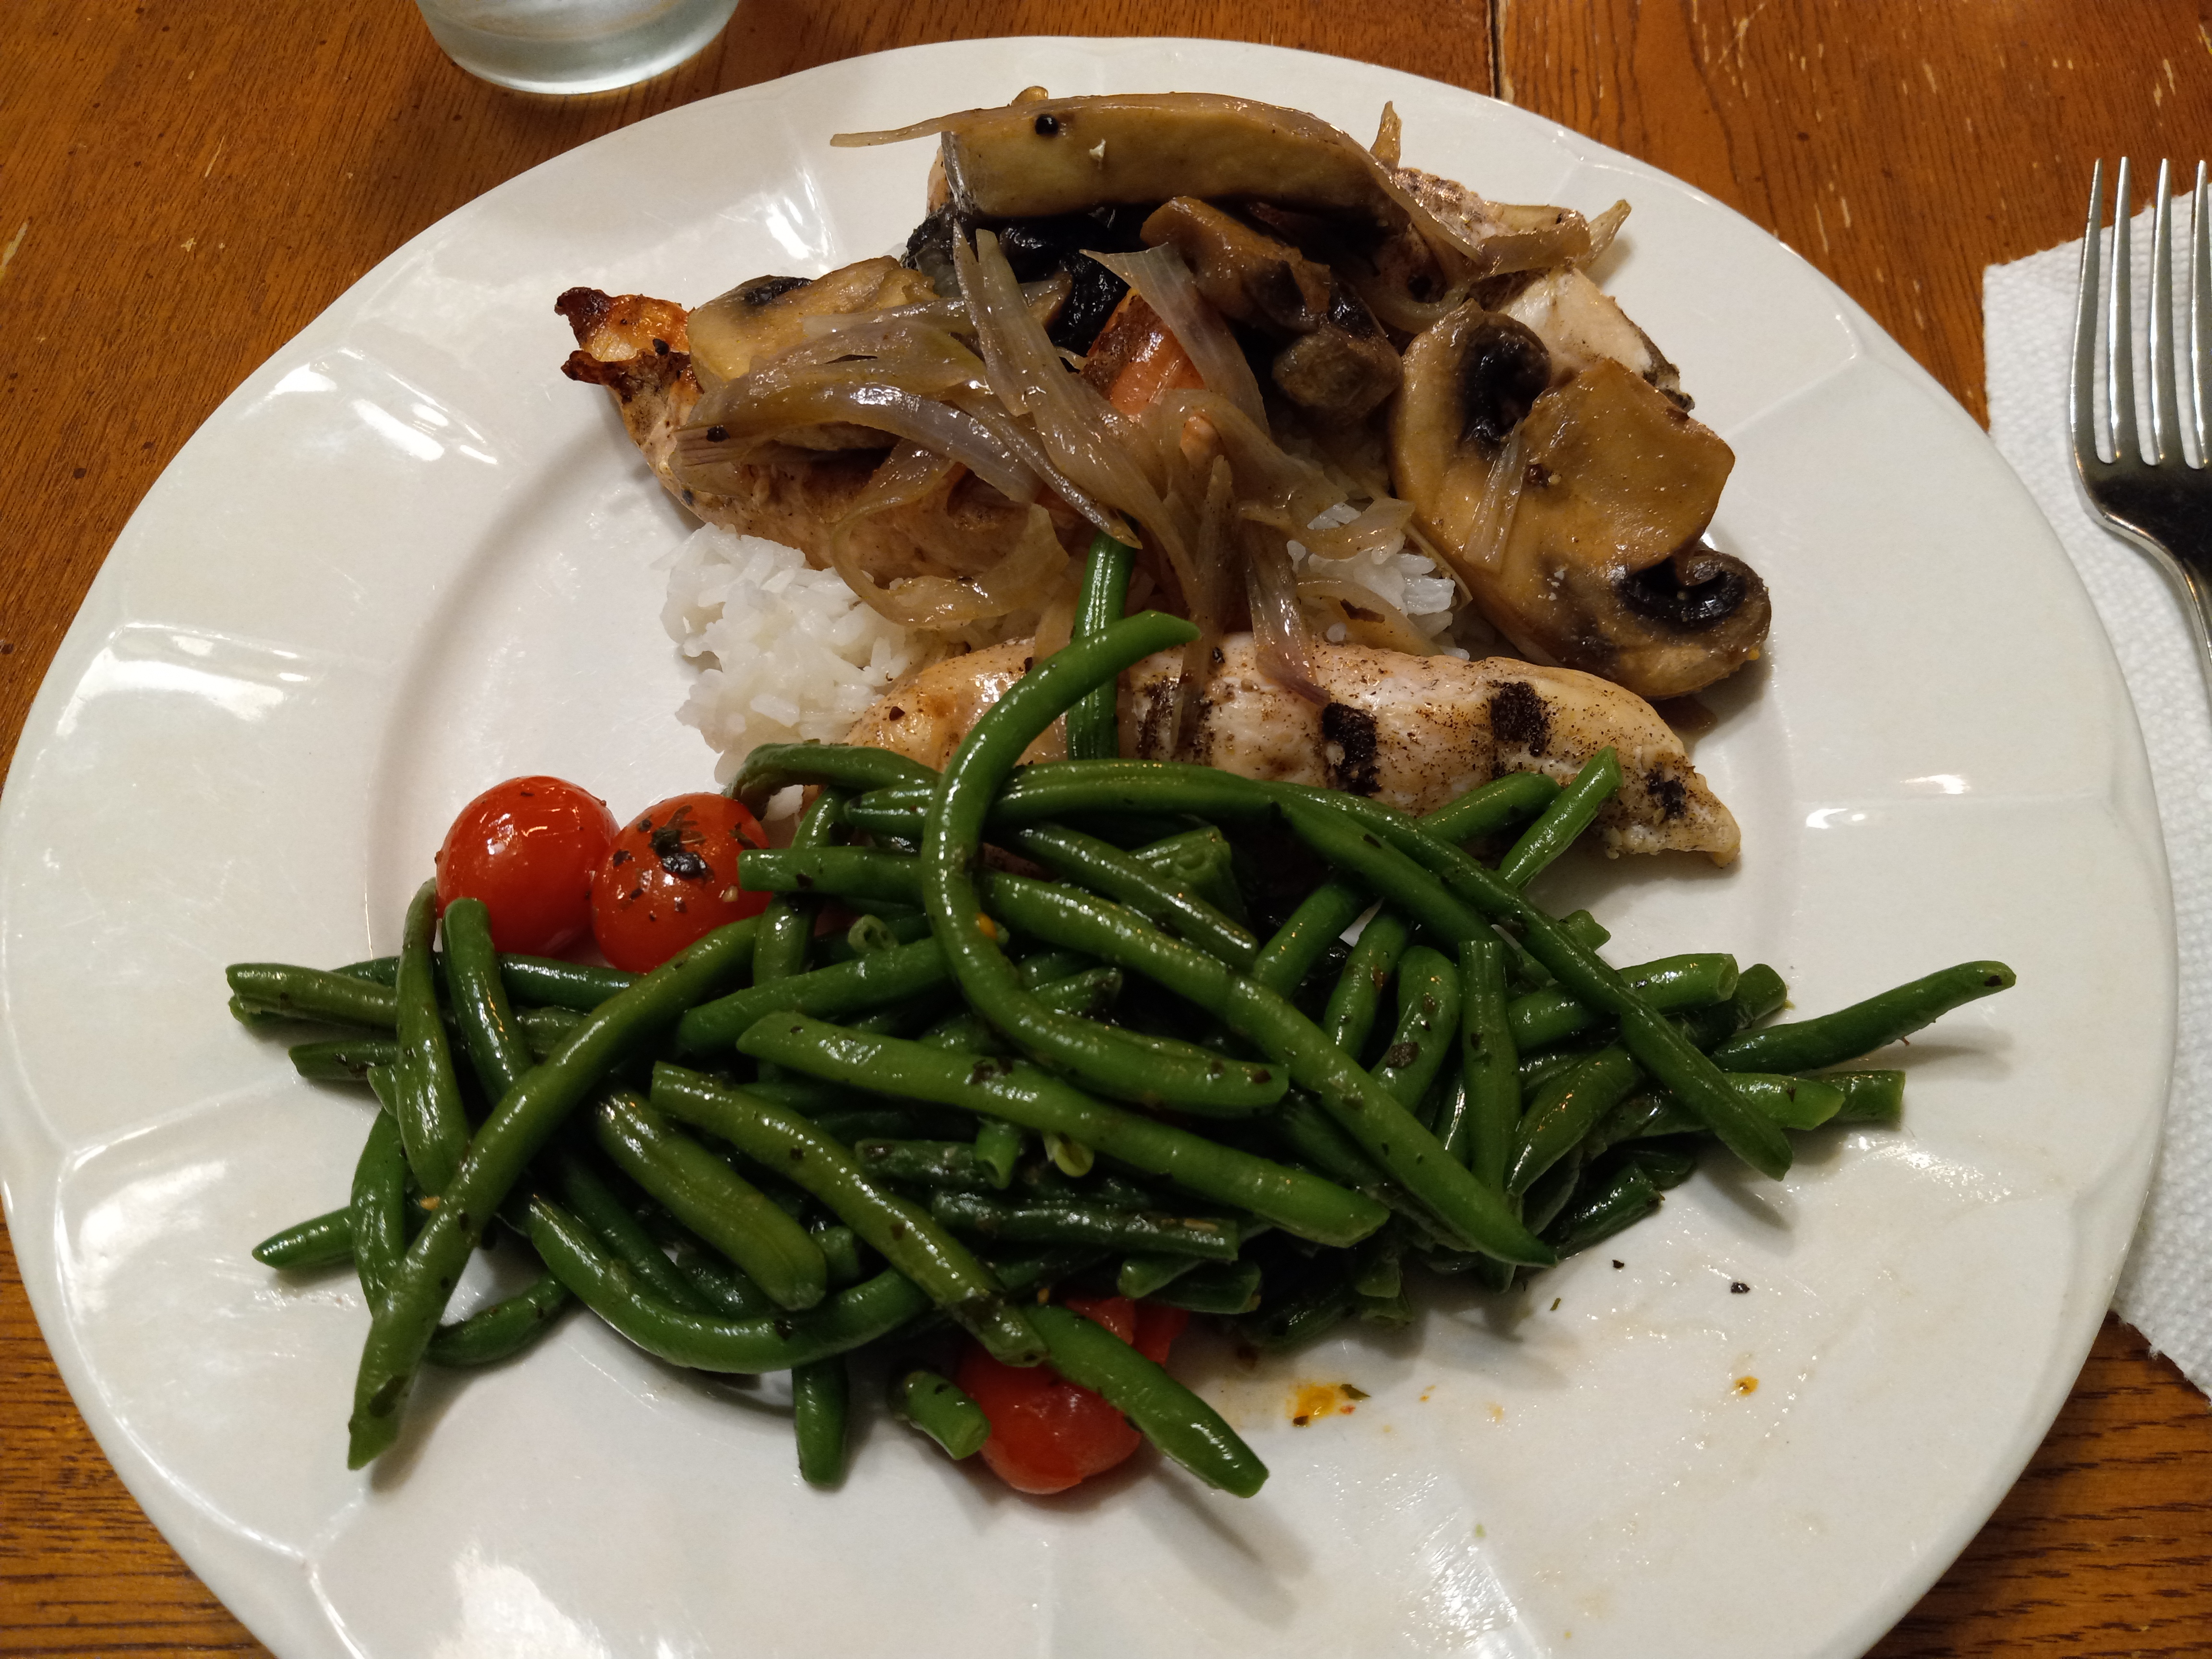
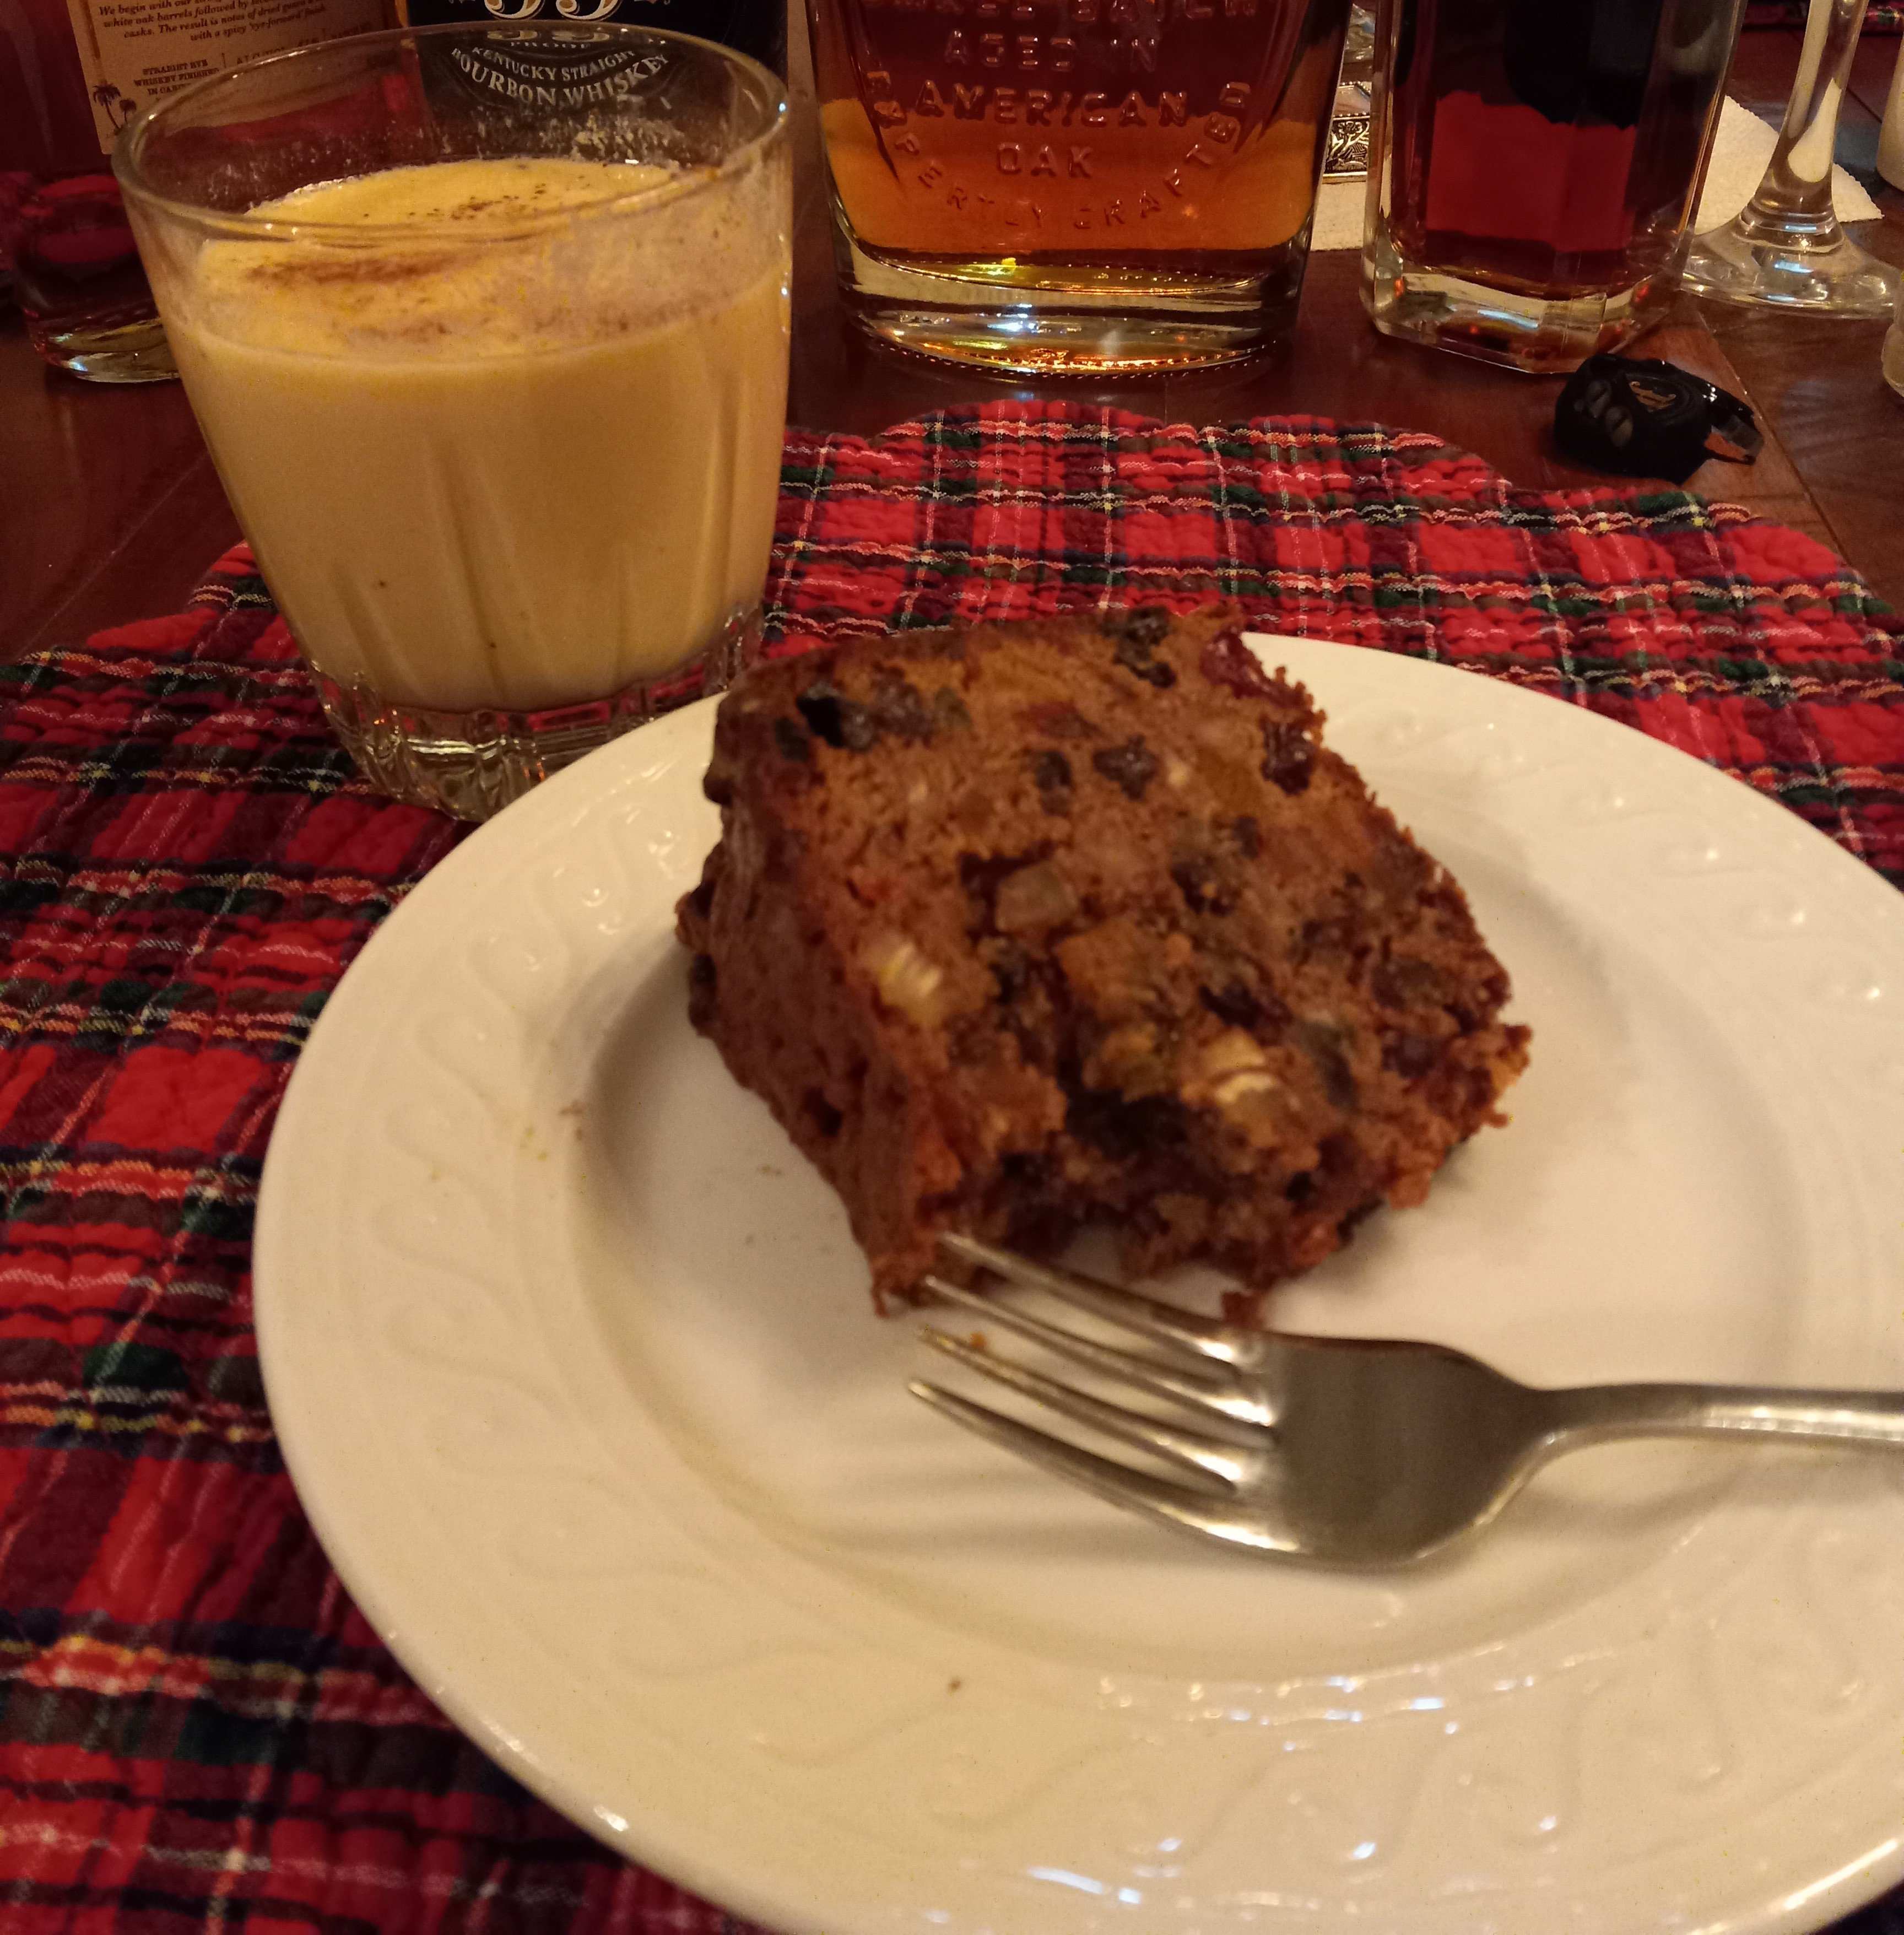
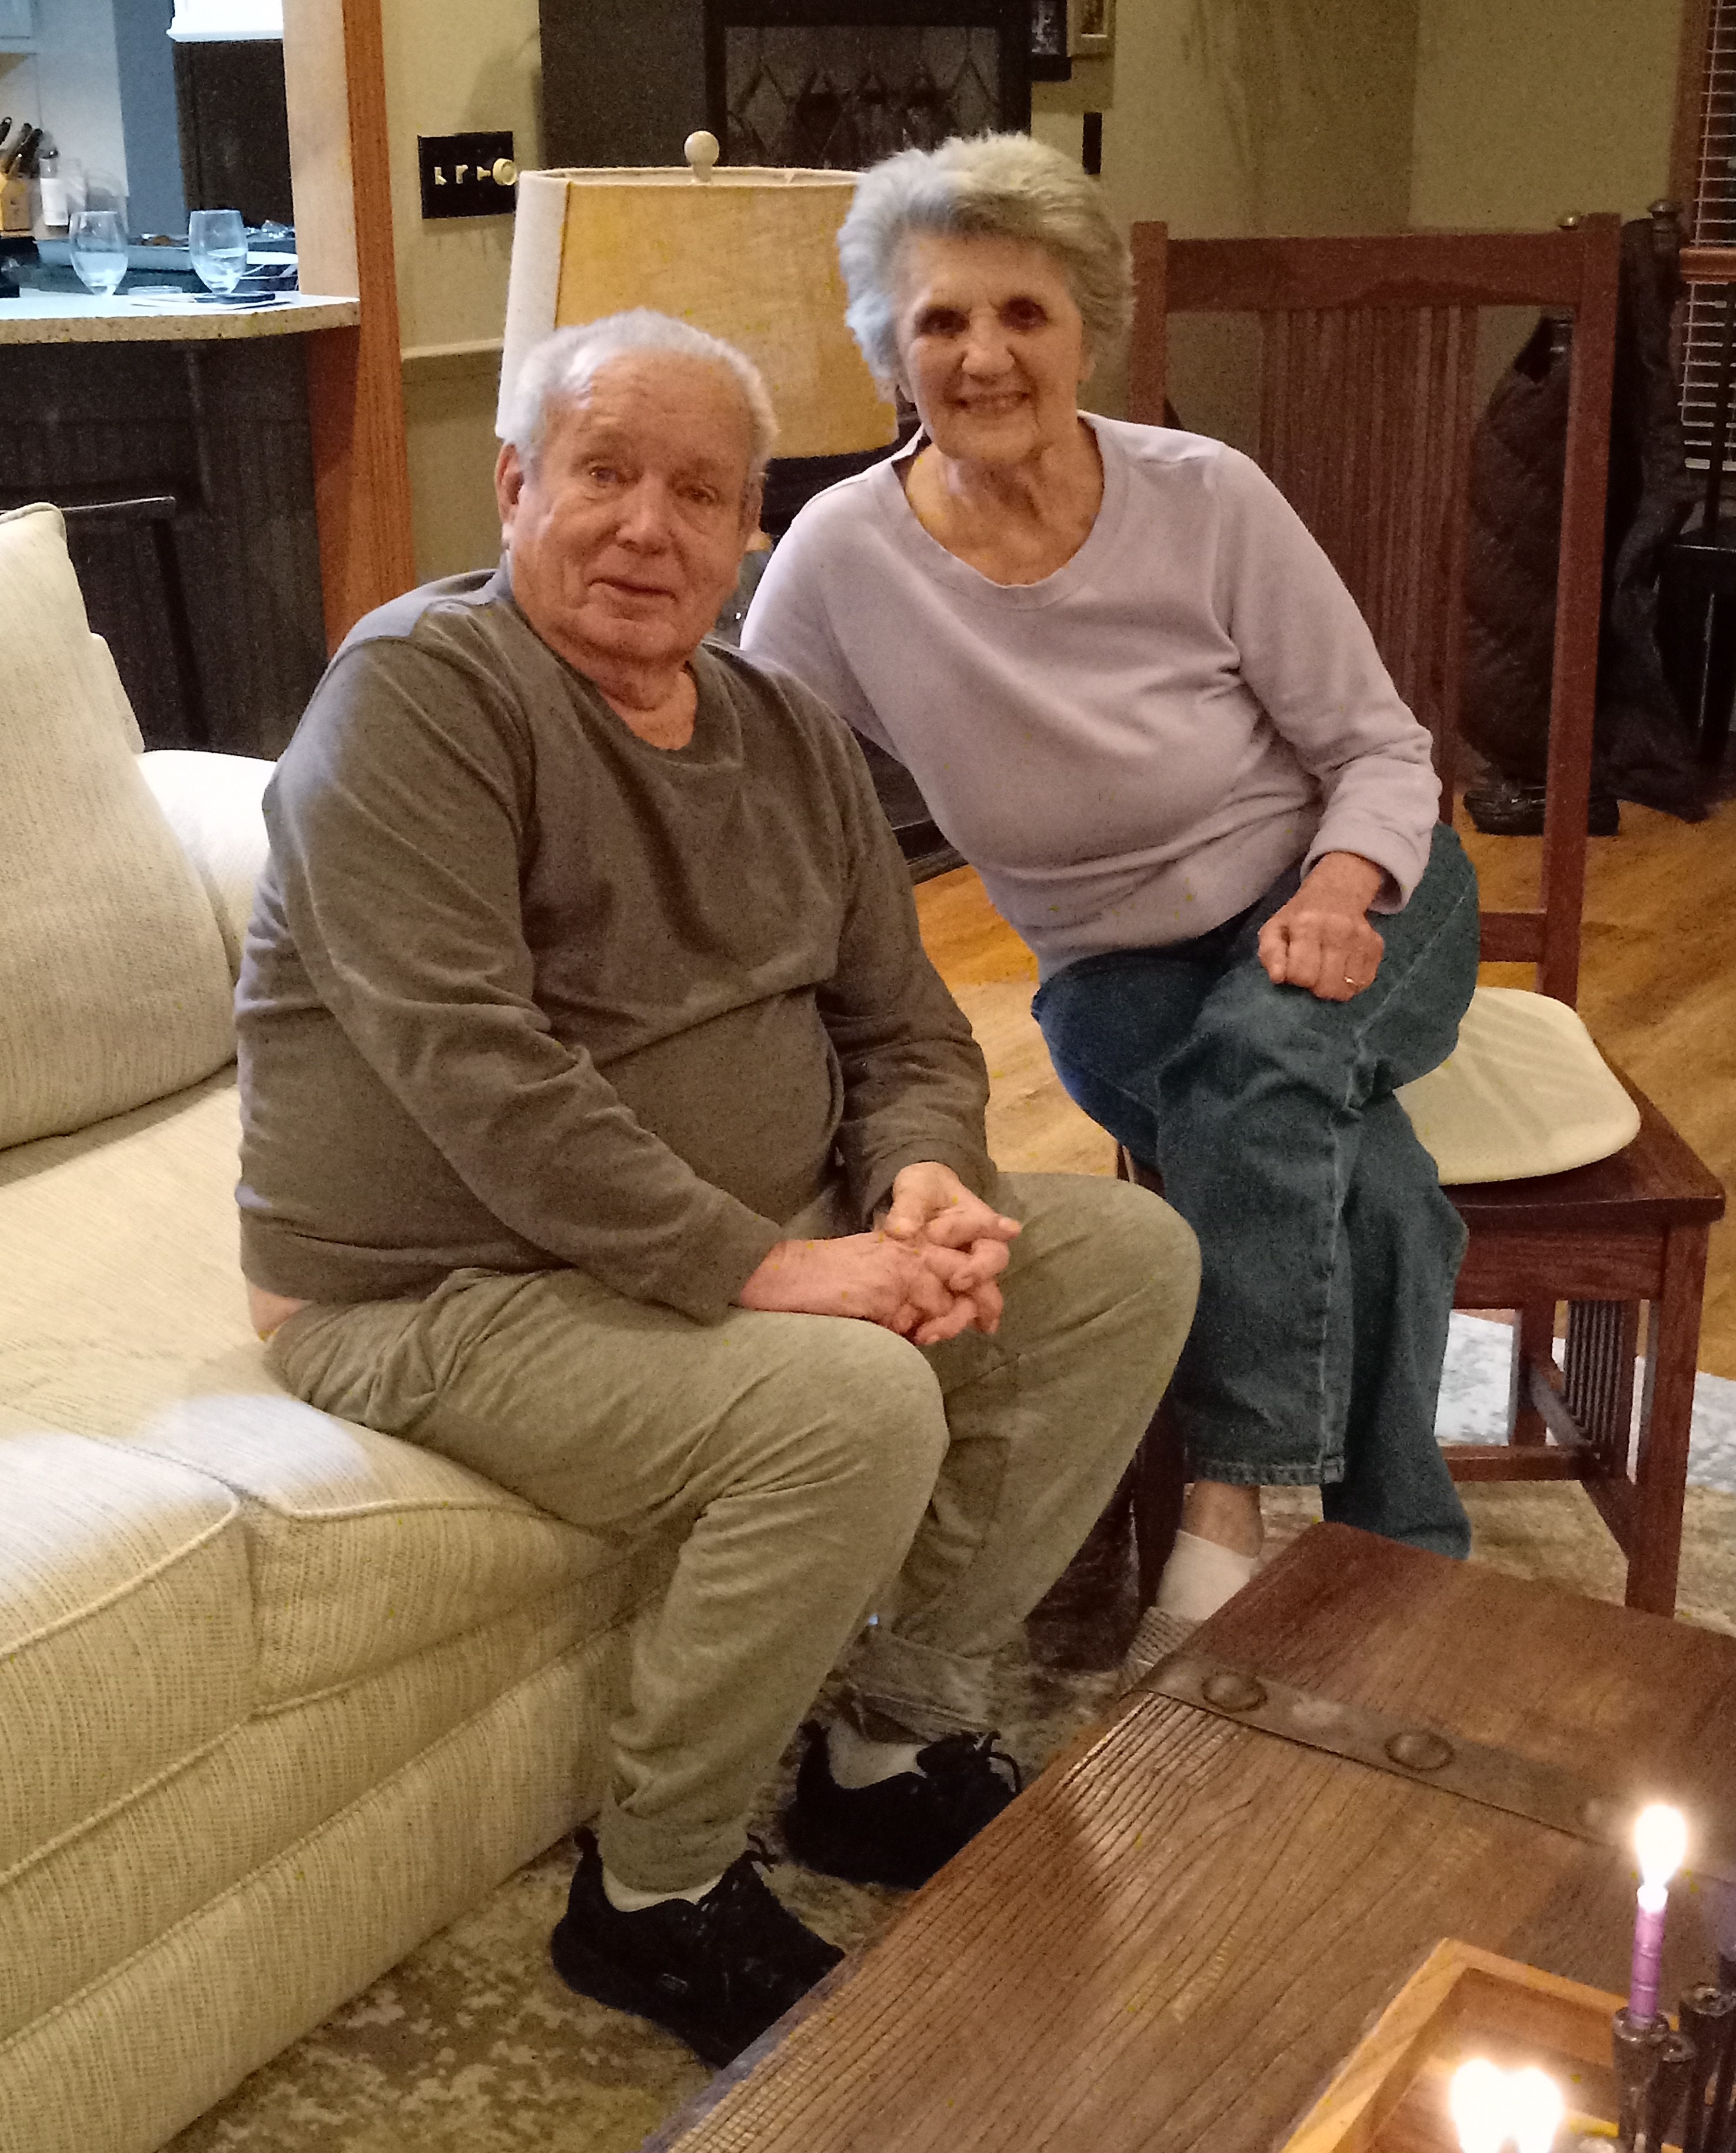
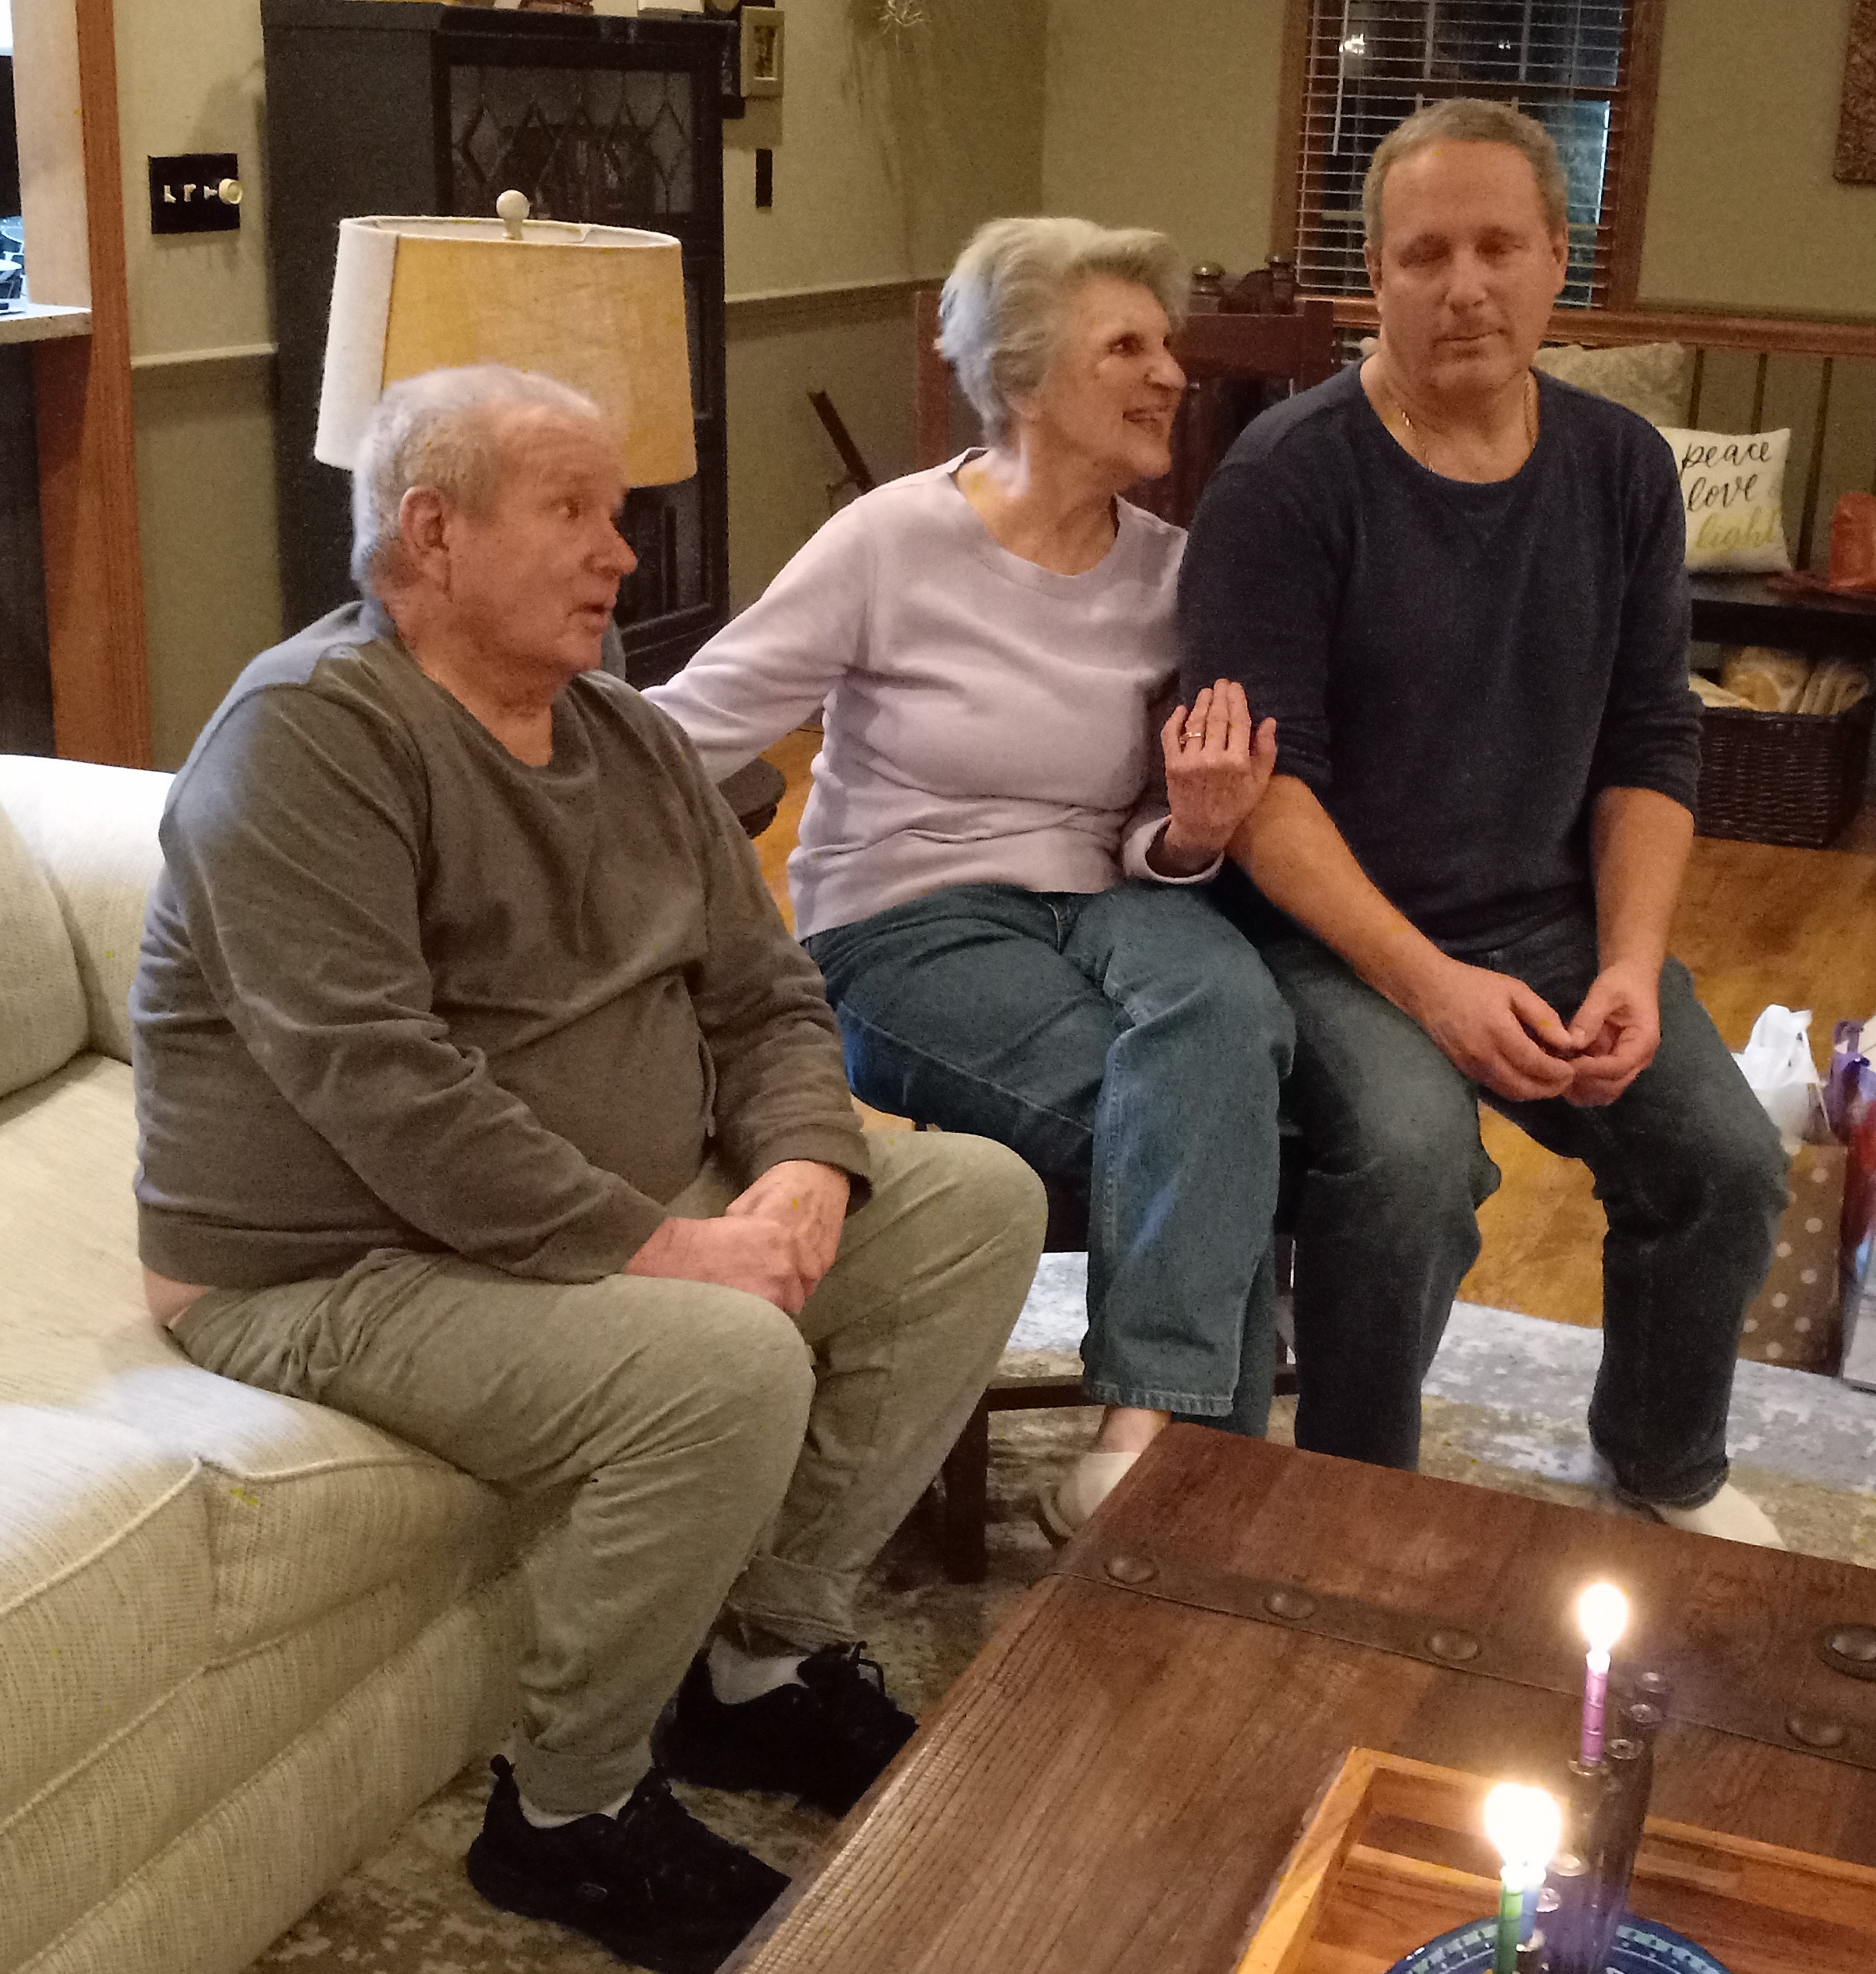
We also had the pleasure of extending our celebration an extra day when we dined with our dear friends, Doug and Jeanette Nelson, for Erev Shabbat. What a lovely evening that led to a most peaceful and restful day of attending services and coming home to relax.
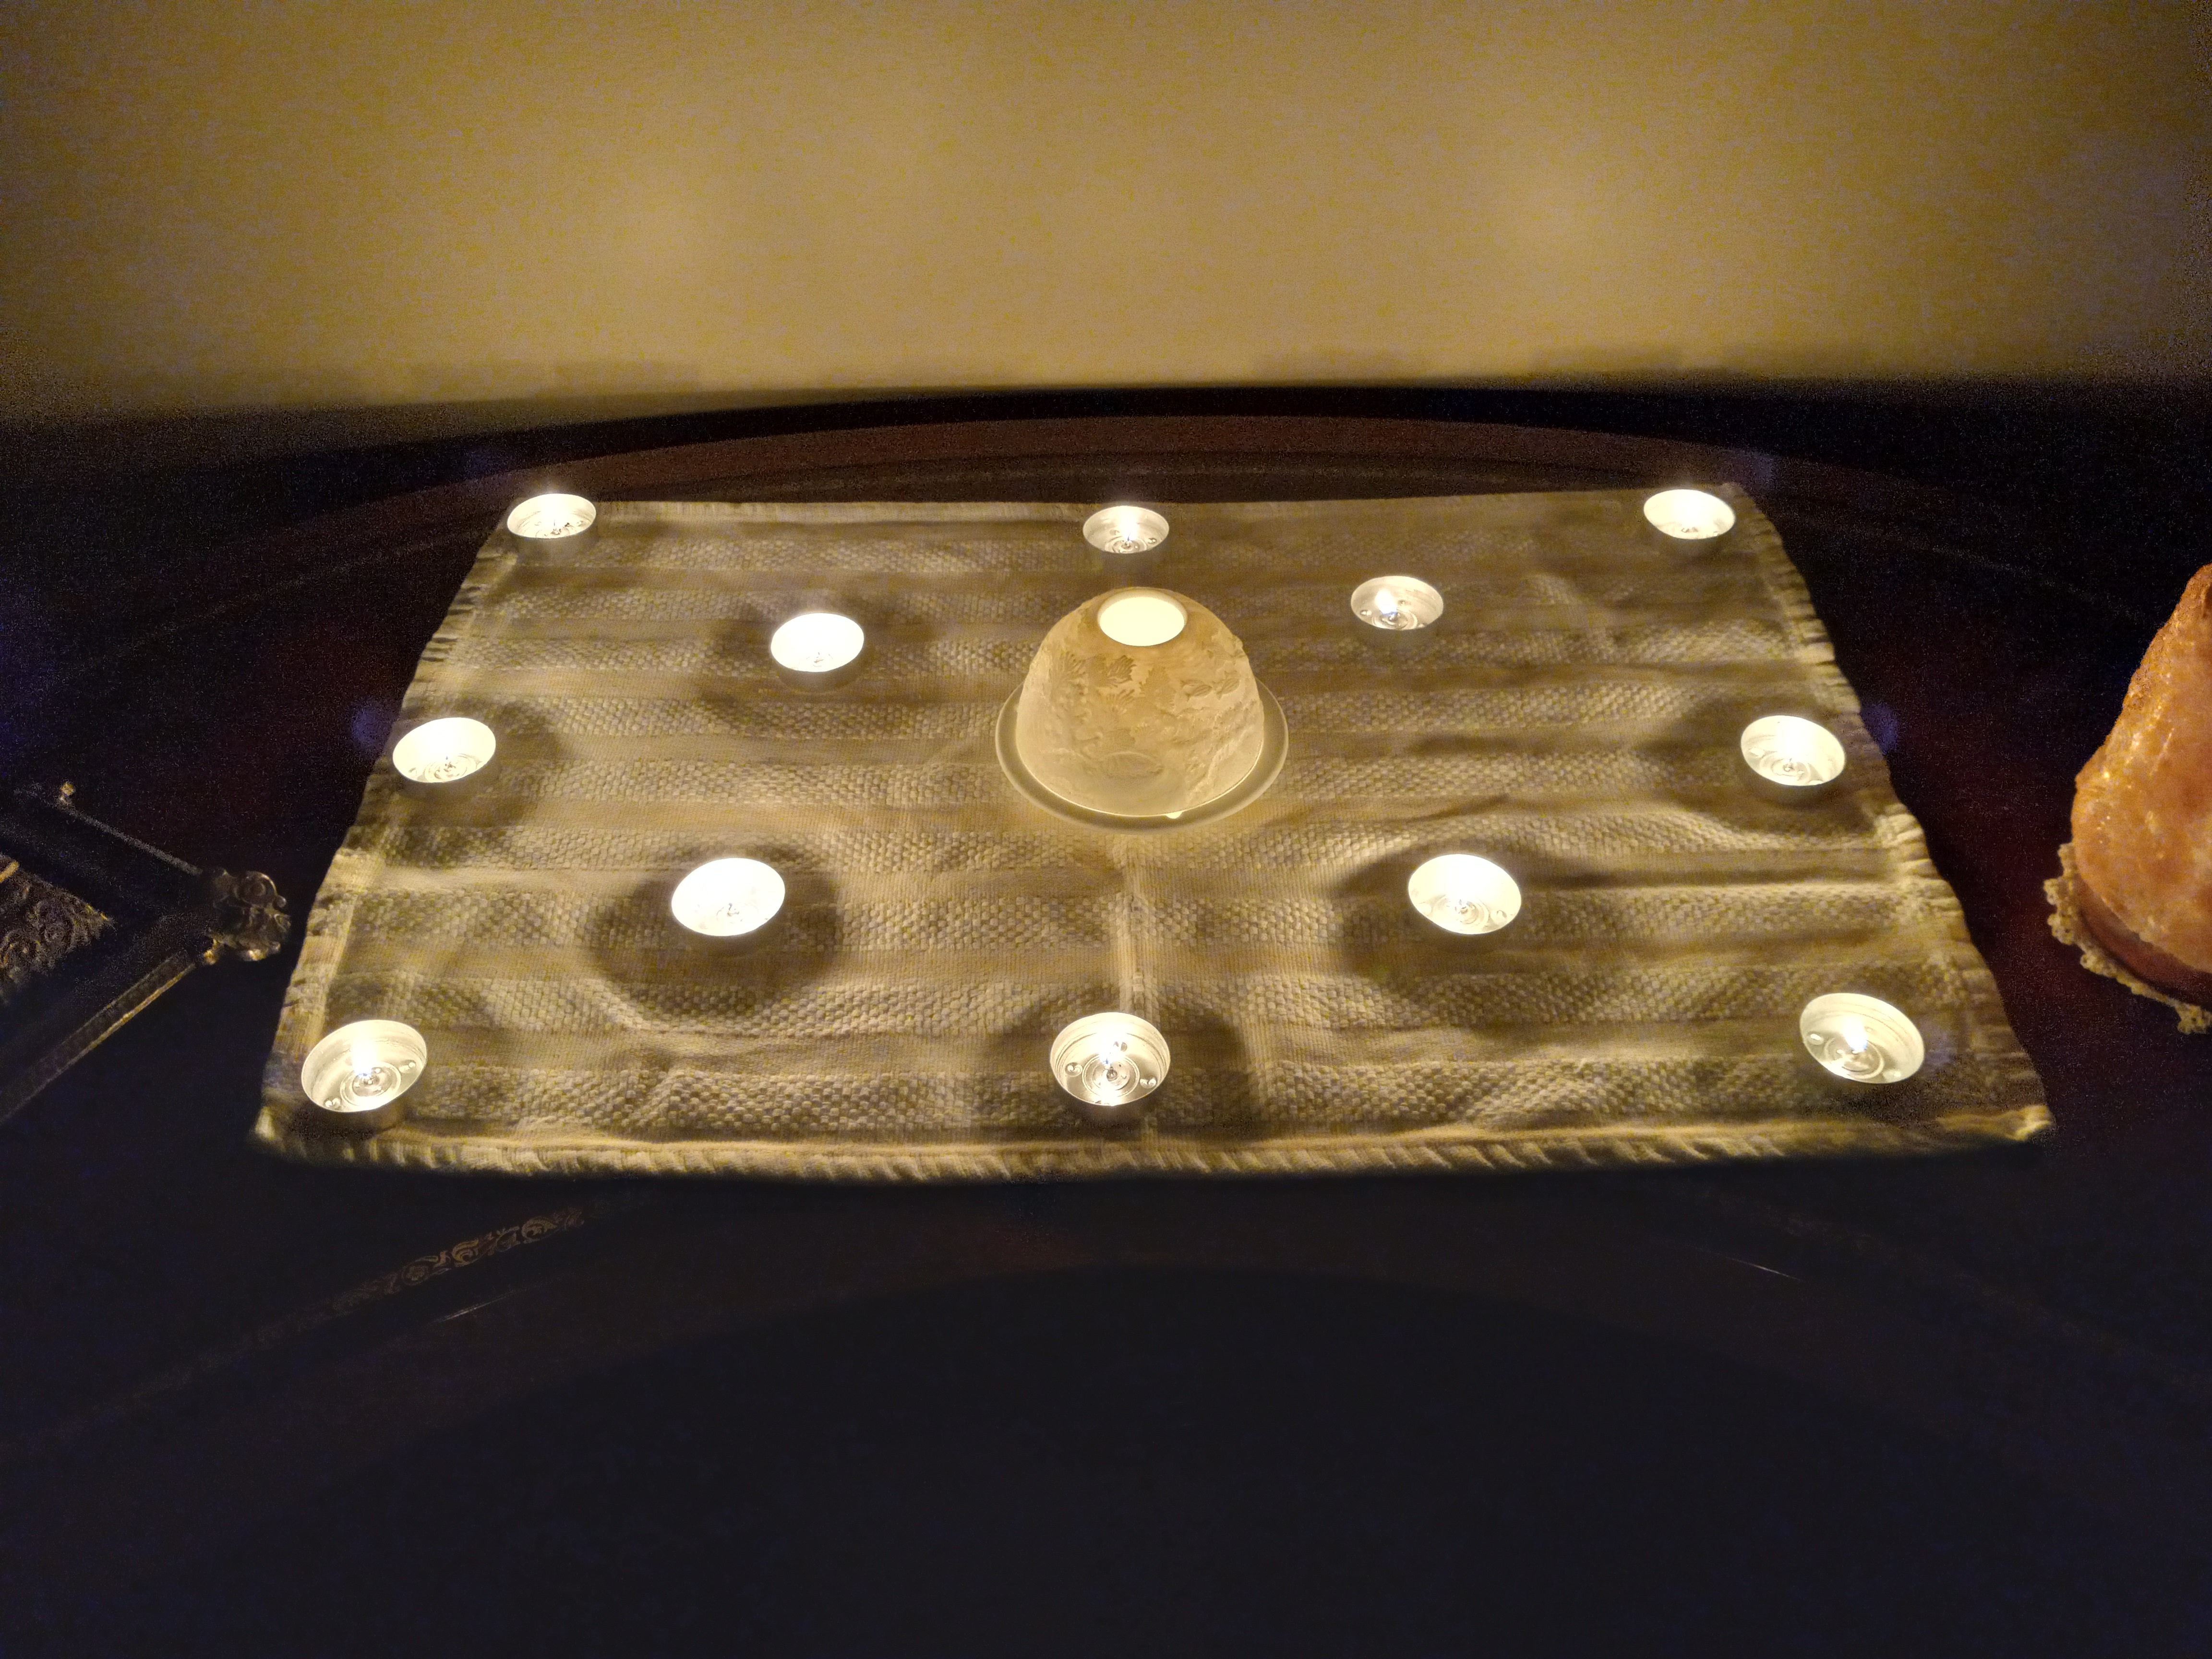
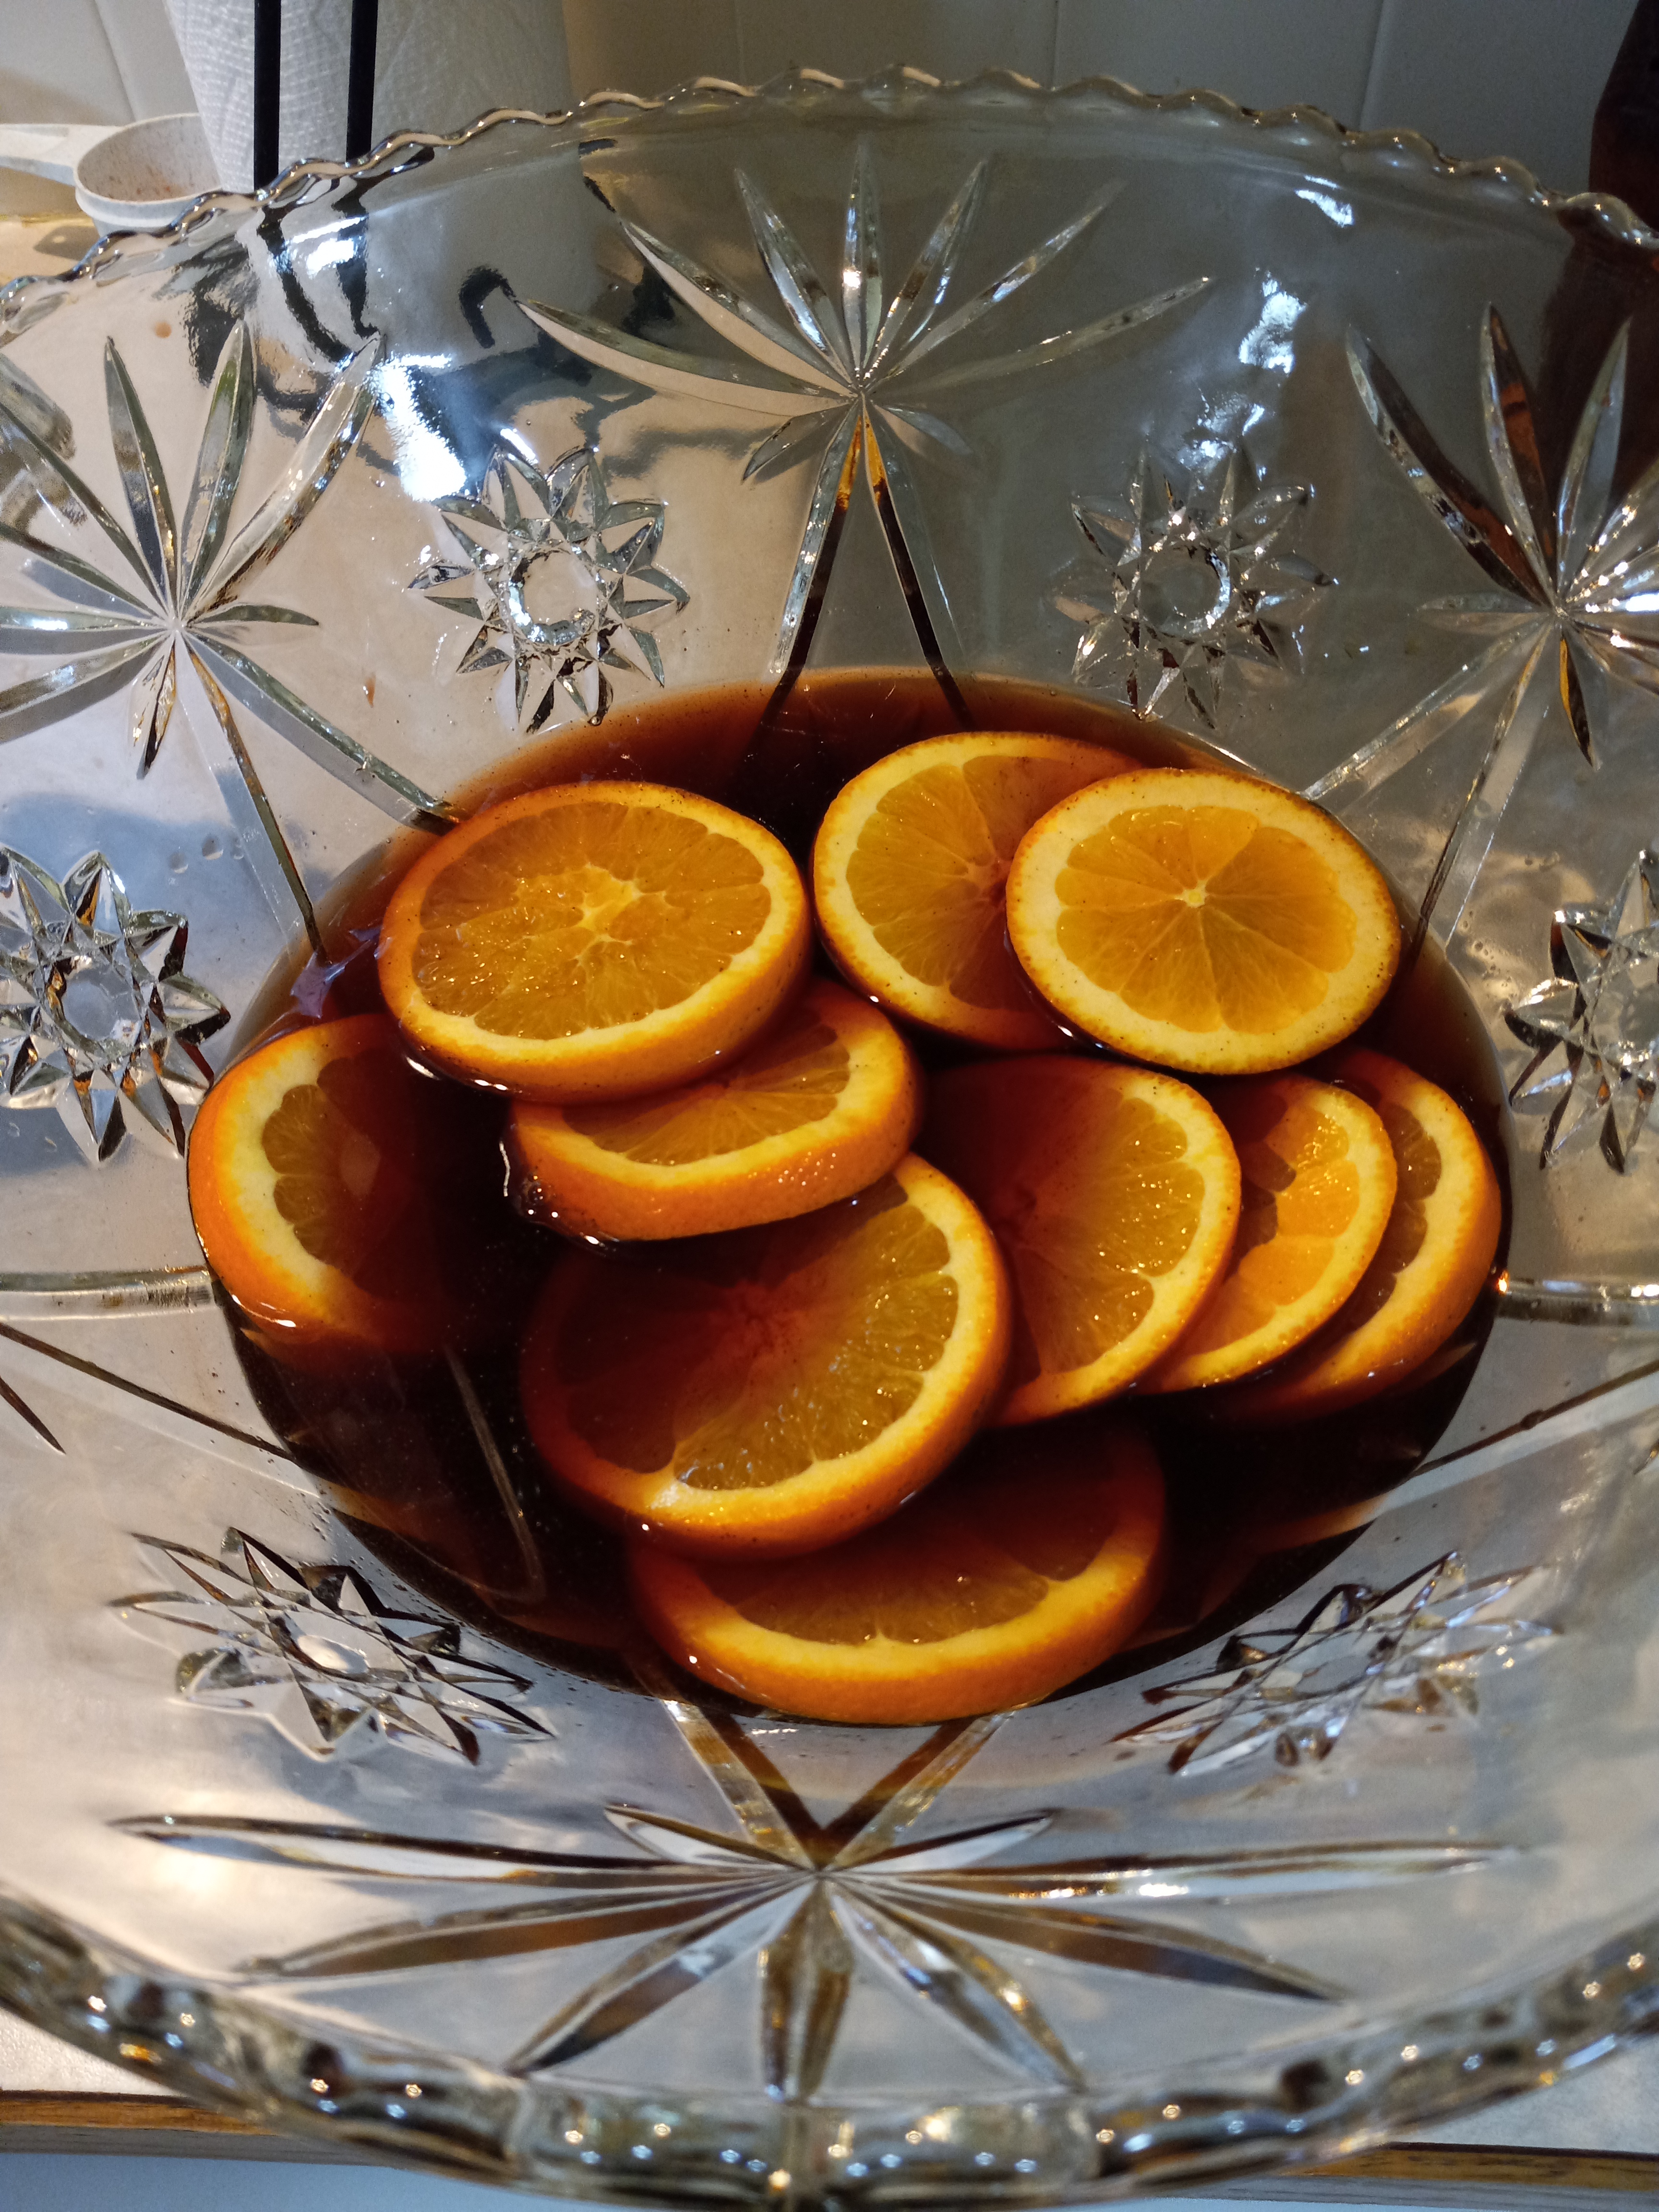
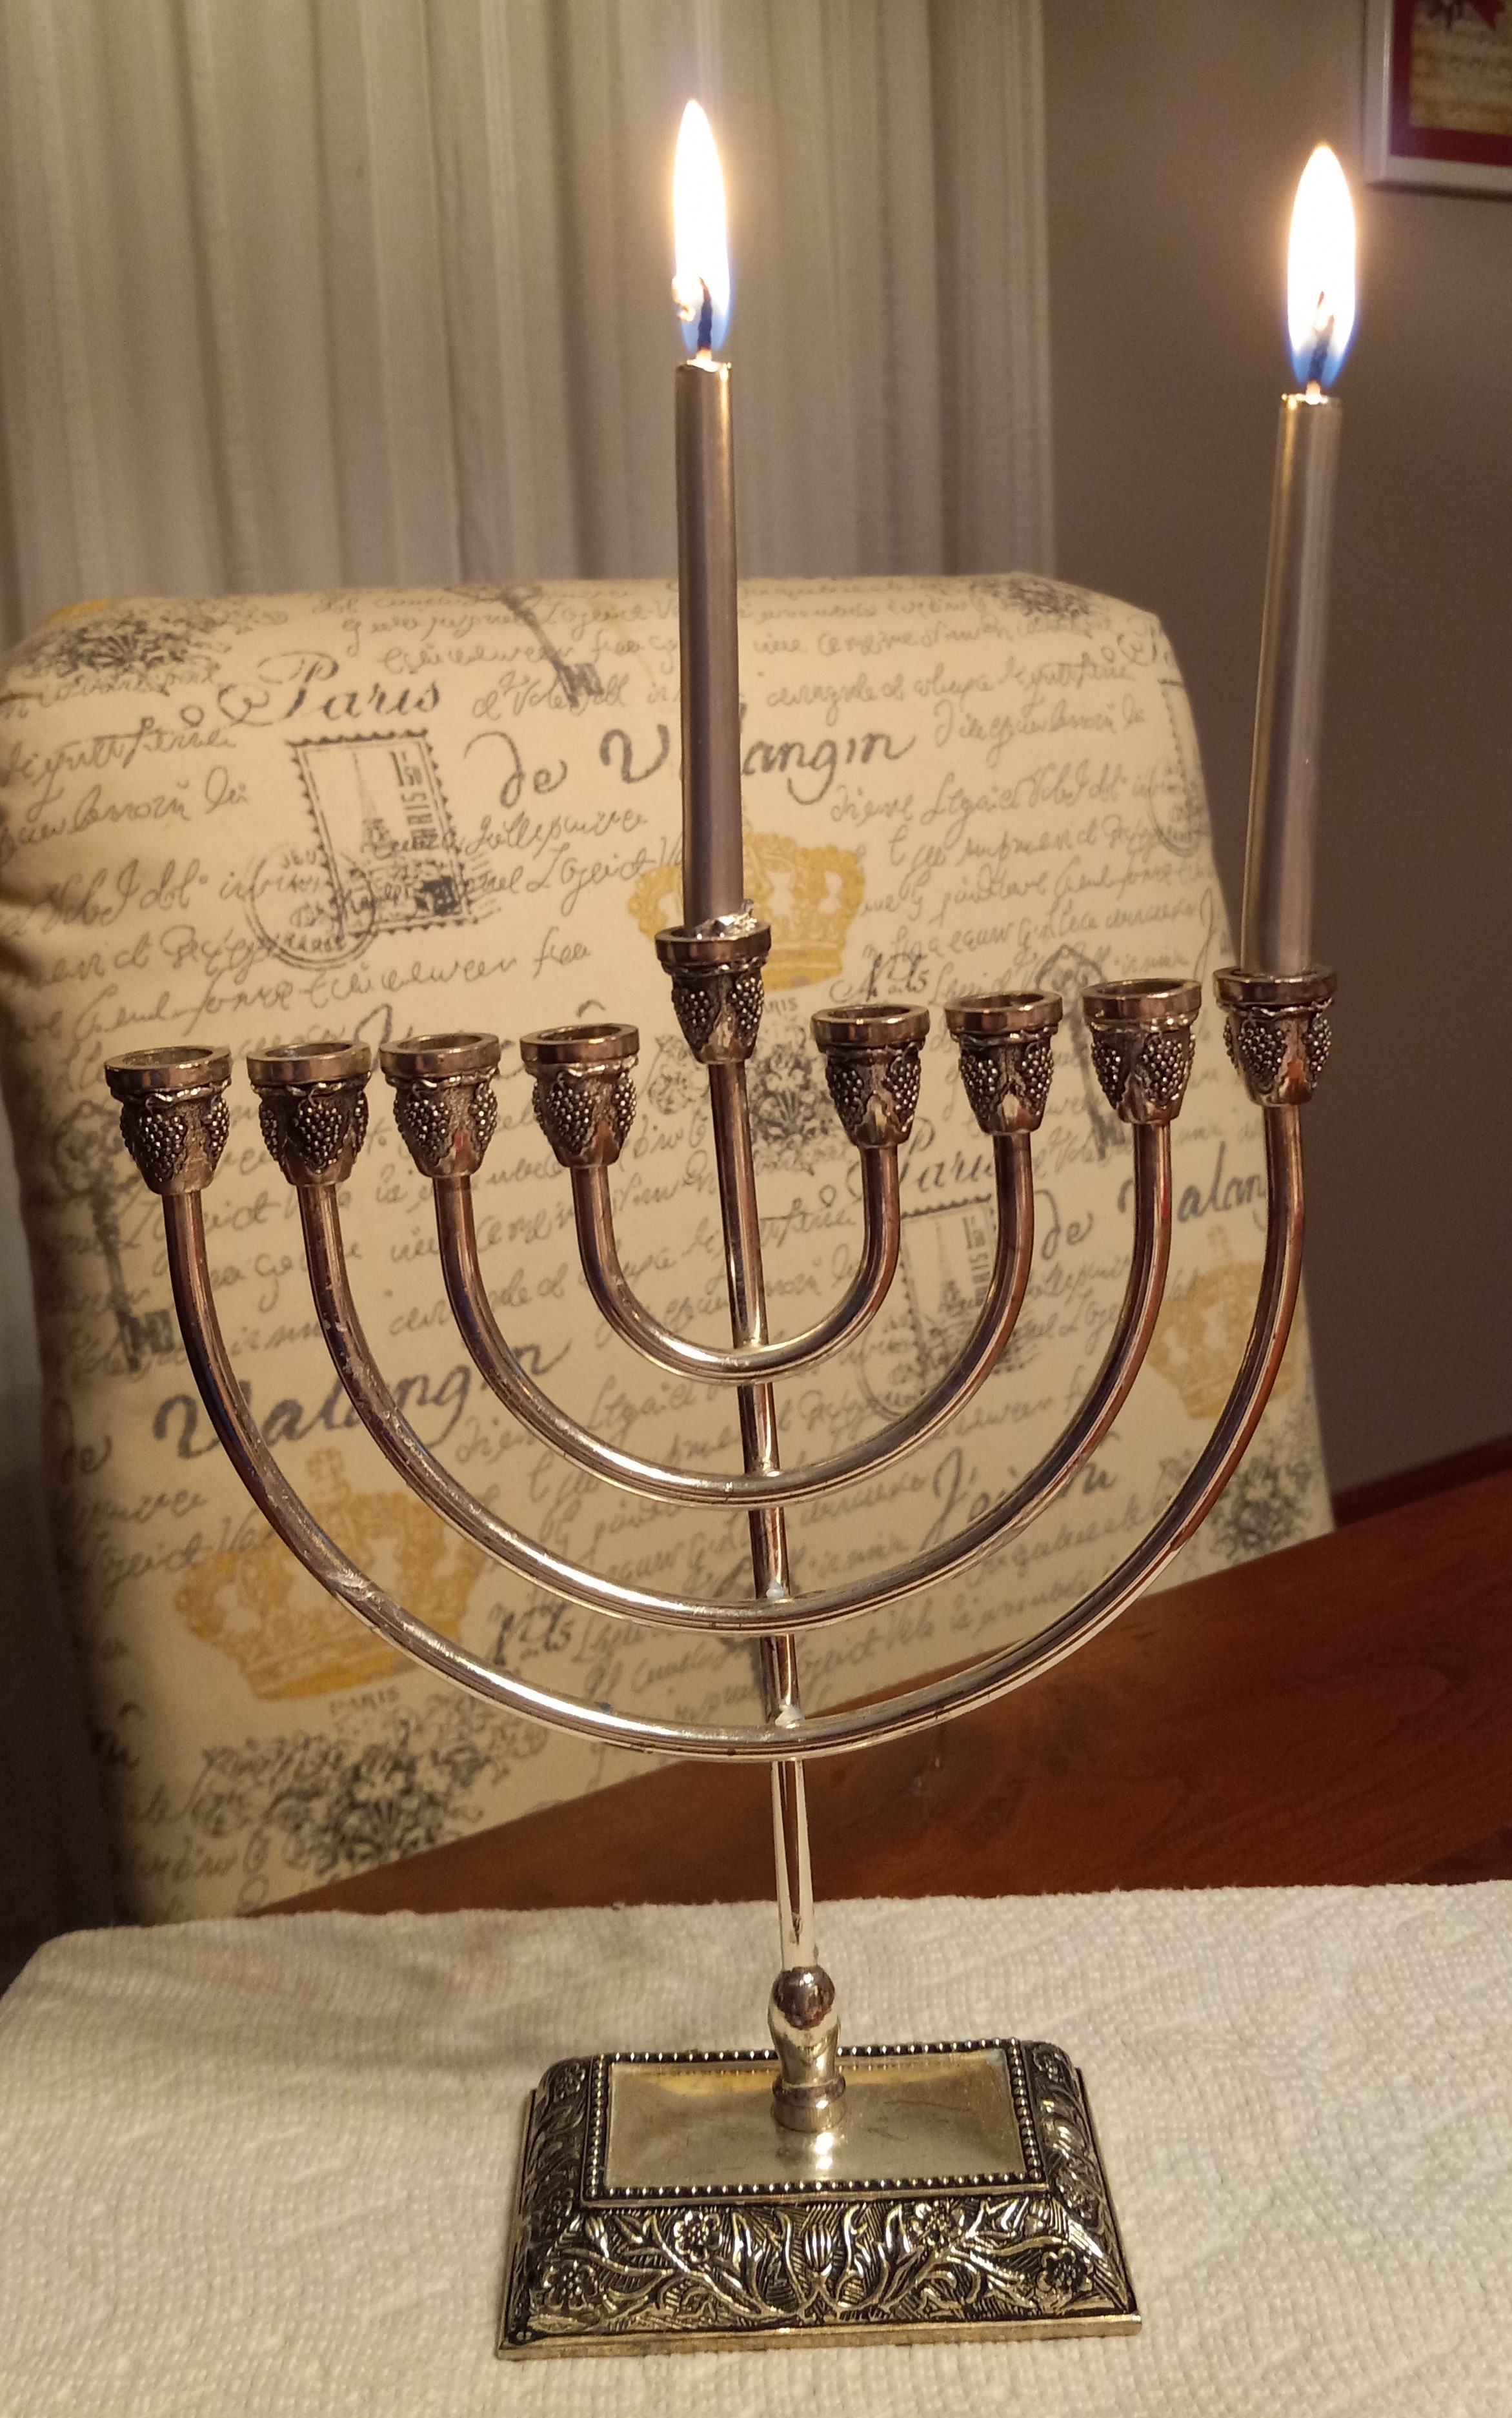
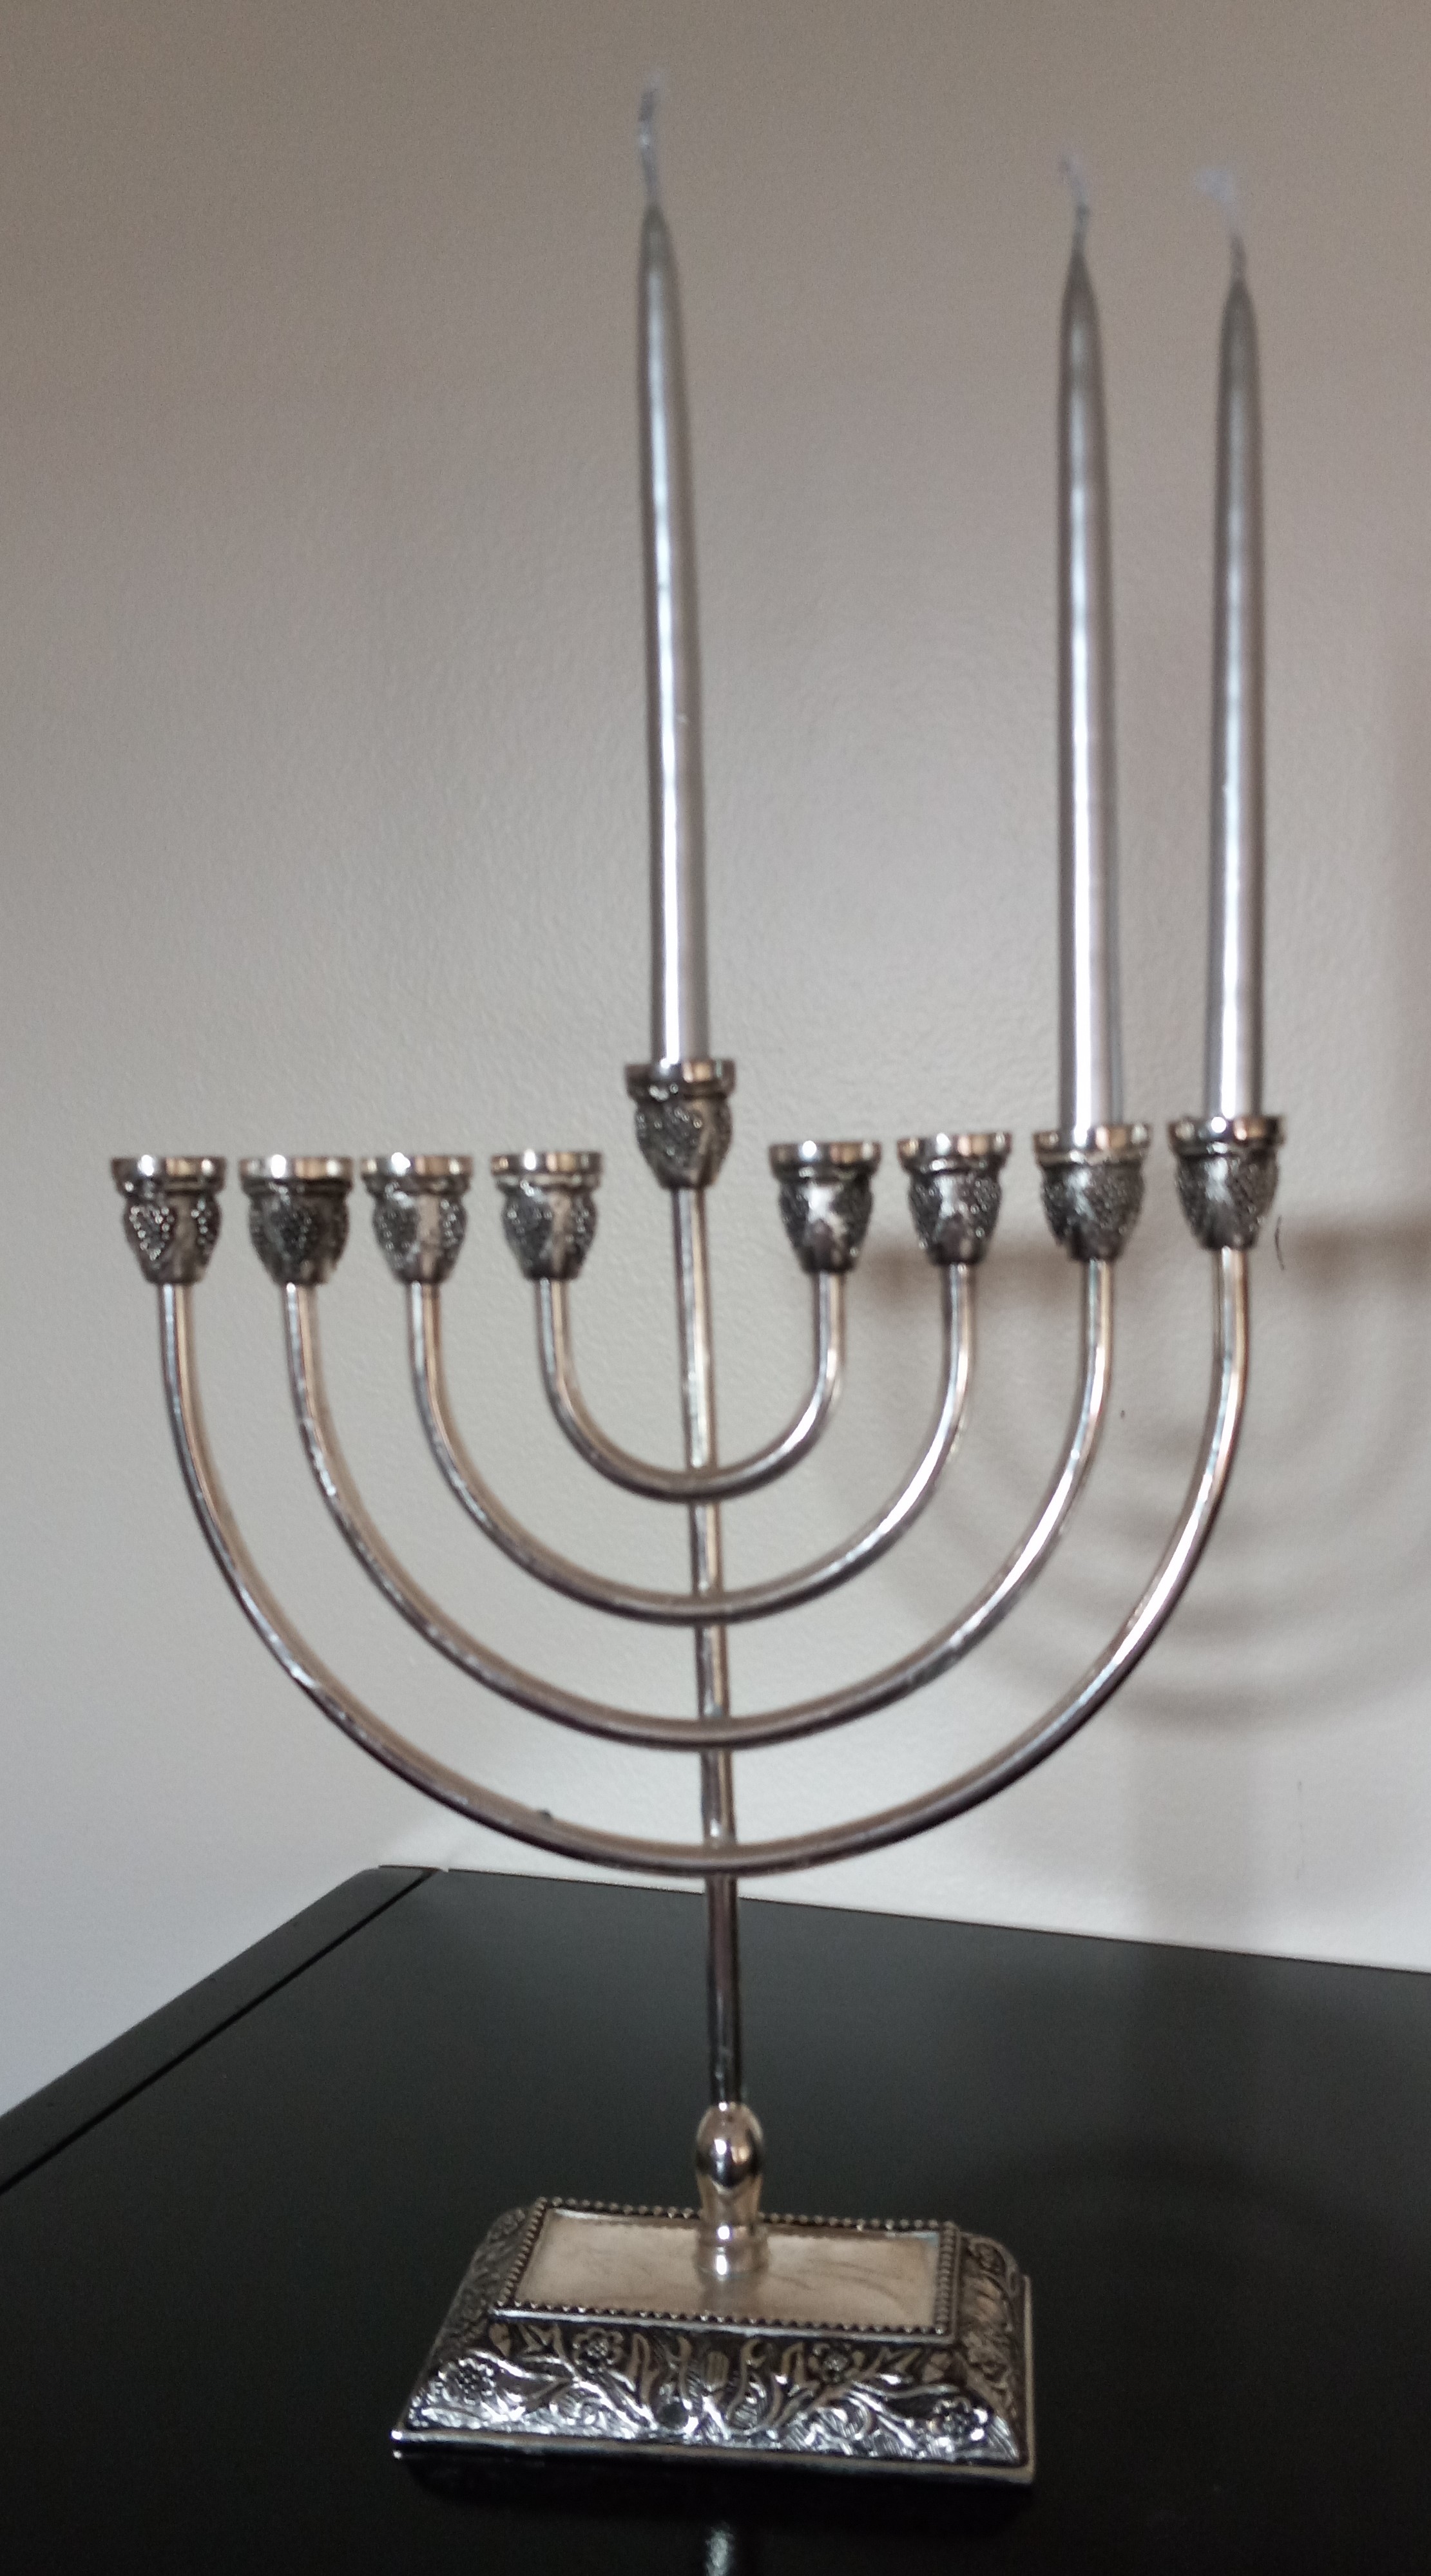
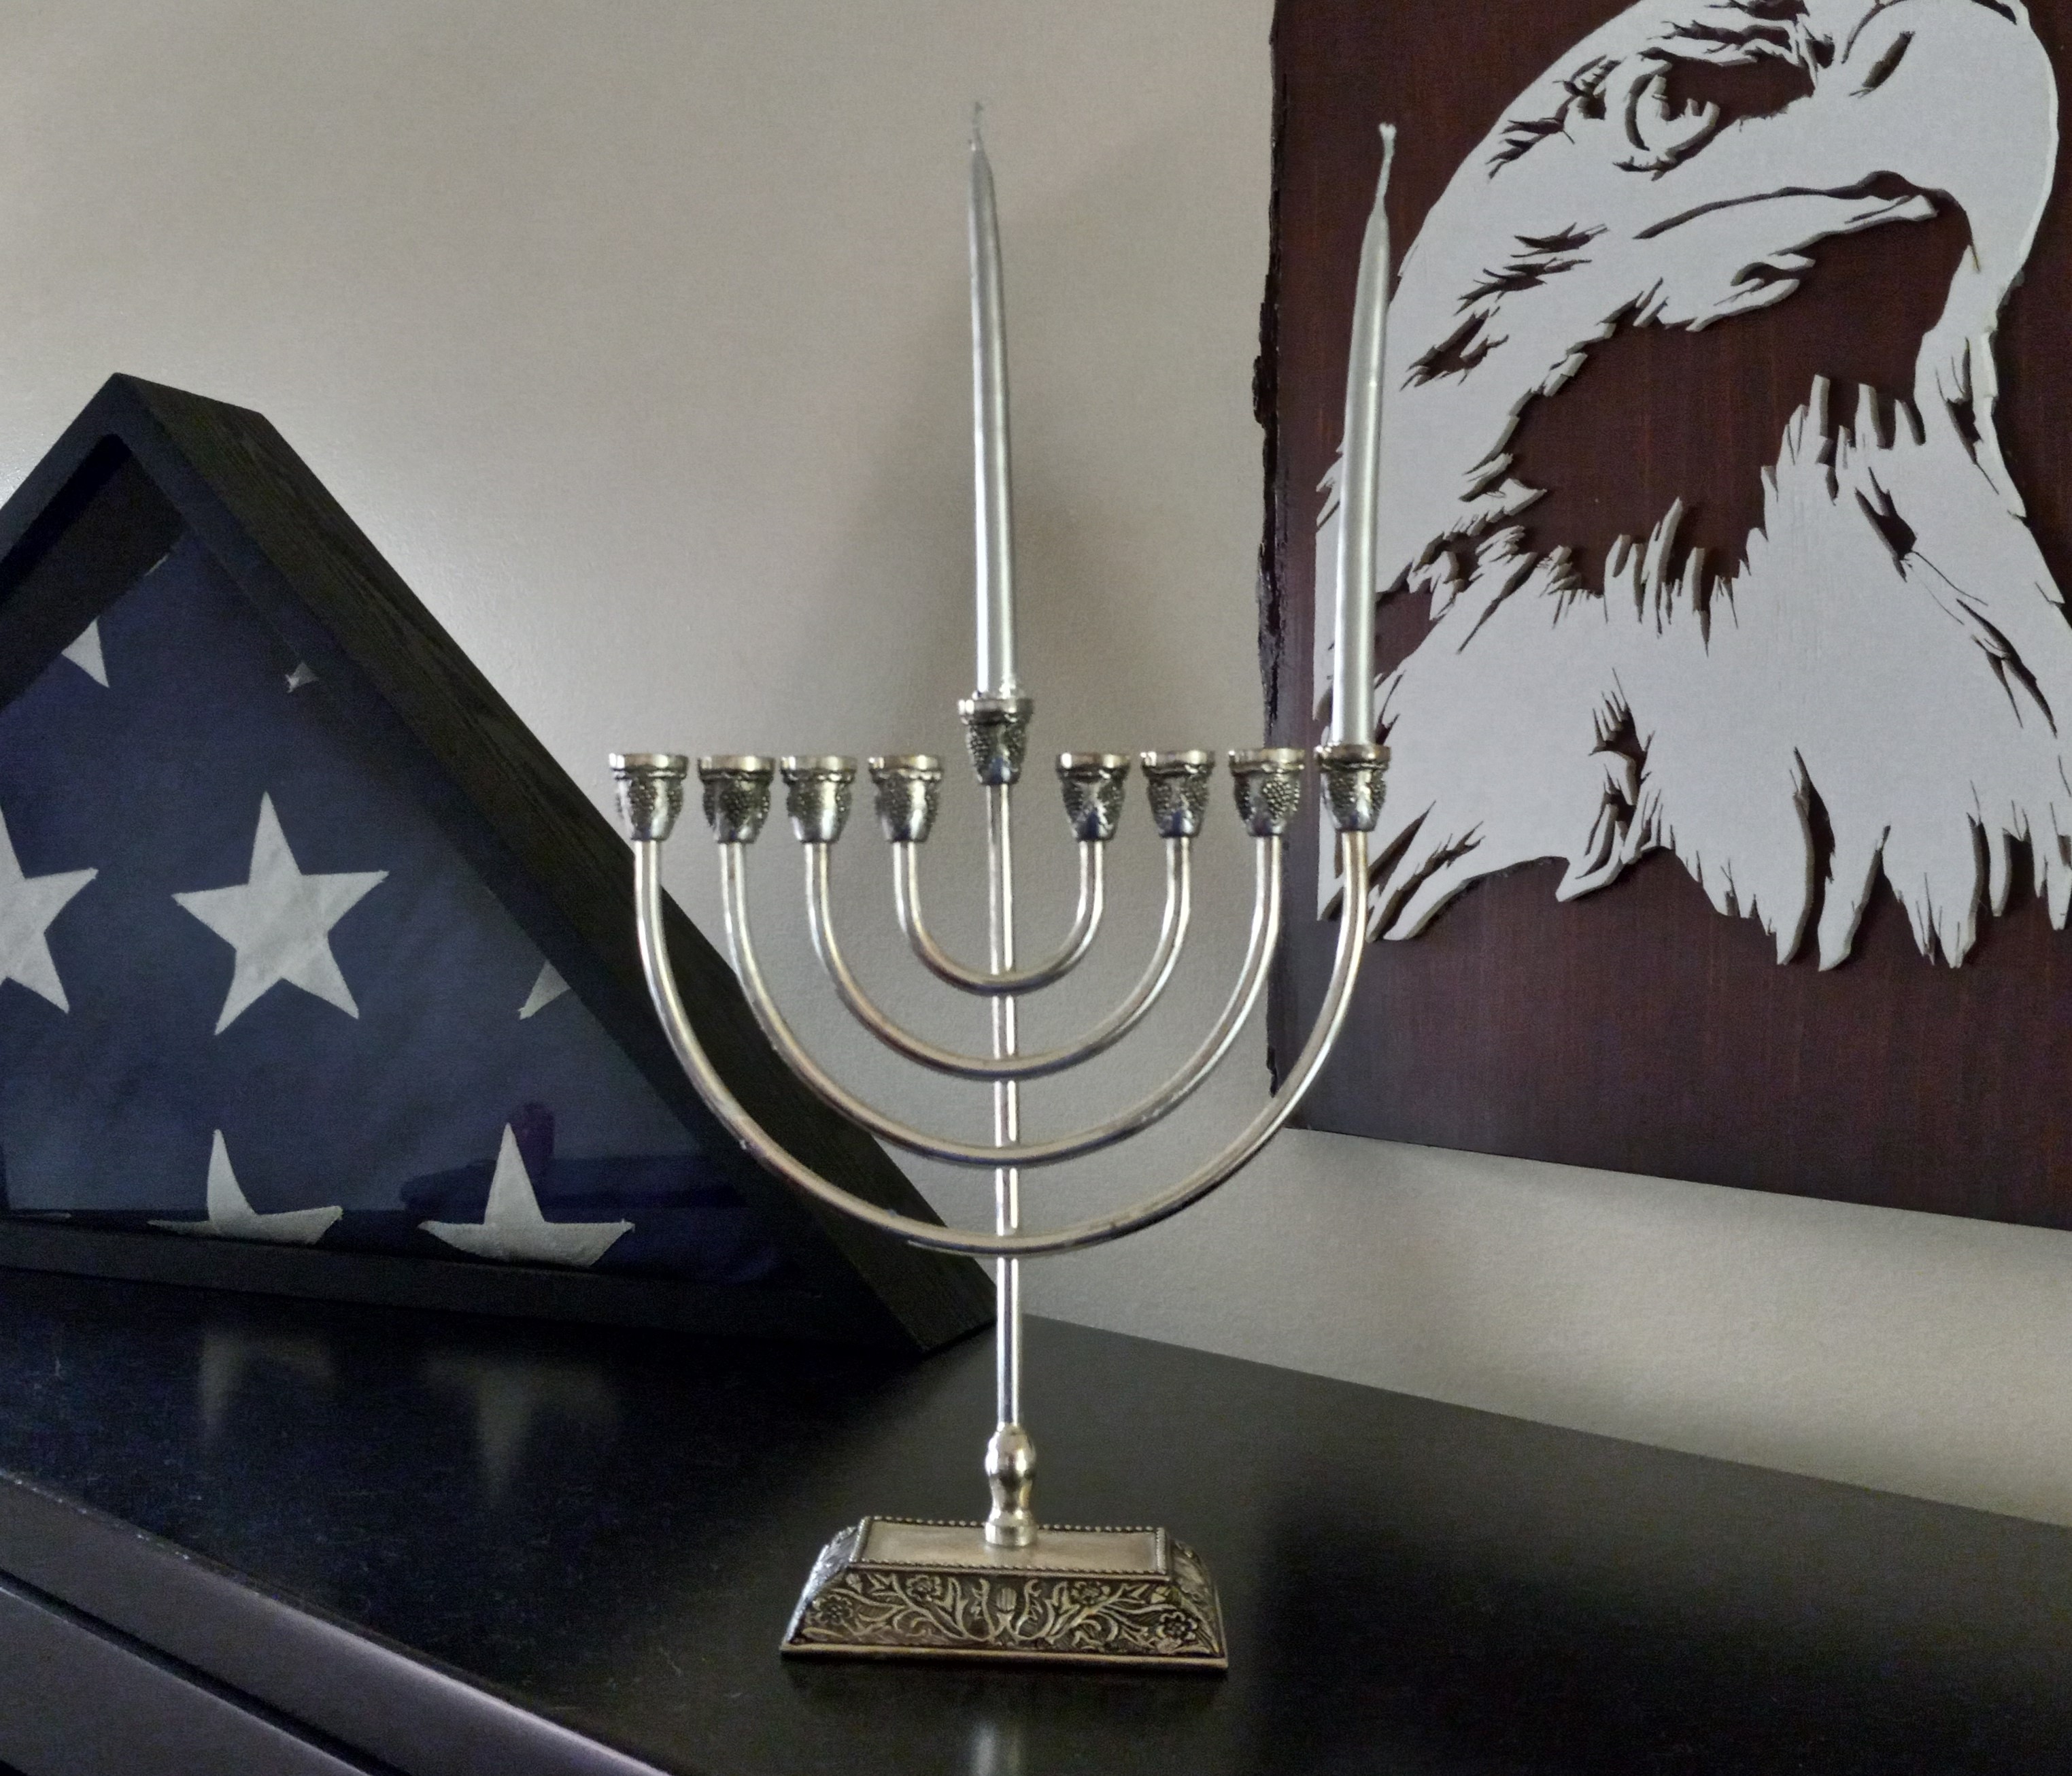
Naturally, Havdalah followed, and as I extinguished the candle in the poured-out wine, I thought to myself, “Okay, what’s next?” Surely, I need to be baking bread, mulling wine, or at the very least, making a grocery list! But no, everything had come to a glorious, satisfying conclusion.
My husband and son were out of the house, so I sat down at my laptop and whiled away the time creating an ‘80s playlist on YouTube. It may sound like a terrible waste of time, but I love the memories that are attached to my favorite songs, and I dredged more than a few that night. Besides, music is the backdrop of my life for just about everything I do.
The next morning is when it really hit me that I was free to resume daily life. Allow me to rewind a bit at this point to say that I set aside my writing during Hanukkah because trying to maintain both would be impossible, and I was devoted to making Hanukkah great this year. We really needed the light and still do!
Permit me to go back even further to say that depending on when Hanukkah begins, my mother and I begin planning elaborate celebration about two to three weeks prior that require lots of shopping and preparation. Not that we mind because what follows is terrific, but I mention this because now that it’s over, I need to find a way to slip back into my good habits of writing.
I’ll start slowly with something easy like the “Thank You” notes I need to write. The little notes may not seem like much, but it’s important to express gratitude at every opportunity. I love to ponder mine for a moment to make sure I’m conveying my deep appreciation in the small space provided, using the very best words this writer can conjure to do so.
Then I dig deeper and write a blog post such as this one. It’s a great way to organize my thoughts into intelligent, interesting comments that I hope my followers will enjoy reading. There’s a story here but also tips for my writing friends on my method of jumpstarting the creative juices, tapping into my writing muse, etc.
As mentioned, music is an important part of my life but very much so when applied to my writing. Classical music wakes my brain and provides a general soundtrack, so to speak, until I reach the point where I’m ready to dig into my current WIP.
A specific inspirational playlist must be cued, preferably a long one, as I pull up the last two or three chapters of my WIP and the document titled Next Chapter Notes. I start by re-reading what I wrote, never assuming I remembered everything perfectly, and then I edit a titch and/or double check my notes to make sure I included everything in the past chapters before I set my face forward, open a black document, and place my fingers over the laptop keyboard.
Sometimes more notes come out, which will be transferred to the main note-keeping document, and sometimes the actual writing flows, whether as dialog or prose is anyone’s guess. In either case, I’ve successfully resumed writing.
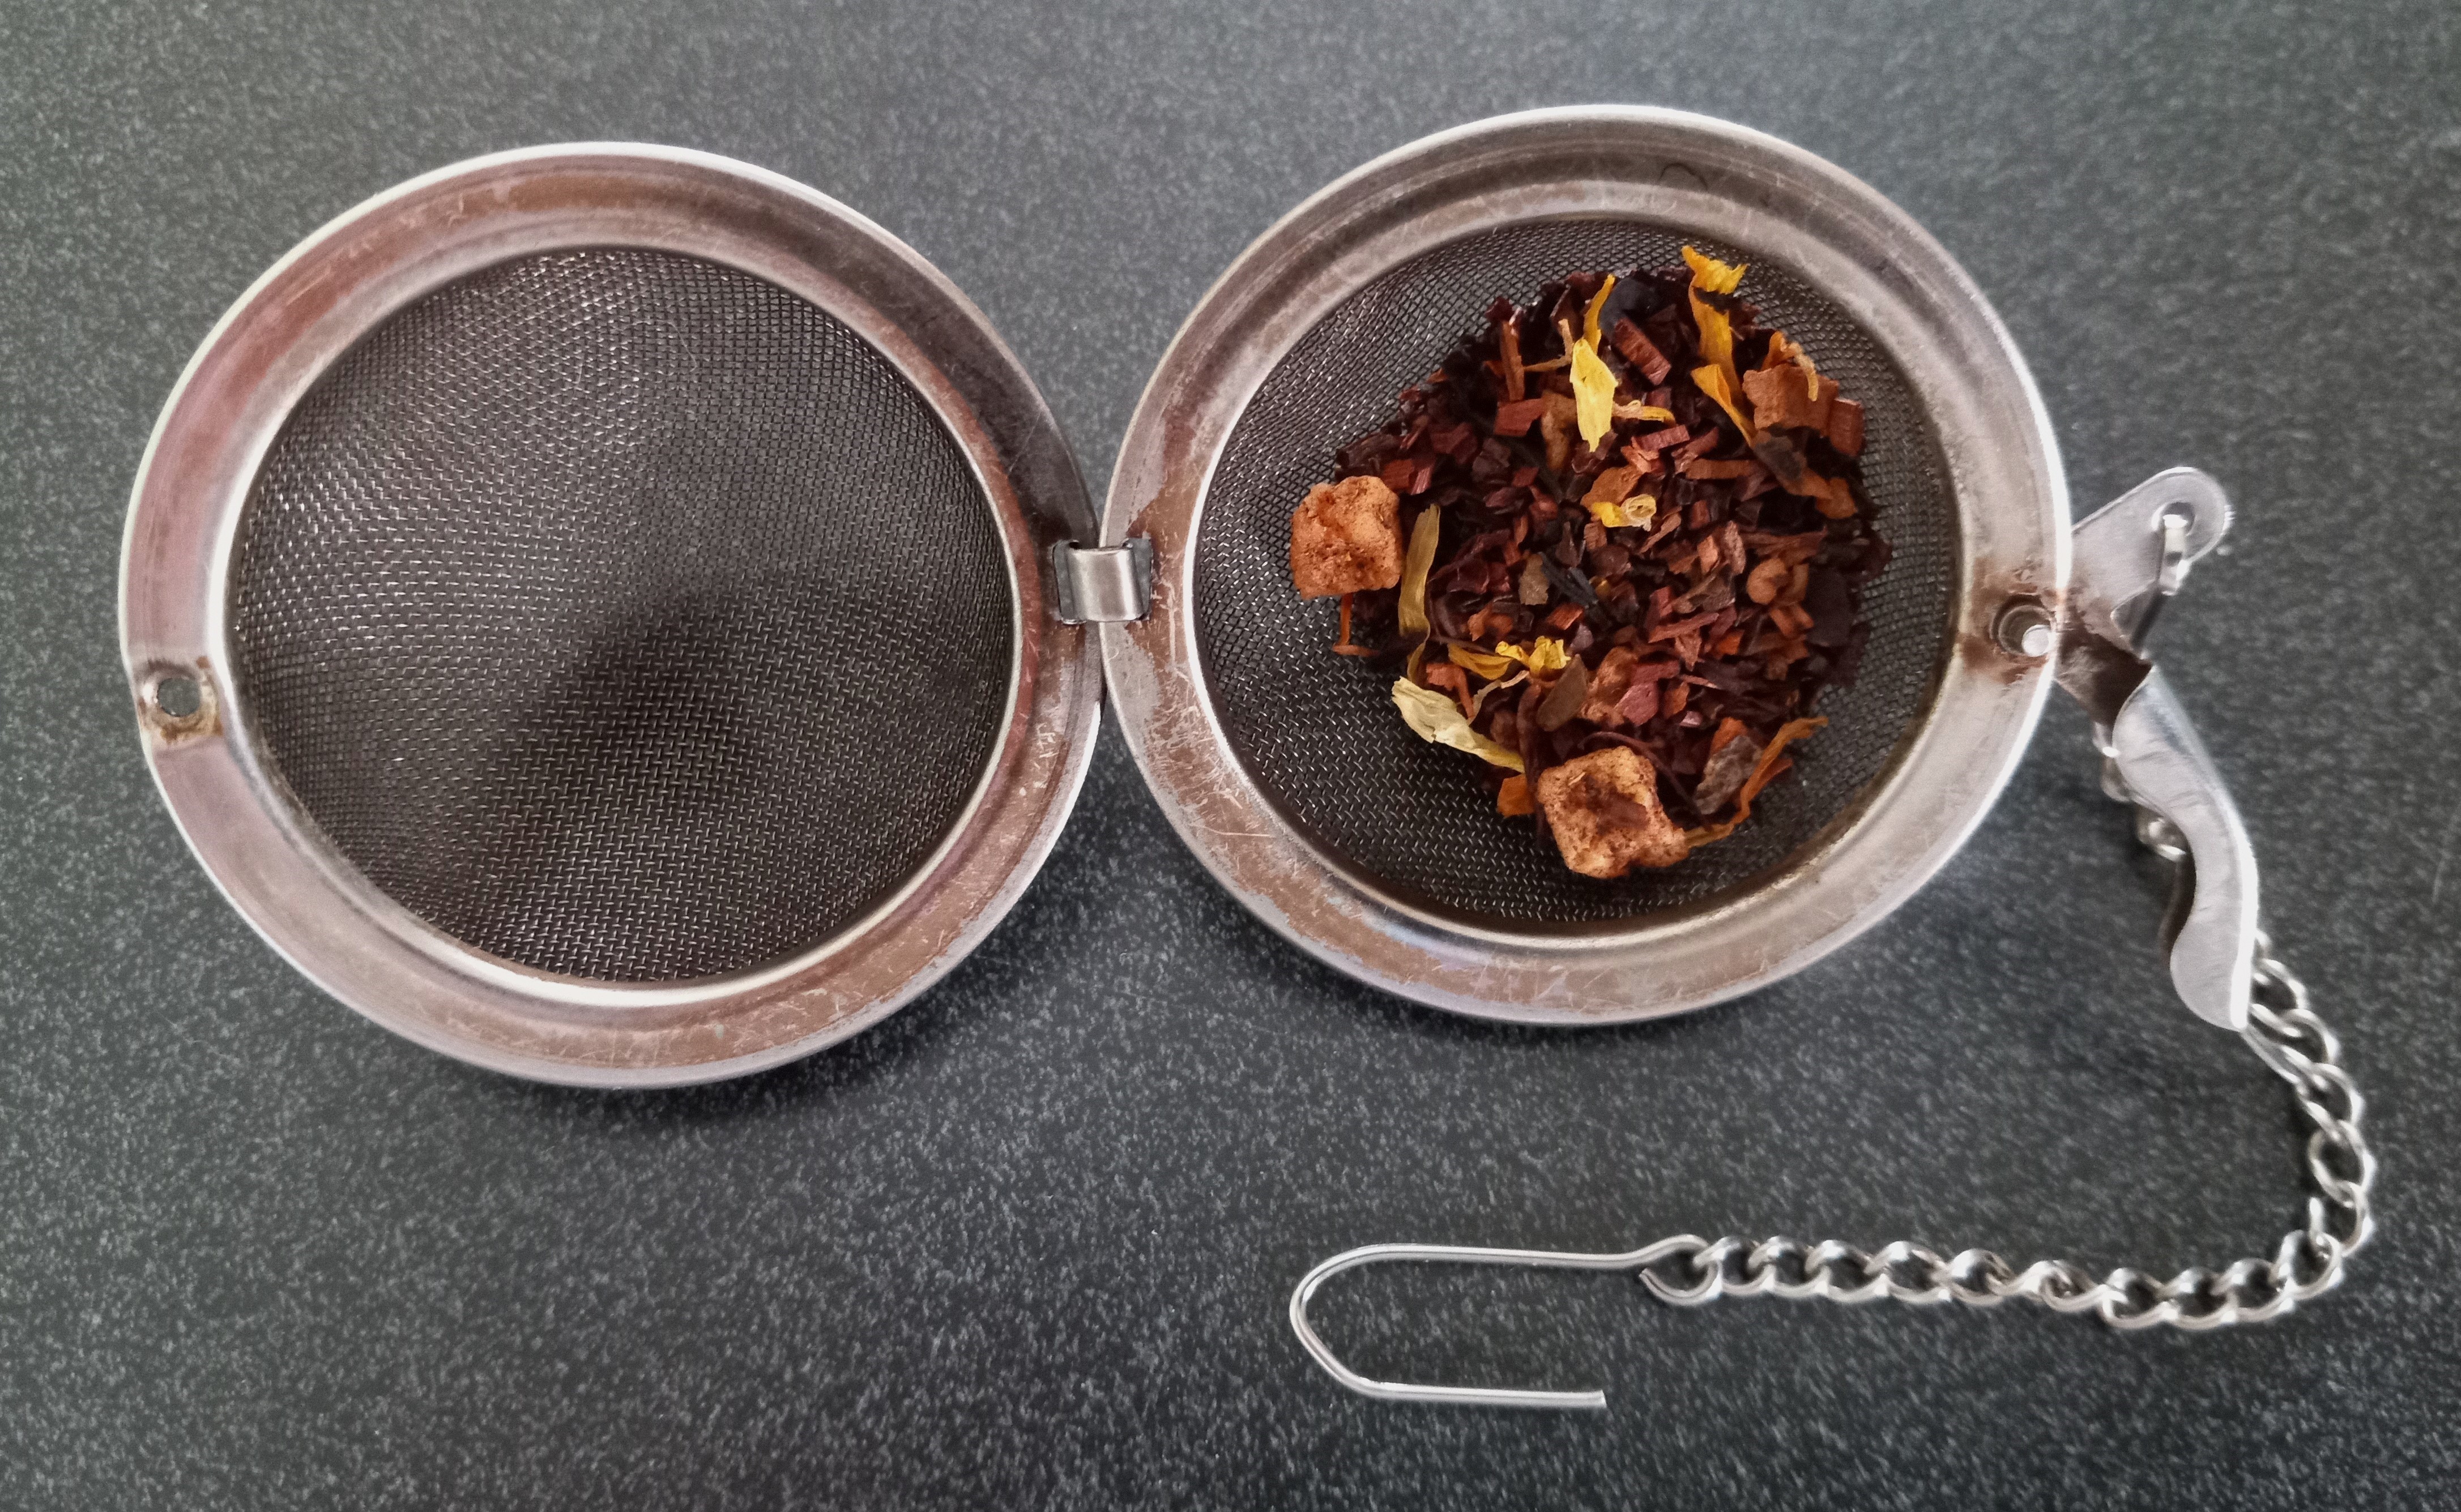
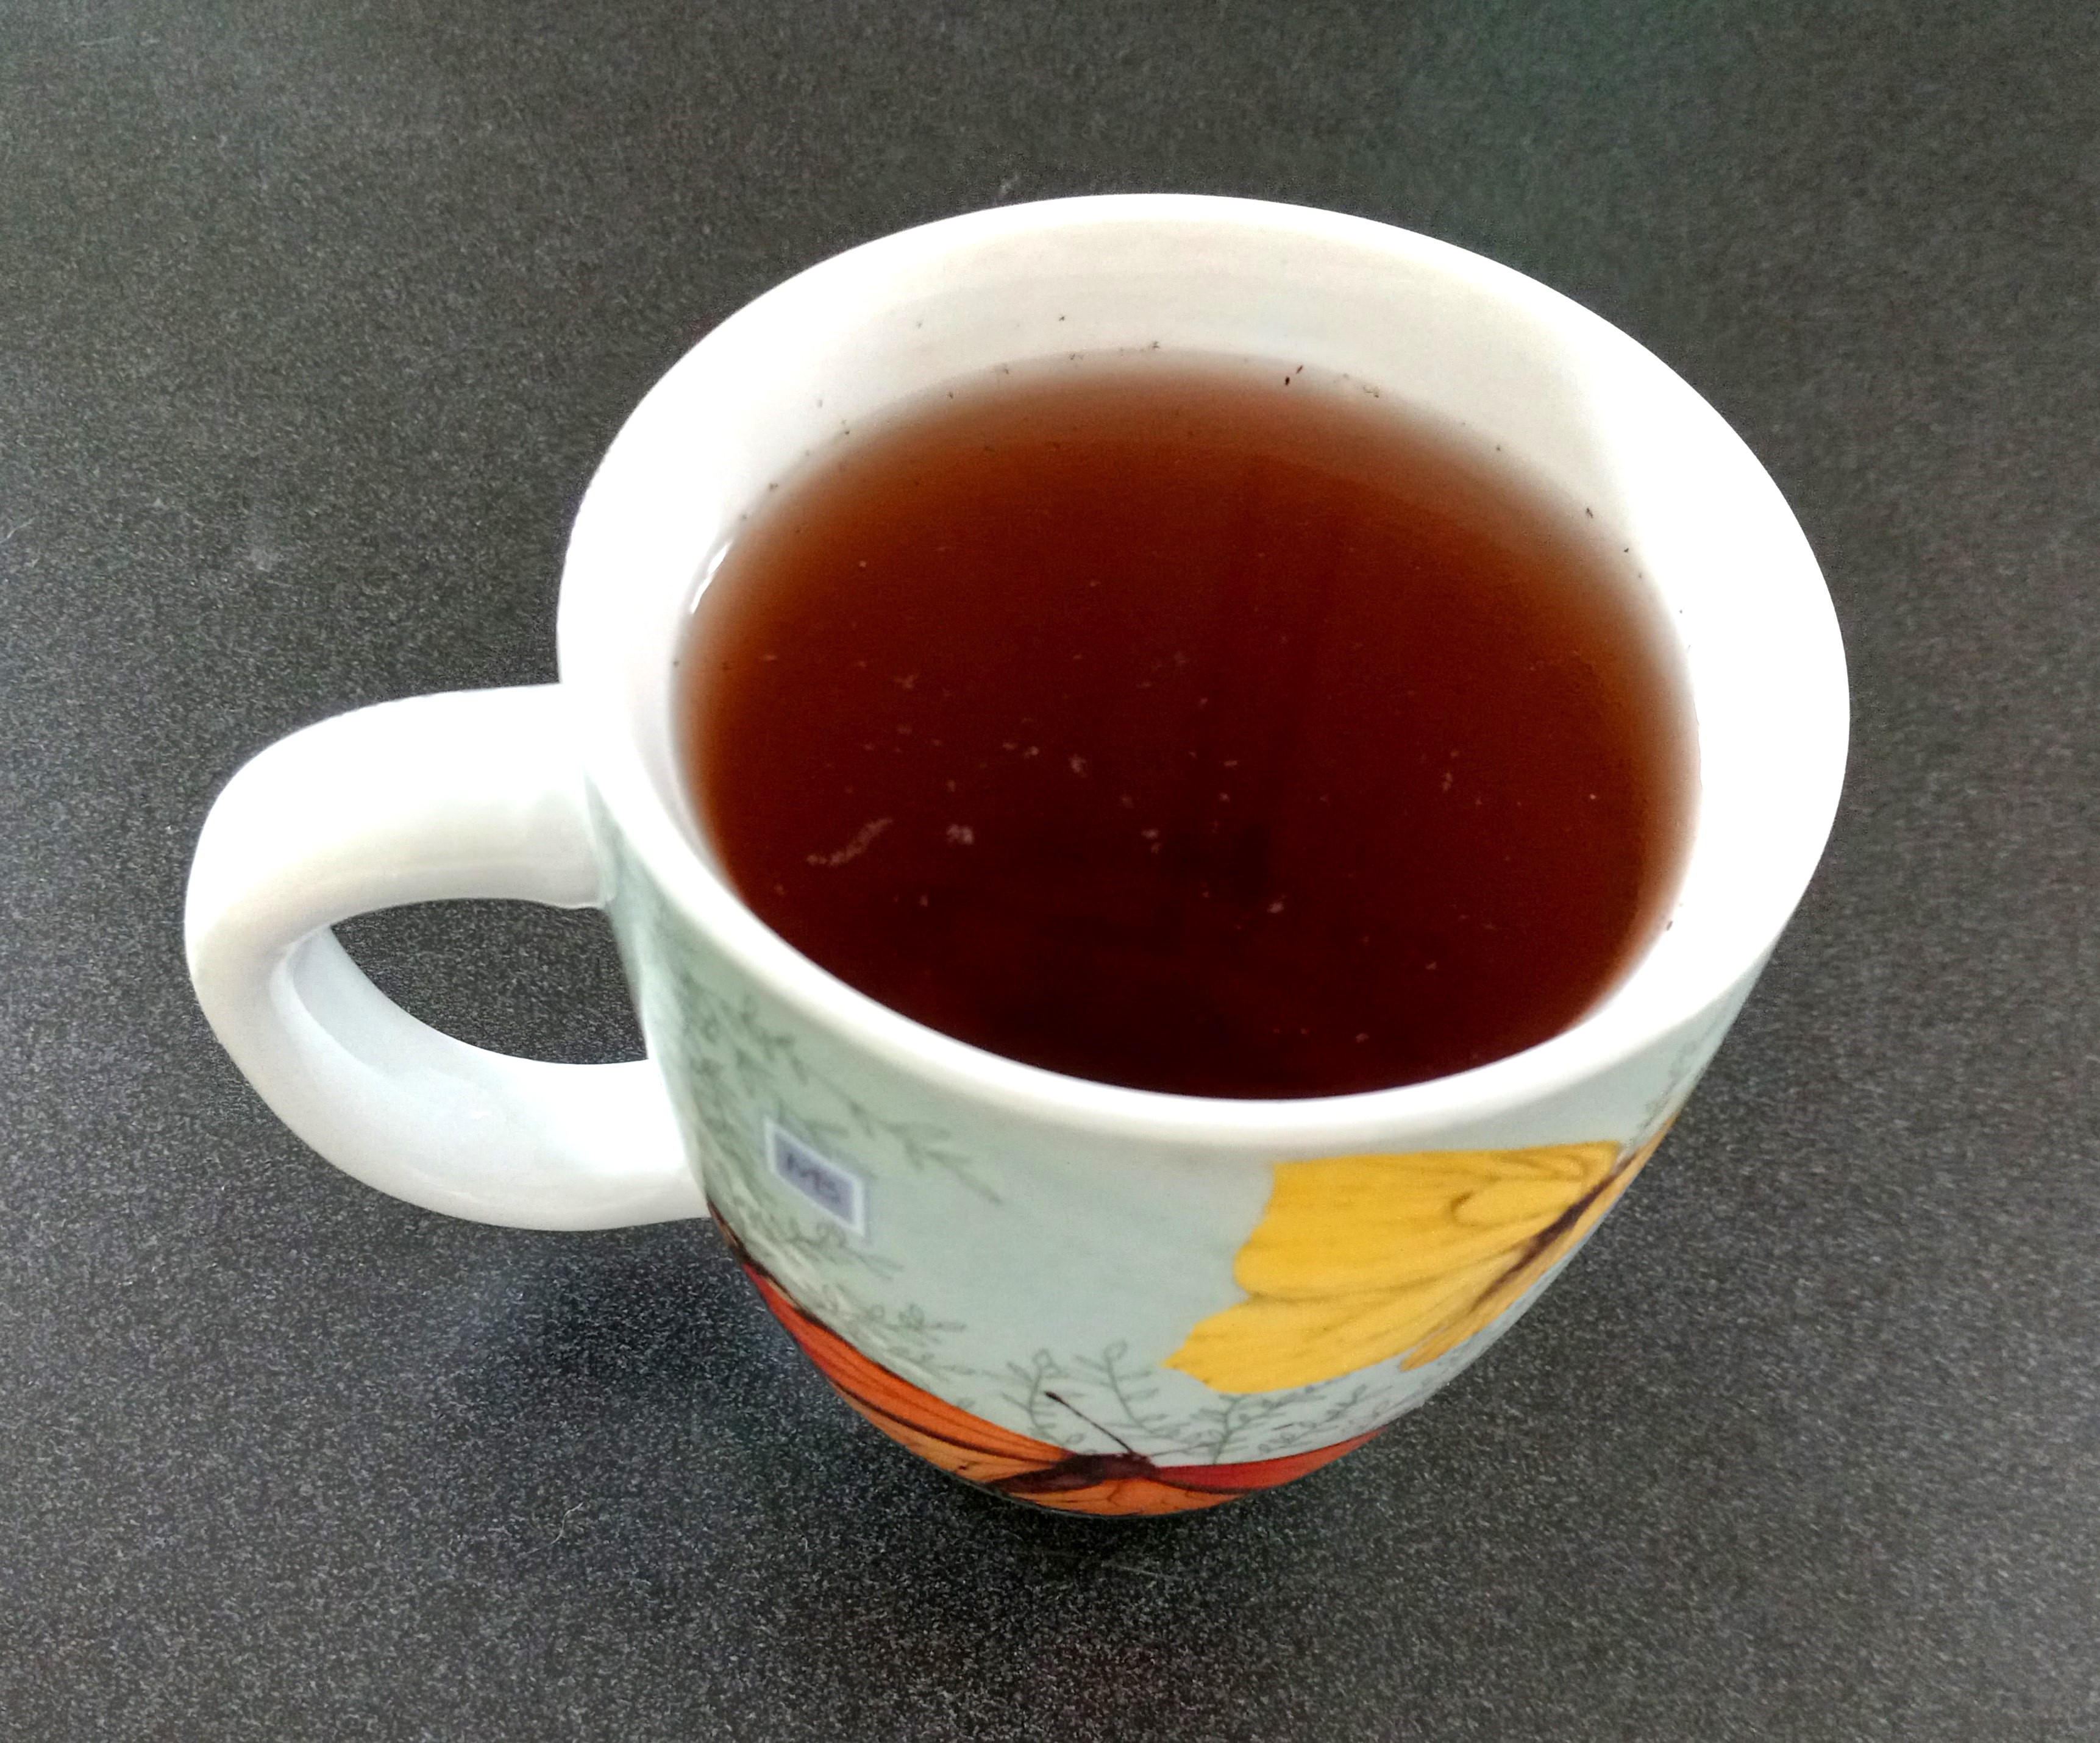
Three to five cups of tea will be enjoyed during however long I give myself toward the day’s writing. I’ll complete a few chores when I need a physical and mental break. I graze until I need to make dinner. And mostly importantly, I thank Adonai for whatever amount of writing I achieved for the day.
I’ve written upward of a thousand words in one session that lasted an hour, and I’ve fought for a mere three hundred over the course of the entire day. Both are deserving of praise not because I did something miraculous but rather because I was afforded the opportunity to create in imitation of my Creator.
There are obstacles to overcome during this process (for me the biggest are guilt over not doing something I think might be more important than writing and playing on social media), but the understanding of what I’ve been given by Adonai, as mentioned above, and my dear husband (time to write without having to work an outside job) places me squarely back on track. I will not squander this precious gift.
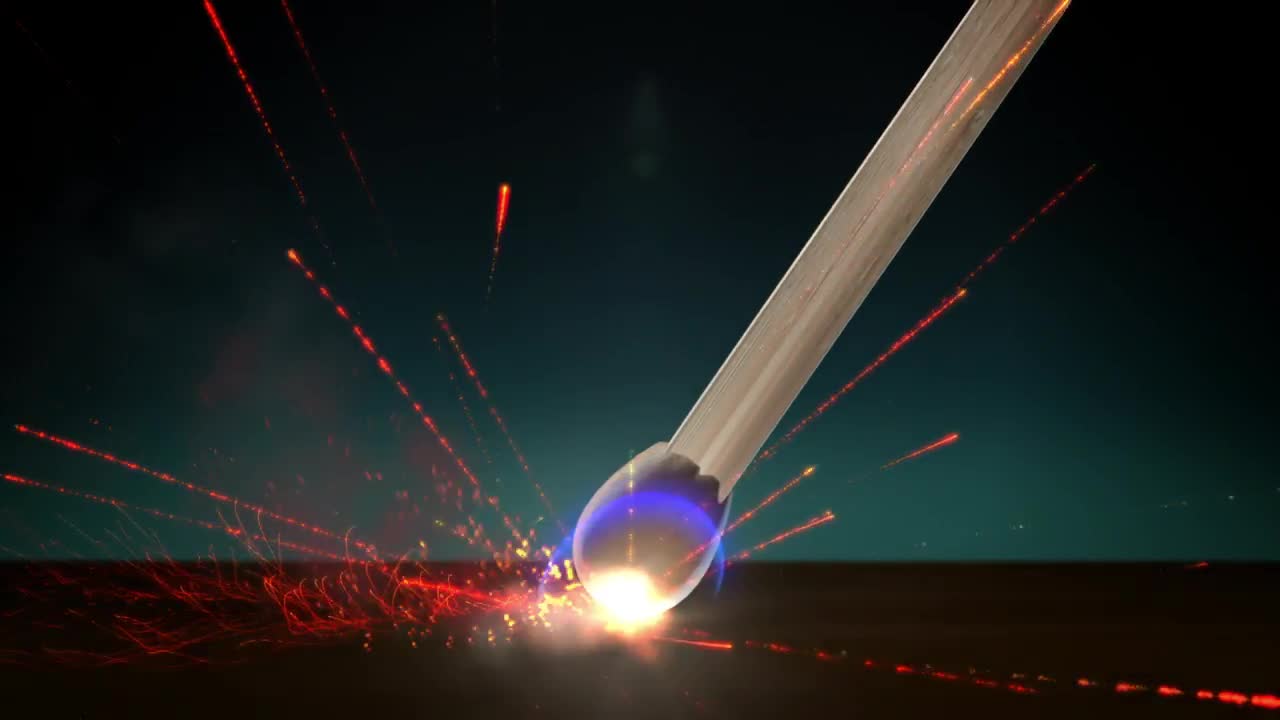
And so, dear followers and writing friends, I offer this simple advice on how to relight the spark of your writing, or any task, and I bid you farewell as I return to my own endeavors.