 Mashed potatoes figure in to my novel, The Secrets of Dr. John Welles, in a couple places. As I mentioned when I started Edible Fiction, I love to feed people whether real or imagined. For real people, it’s because I enjoy watching them appreciate what I’ve prepared. For my characters, I have discovered that food is an extension of the scene taking place and/or their personalities.
For Marian Watley Welles, wife of Johnny’s older brother, James, she attacked several mounds of mashed potatoes tipping off her mother-in-law, Collie, to the fact that she was pregnant. In fact, Collie’s suggestion to have another helping and Marian’s willingness to comply was what made Collie so sure of her daughter-in-law’s pregnancy. What hungry first-time mother could resist one of the ultimate comfort foods?
Another instance where I employed mashed potatoes was during Prudence’s first visit to the Welles Family Farm. Along with the other items Collie prepared for dinner, mashed potatoes featured on the menu. I wished to convey a homey setting complete with all the family favorites. Prudence forced herself into this scenario, upsetting the Welles Family, because deep in her heart, it’s what she longed for.
A high starch potato like Yukon Gold or Russet makes the fluffiest, smoothest mashed potatoes. They absorb flavors well (chicken broth when boiling, dairy when mashing). Avoid waxy potatoes like Red Bliss or fingerlings which have a tendency to turn gummy or gluey upon mashing. Choose one large potato per person when deciding upon quantity. I include one or two extra potatoes in case someone wants seconds or leftovers.
I didn’t used to believe it myself, but salting the water truly makes a difference. It’s the first step toward seasoning, so don’t skip it. Also, start with cold water to ensure even cooking. On the other hand, when adding your butter and cream, they should be warm. I do this in the cooking pot while my cooked potato chunks are draining in a colander. Your potatoes will absorb all the deliciousness of the dairy and you’ll have to work them less to incorporate the butter and cream. This means lighter, creamier potatoes.
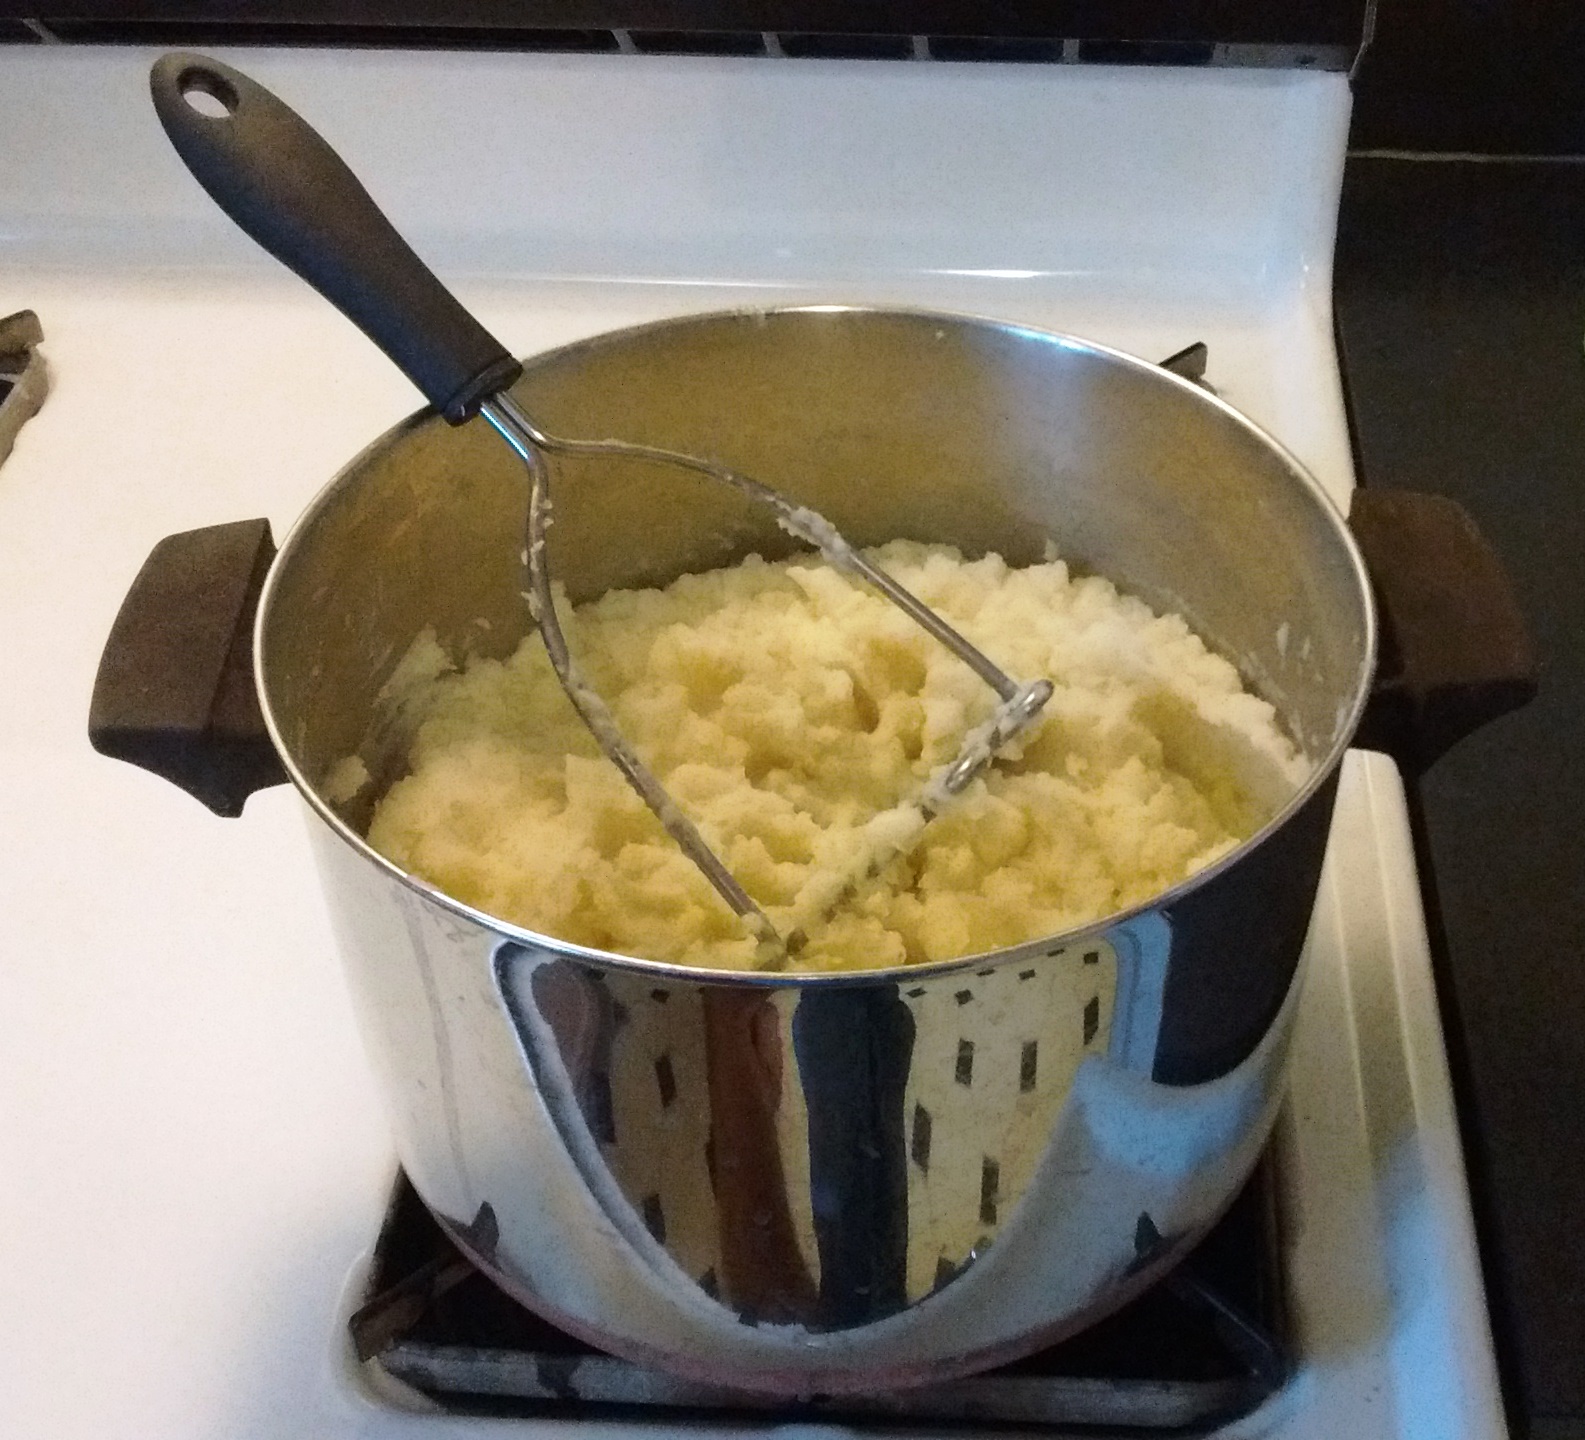
Weapon of Mash Destruction
And since we’re on the subject of overworking mashed potatoes, put down the hand-held mixer, place the food processor back on its shelf, and tell your standing mixer you’ll see it later. These devices are too aggressive and will turn your potatoes into grainy food glue. Pull your potato masher from the drawer and gently mash your potatoes. Remember, lumps are not a bad thing in mashed potatoes; they add to the homemade quality. If you insist on completely smooth taters, non-electric ricers or food mills are the only acceptable, alternative tools.
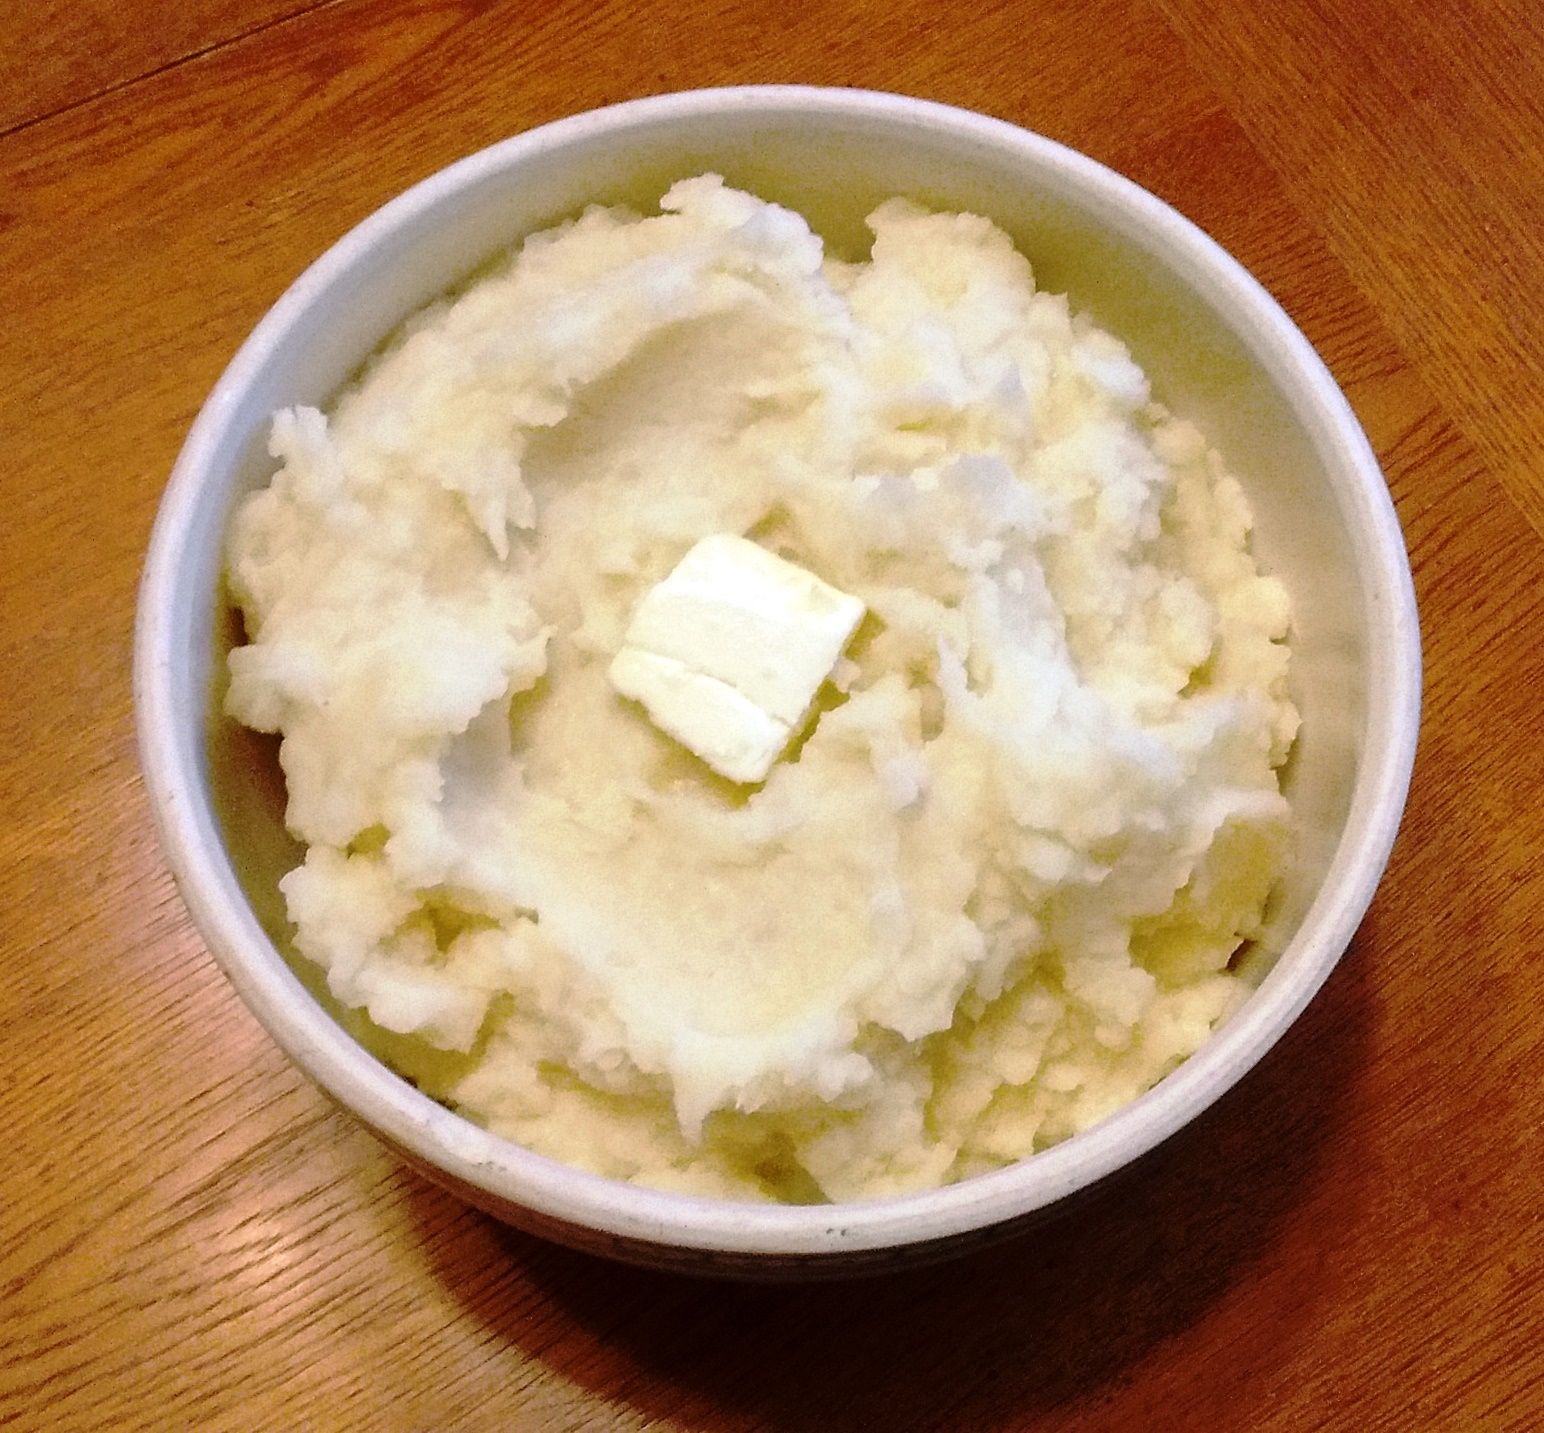
Perfect Mashed Potatoes
Yukon Gold or Russet Potatoes
1 stick unsalted butter (This quantity for a full pot. Adjust to taste as needed.)
Sea Salt
Freshly cracked pepper (I use quad-colored peppercorns.)
Whole milk or heavy cream (Amount of liquid also dependent on quantity of potatoes.)
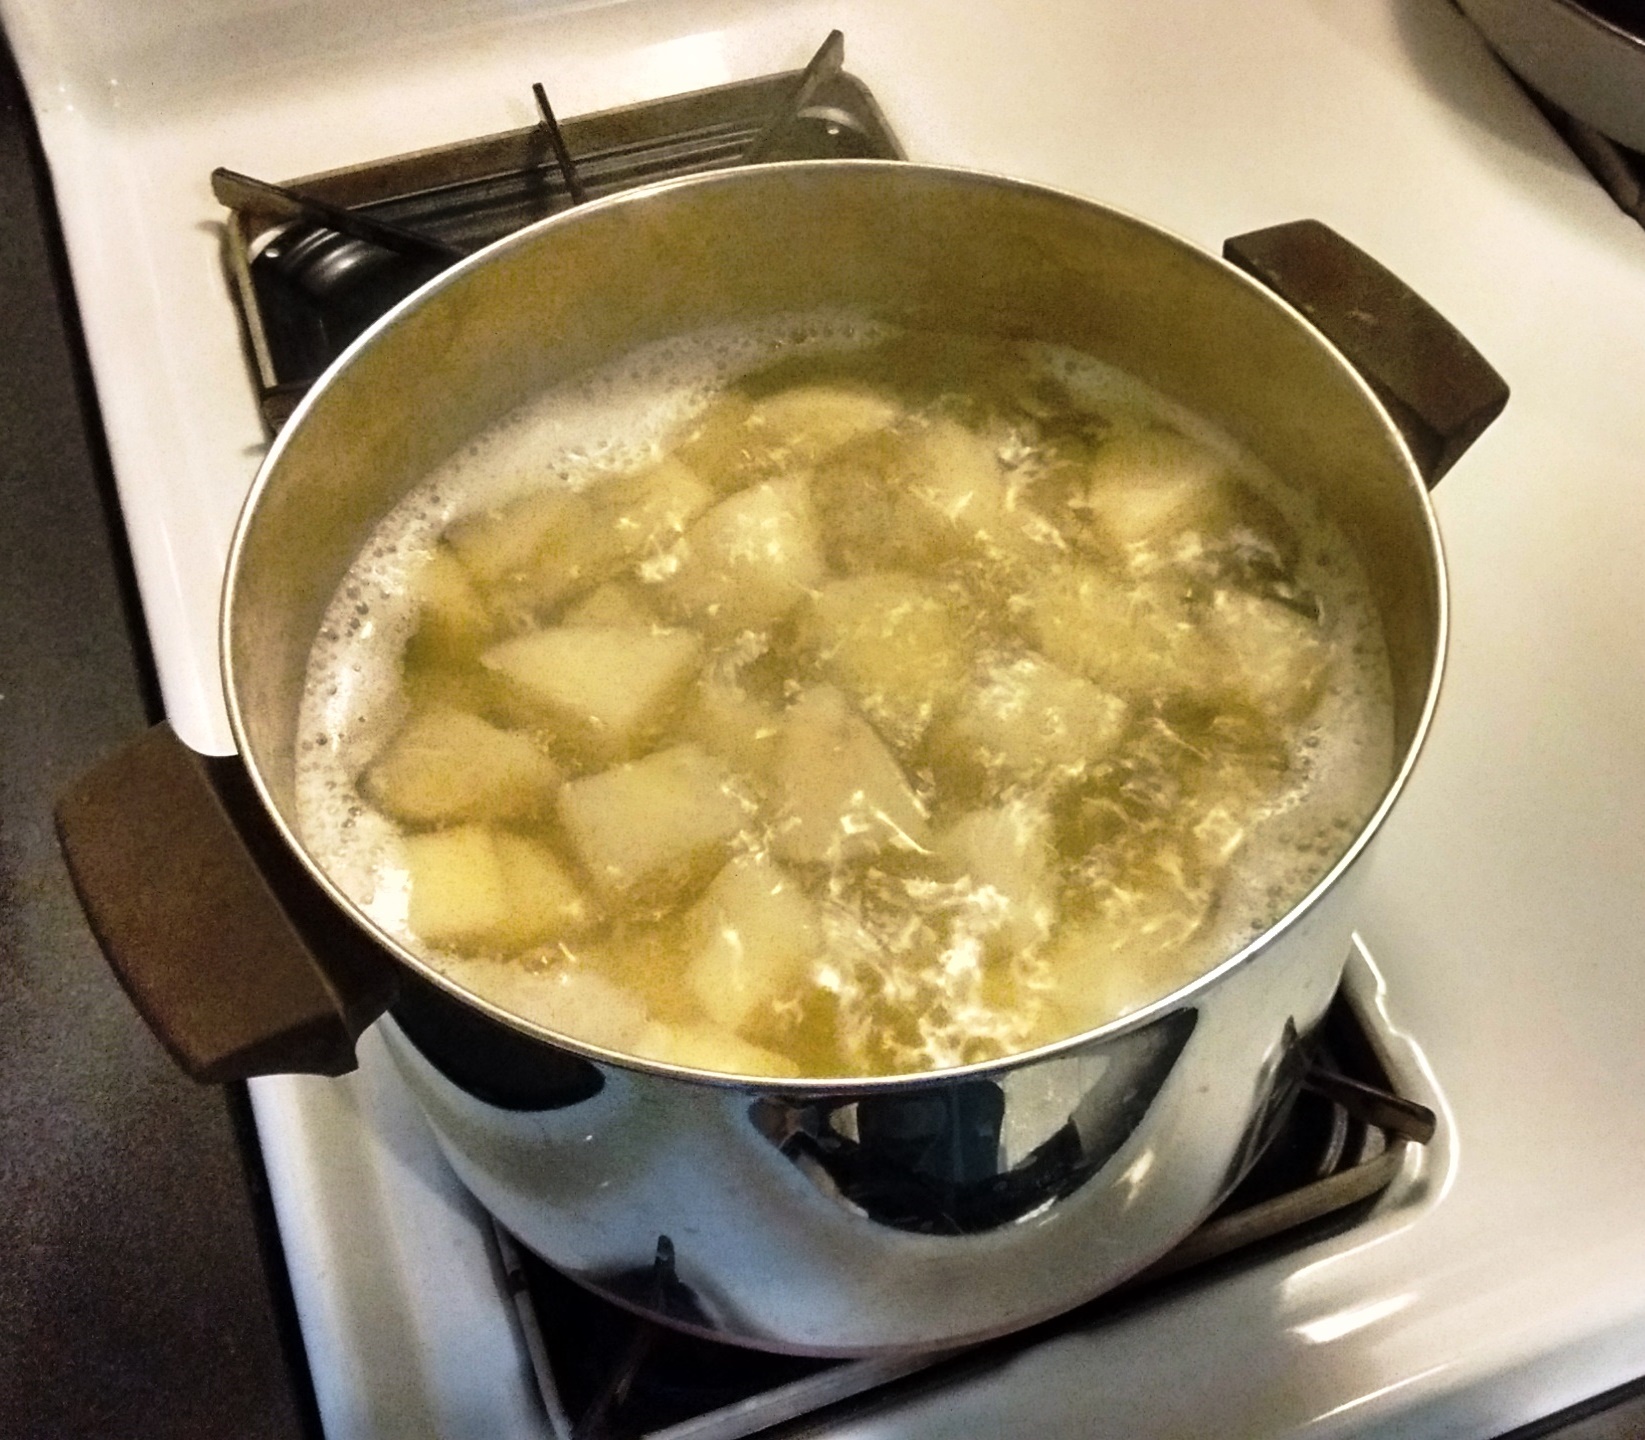
Choose one large potato per person. Fill a large cooking pot with cold water and about a teaspoon of salt. Wash, peel, and cut the potatoes into evenly sized chunks. Place the chunks into the water while working to keep the potatoes from turning brown or gray.
Bring the water to a boil and cook the potatoes until the biggest chunk is tender. Pierce with a paring knife to check for doneness. Drain the potatoes but do not rinse.
Melt the butter in the pot over a low heat and stir in the milk or cream. You may need to adjust the liquid based on the quantity of potatoes, but keep in mind that you want the potatoes creamy without being too dry or too runny. Add the cooked potatoes to the butter and milk or cream. Mash gently with a hand-held potato masher.
Season with salt and pepper. Transfer to a serving bowl.
Enjoy!