Have a Holly, Jelly Christmas

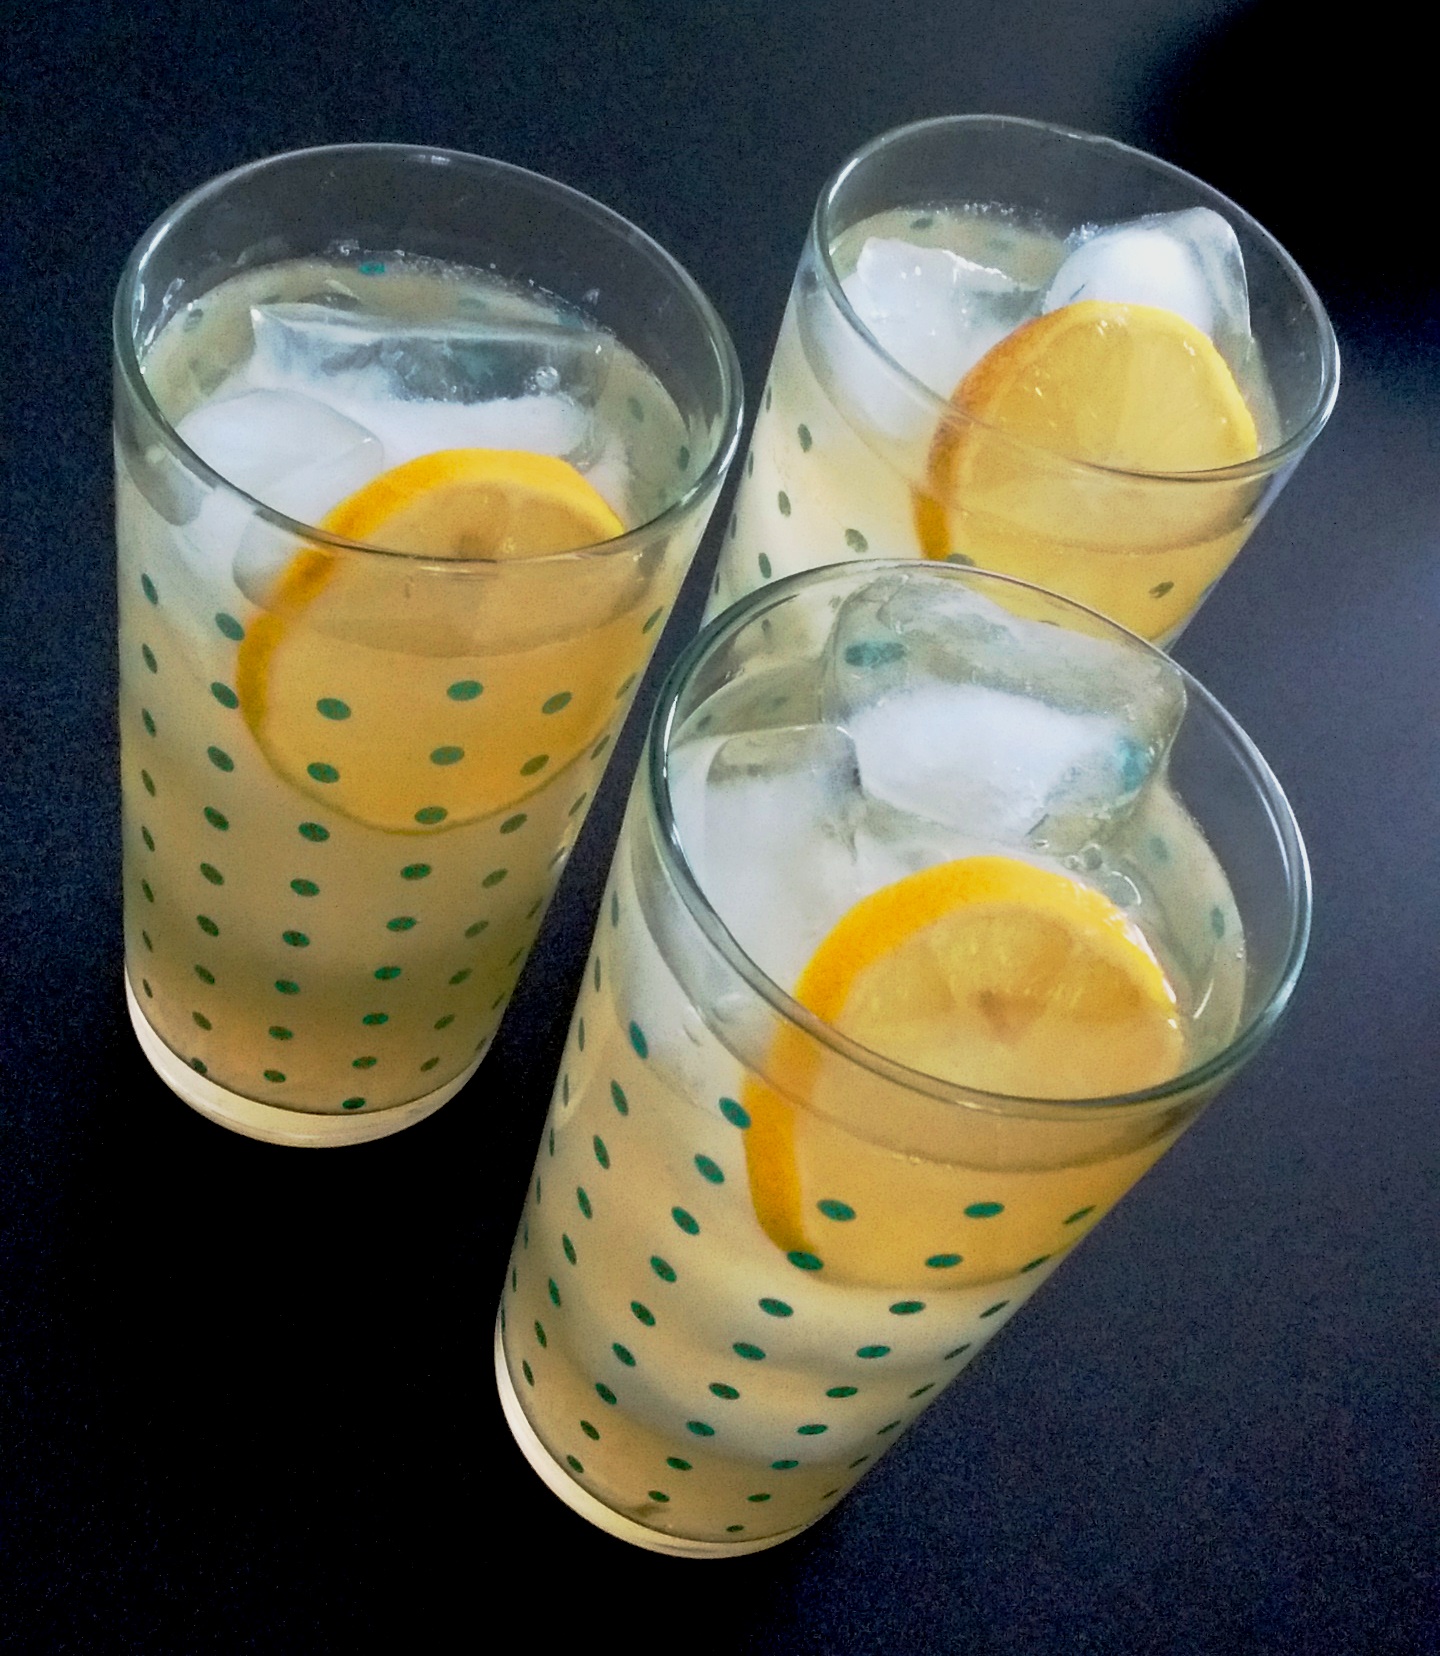
Christmas morning of 1917 was a time of excitement for Johnny Welles and his three older siblings.  In addition to celebrating the special day, a secret was brewing behind the scenes that would add to the festive holiday season and bring joy to the entire family.  In a passage leading up to the discovery of this secret, I wrote a portion for my novel, The Secrets of Dr. John Welles, that included the special treat of apple jelly on pound cake served for Christmas breakfast.  The following recipe is the one I had in mind when writing the above-mentioned scene.

Collie’s Apple Jelly

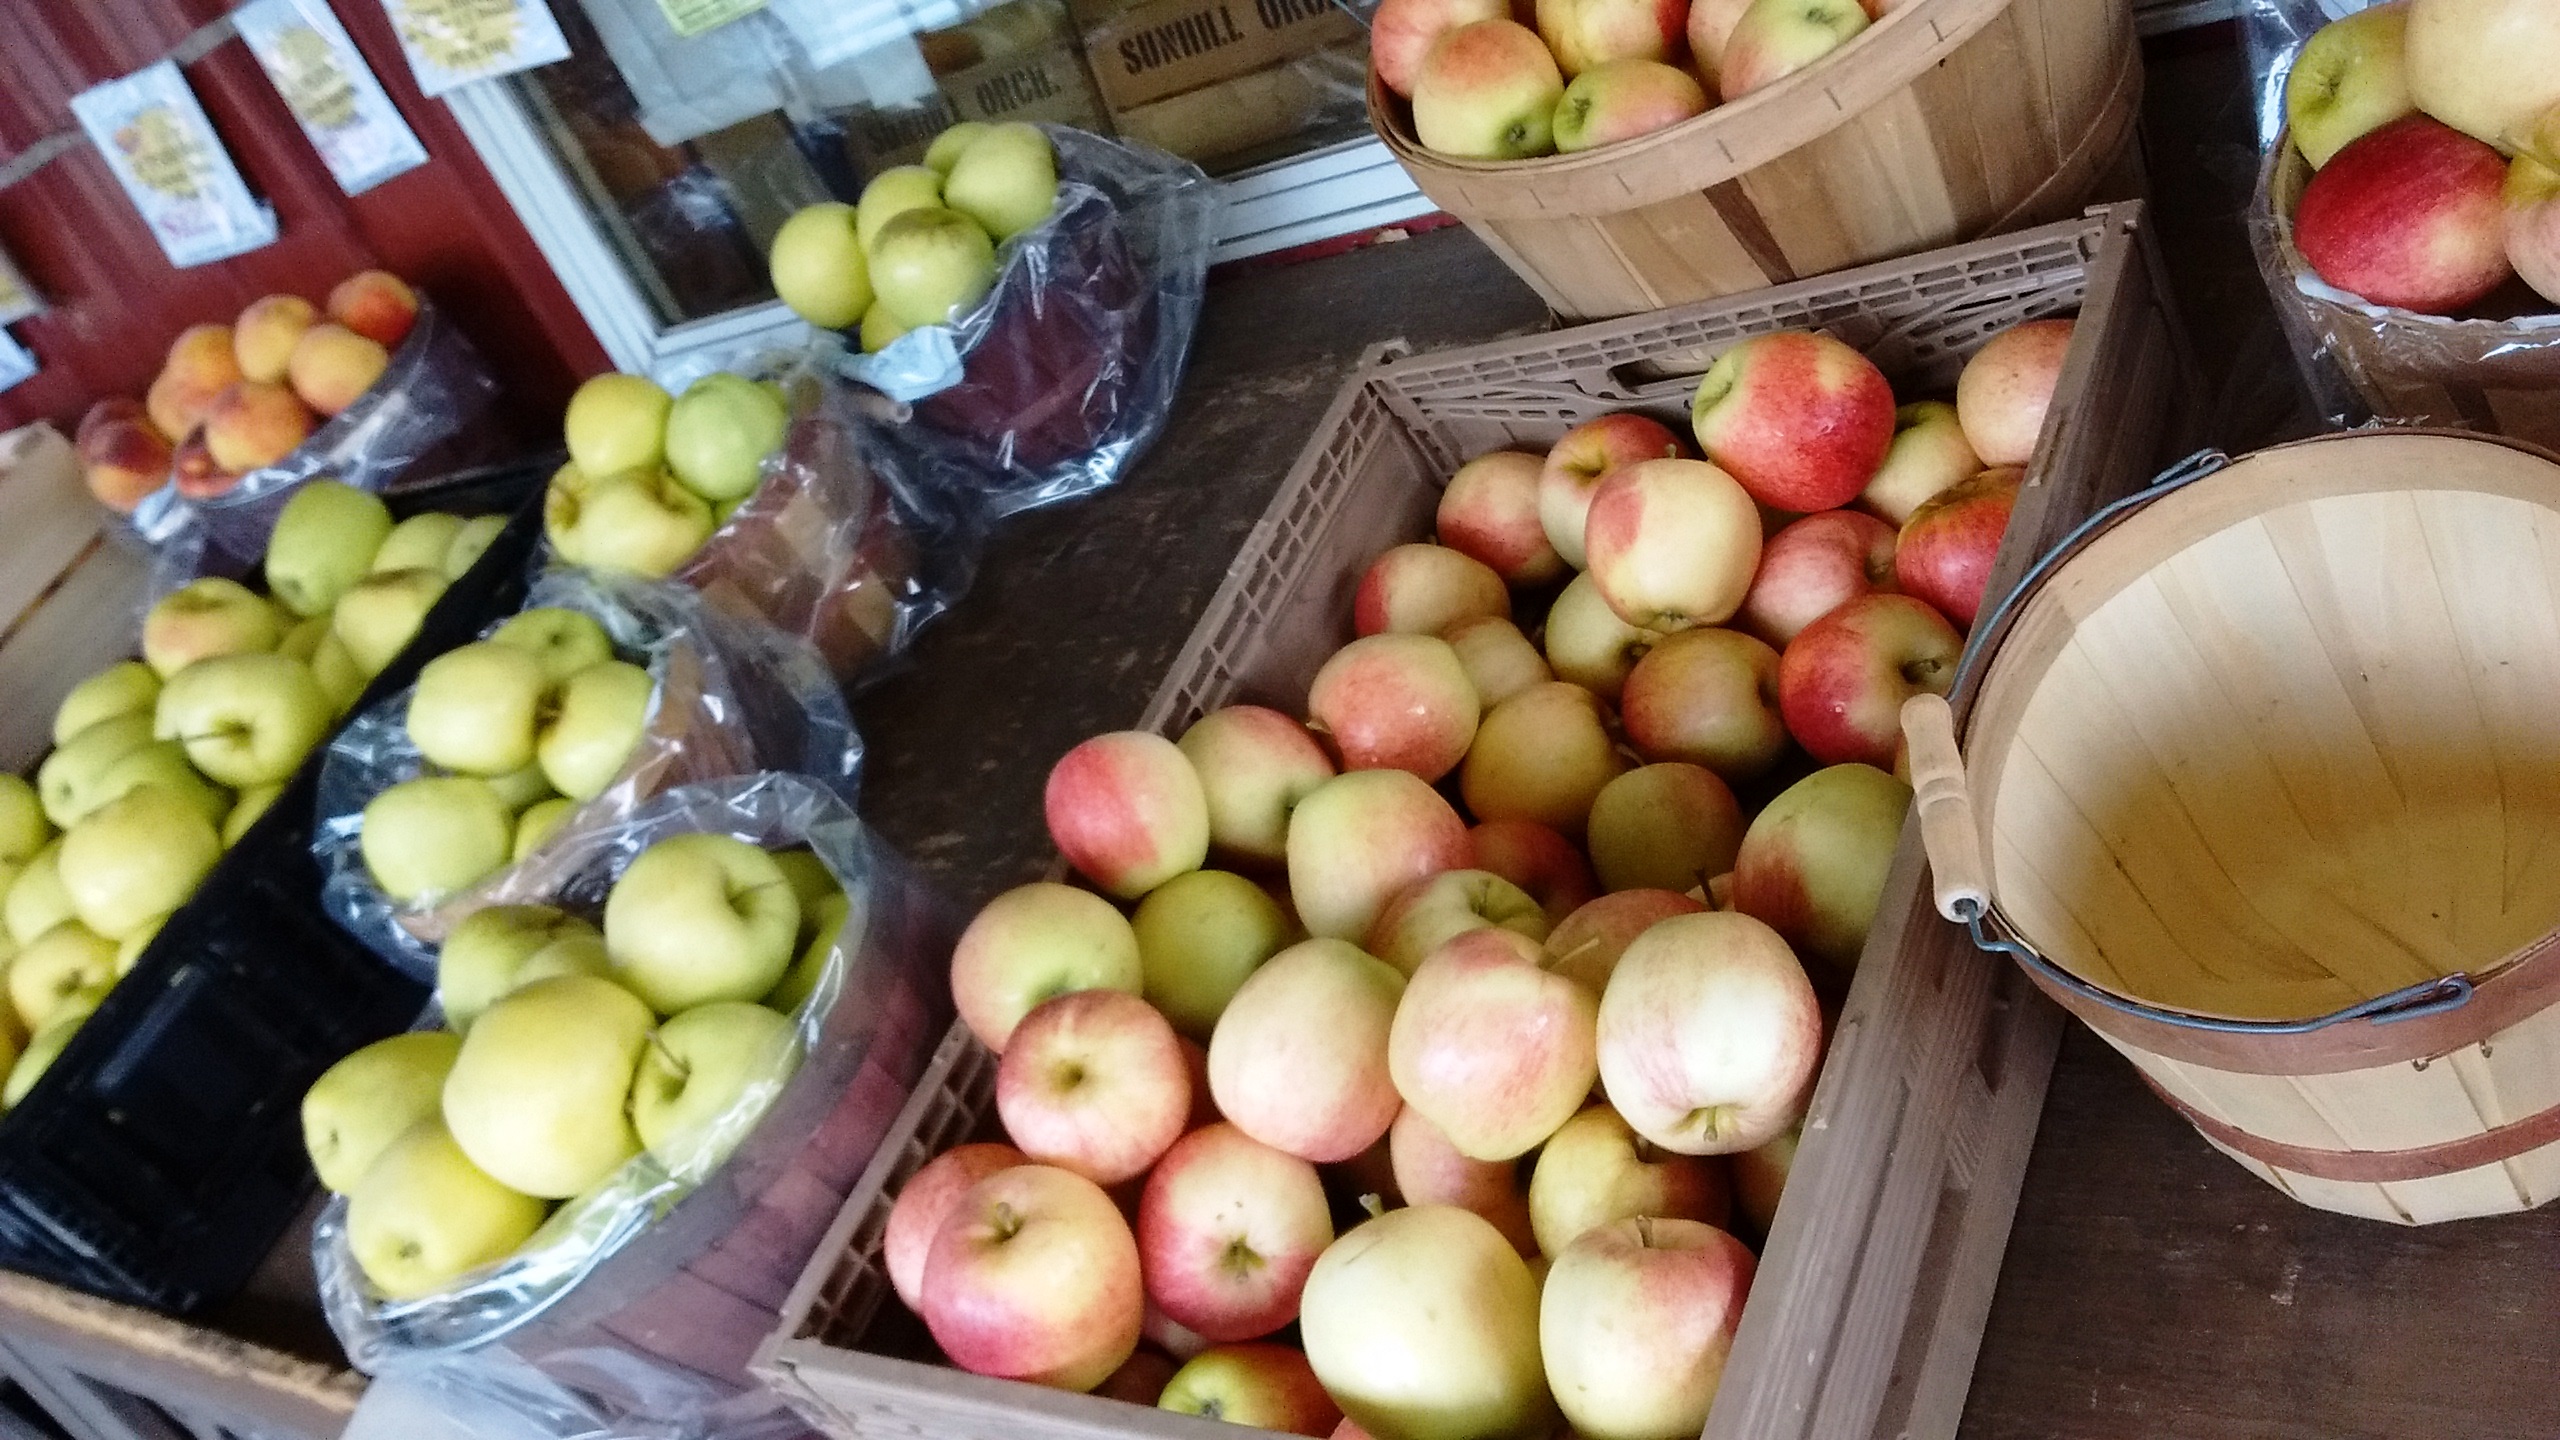
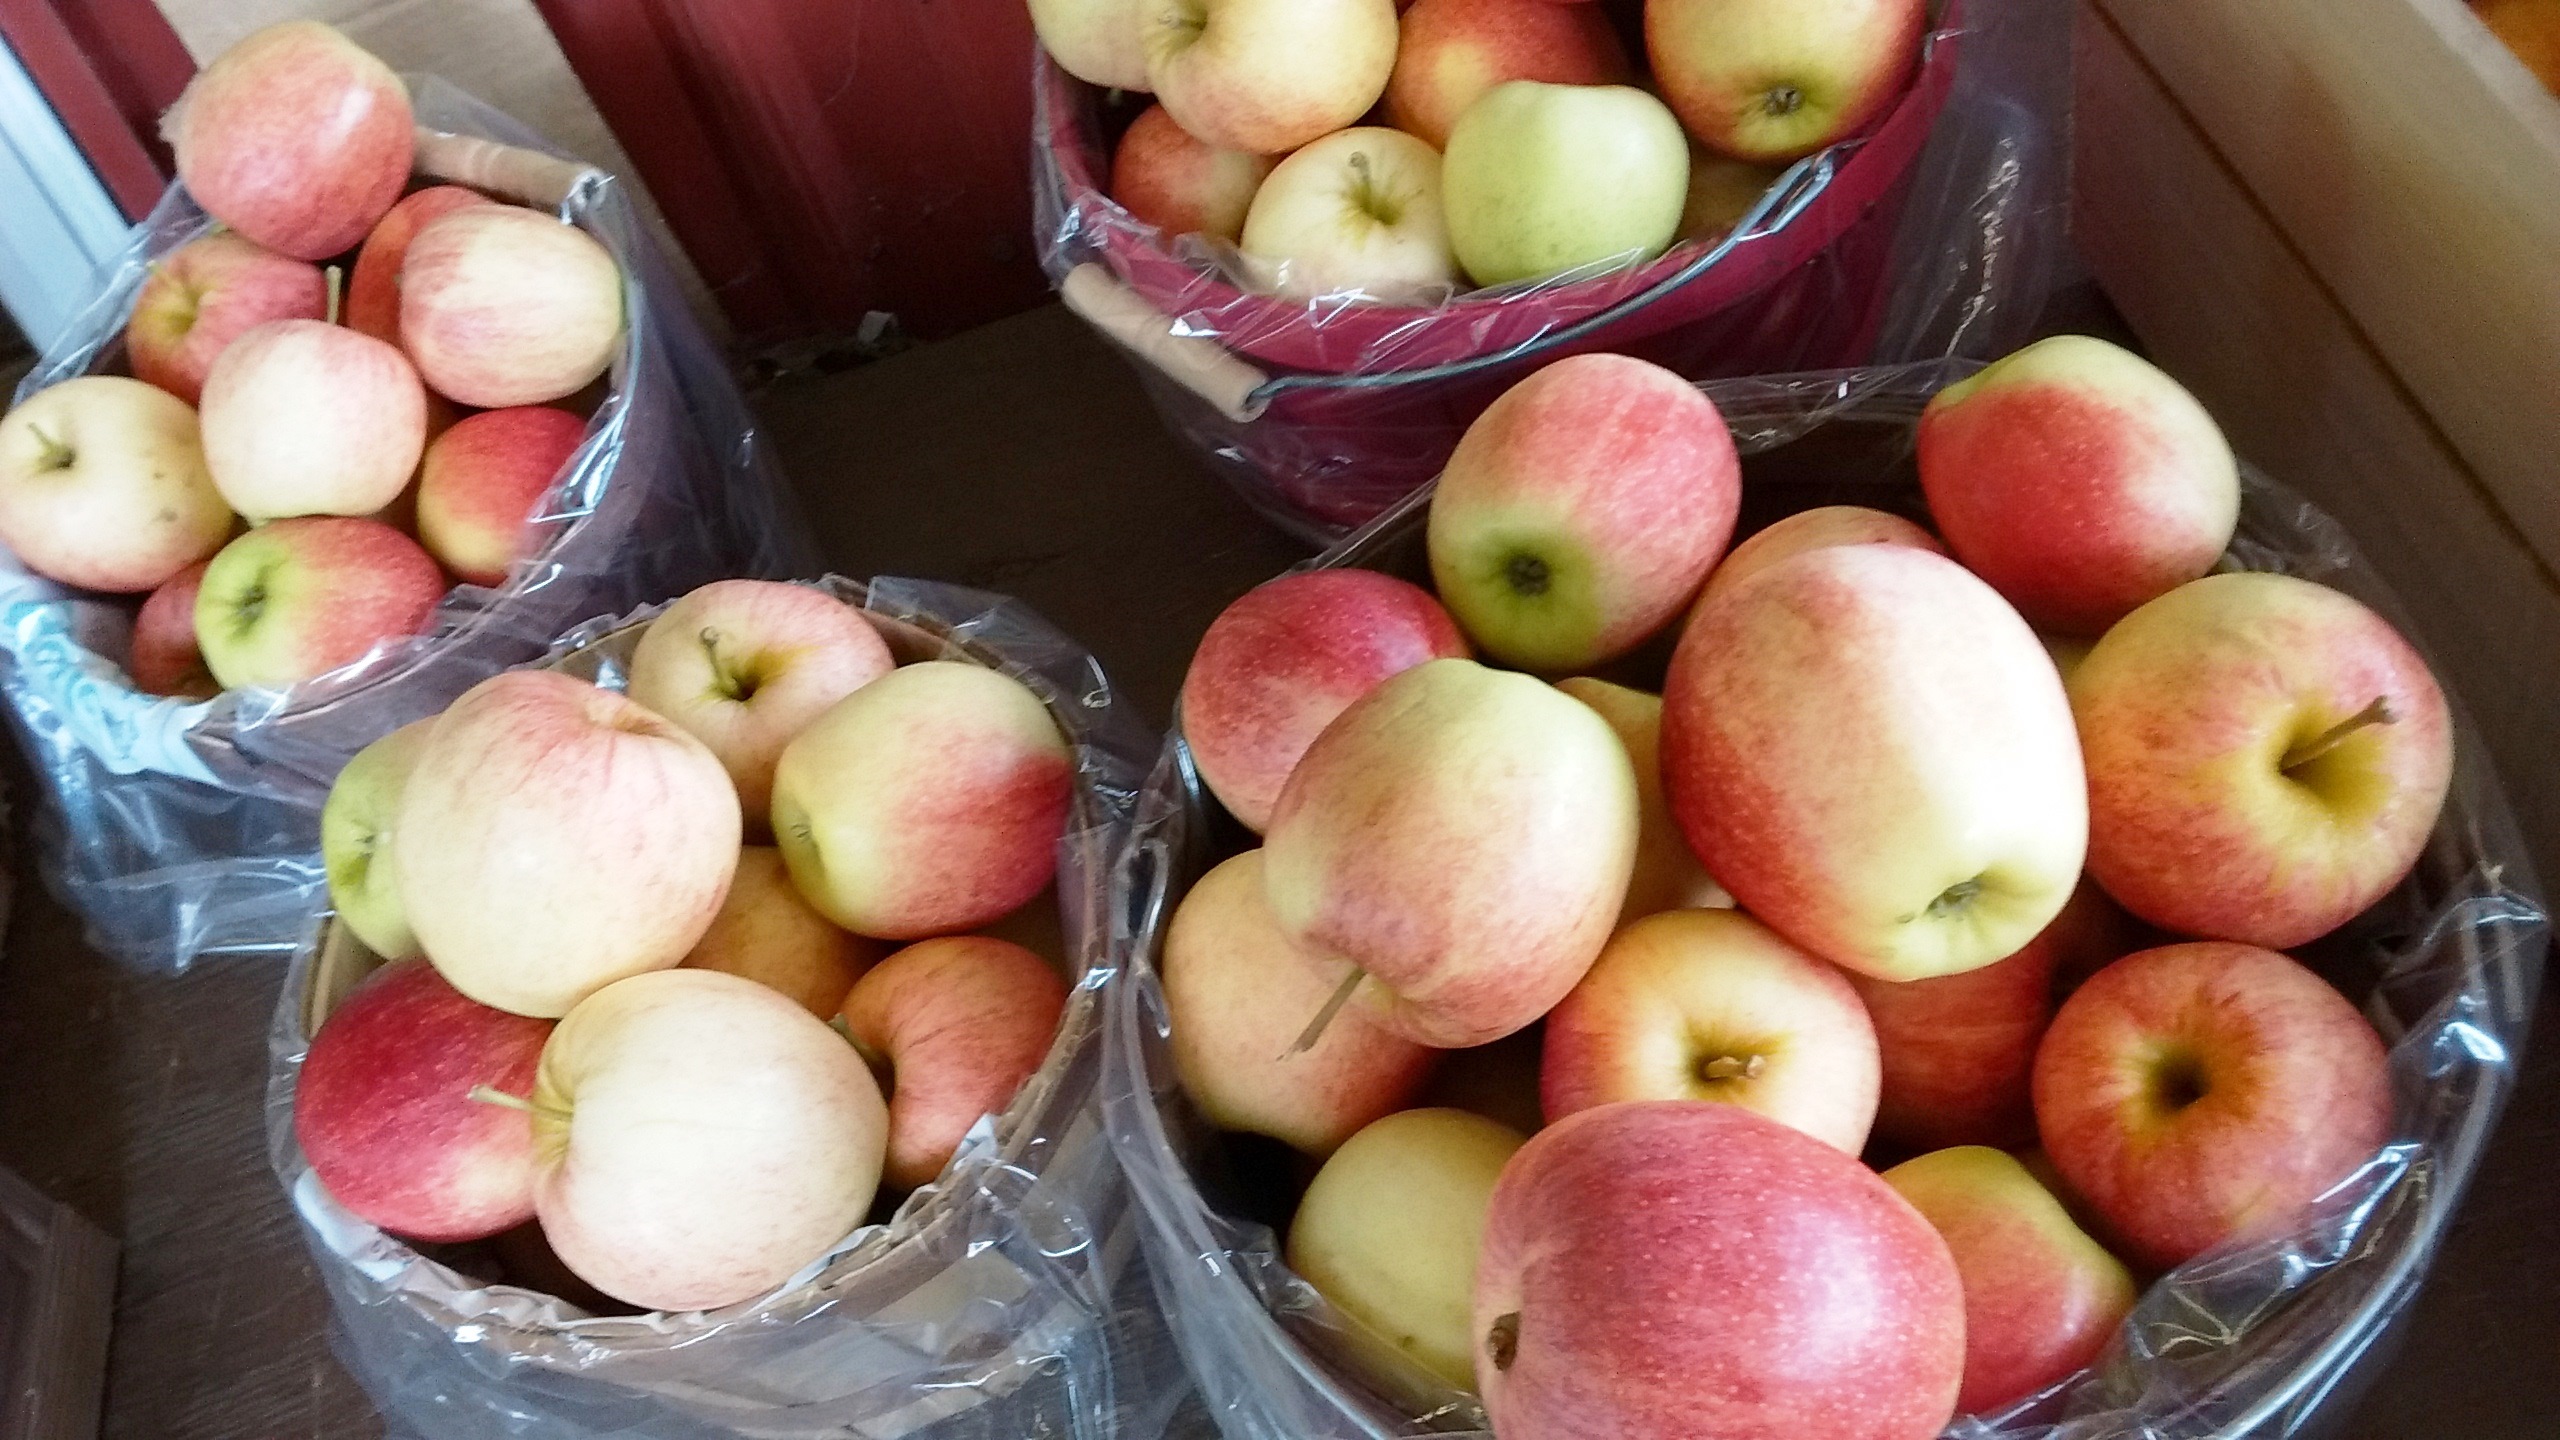
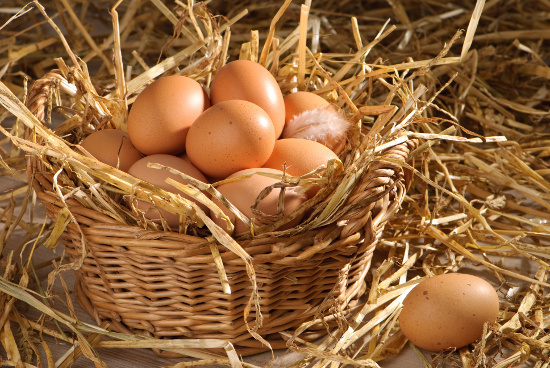
3 lbs. tart apples (¼ underripe and ¾ ripe)

3 c water

2 T lemon juice, strained

3 c white sugar

This recipe doesn’t require an outside source of pectin because it uses tart apples which are higher in pectin.  Also, the slightly underripe apples further ensure a natural source of pectin.

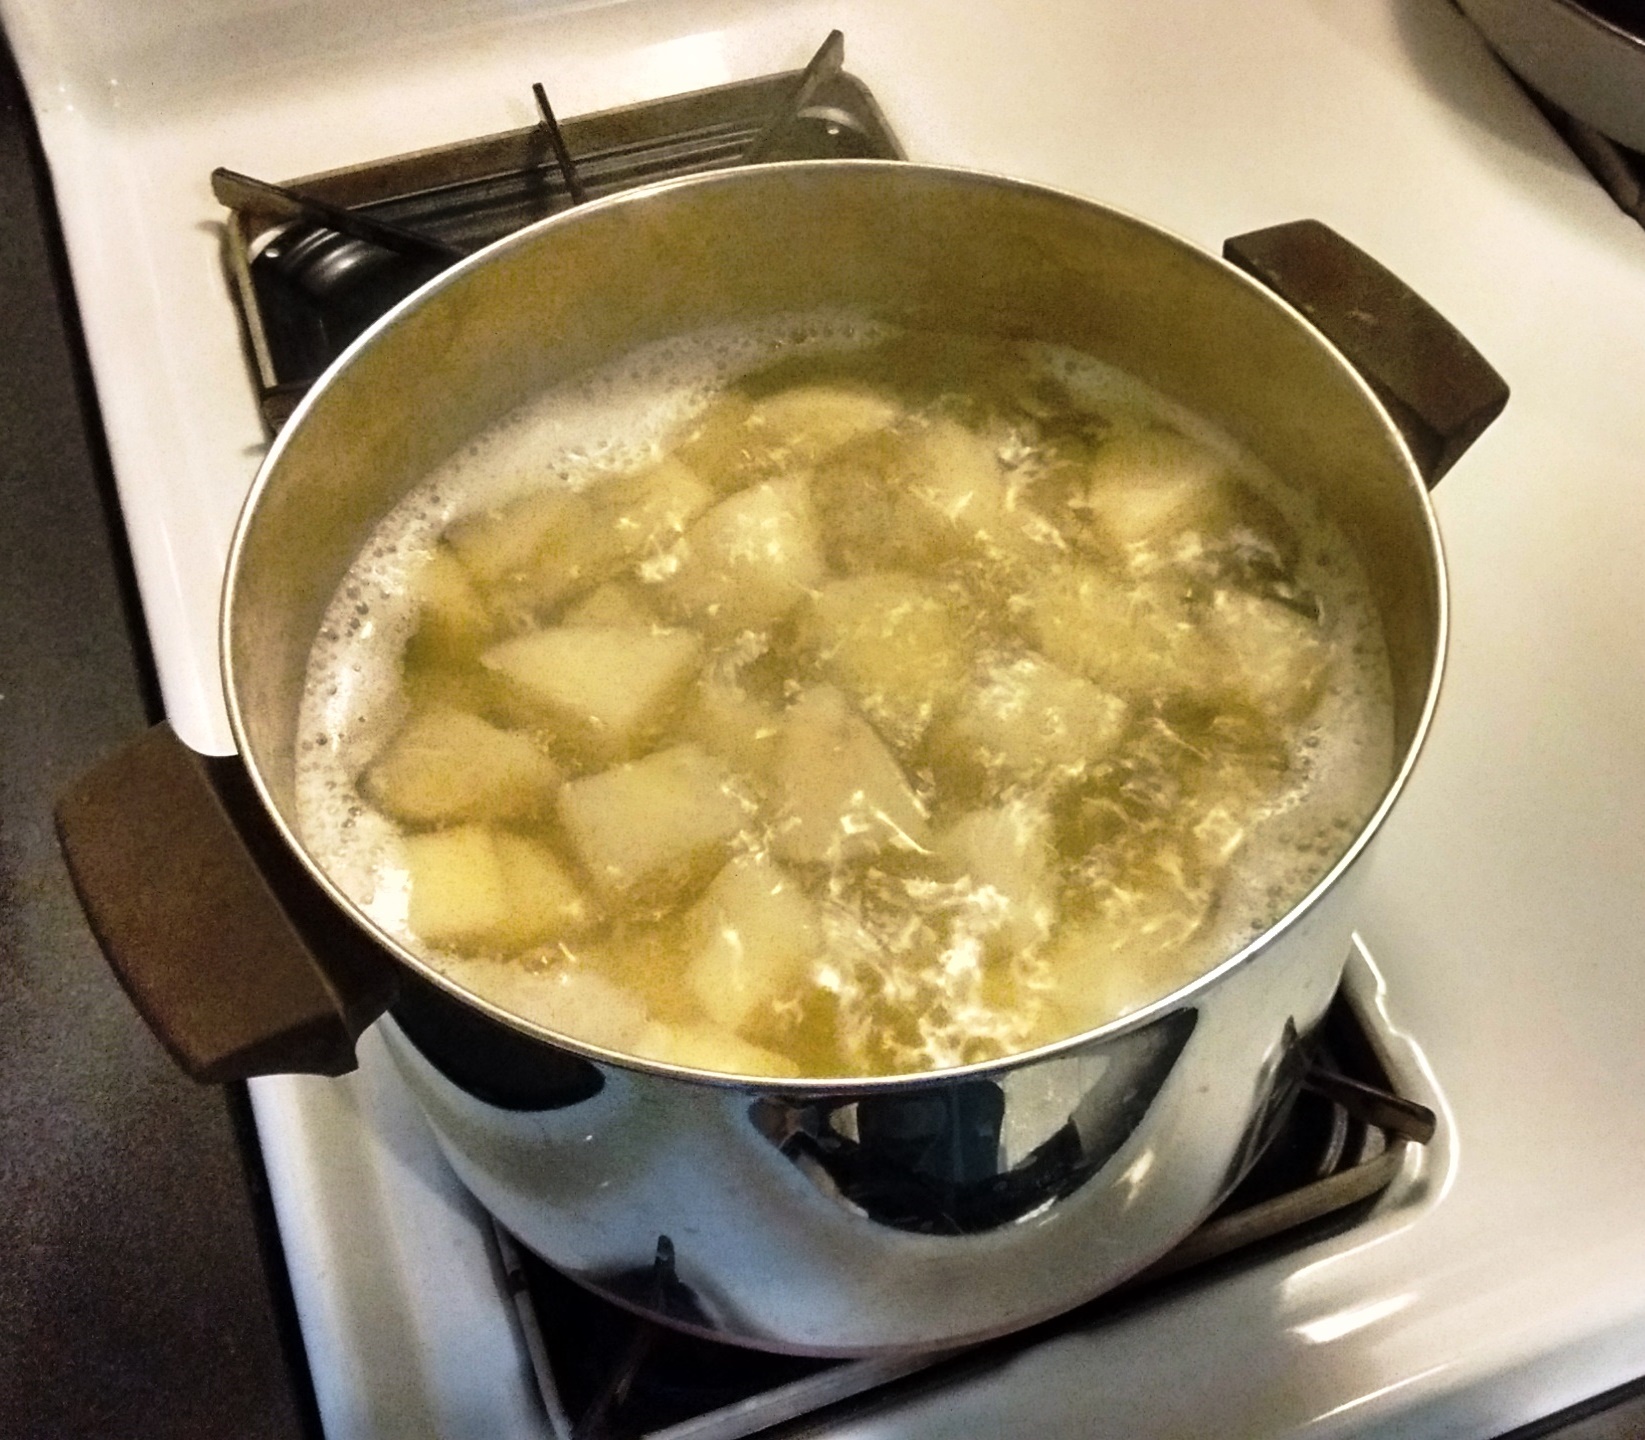
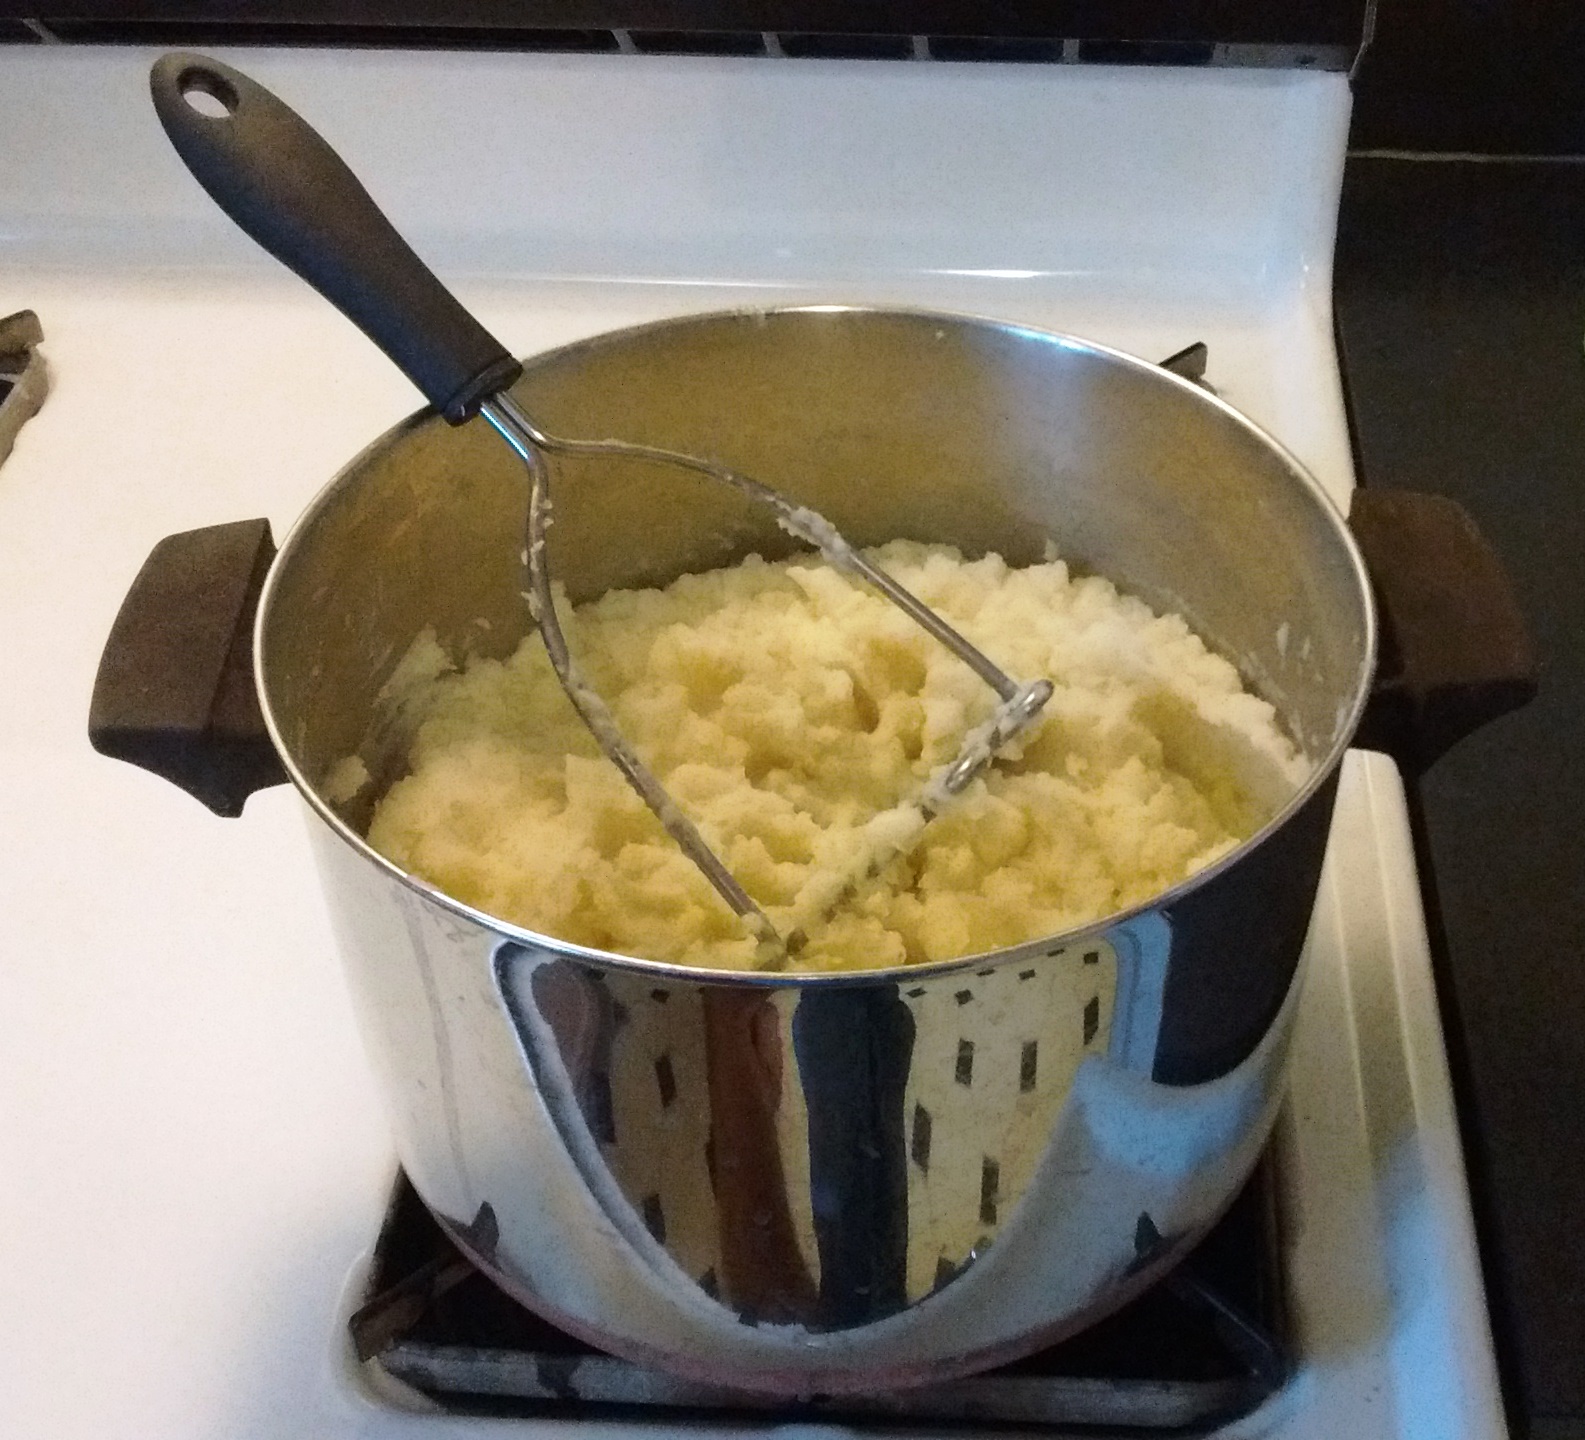
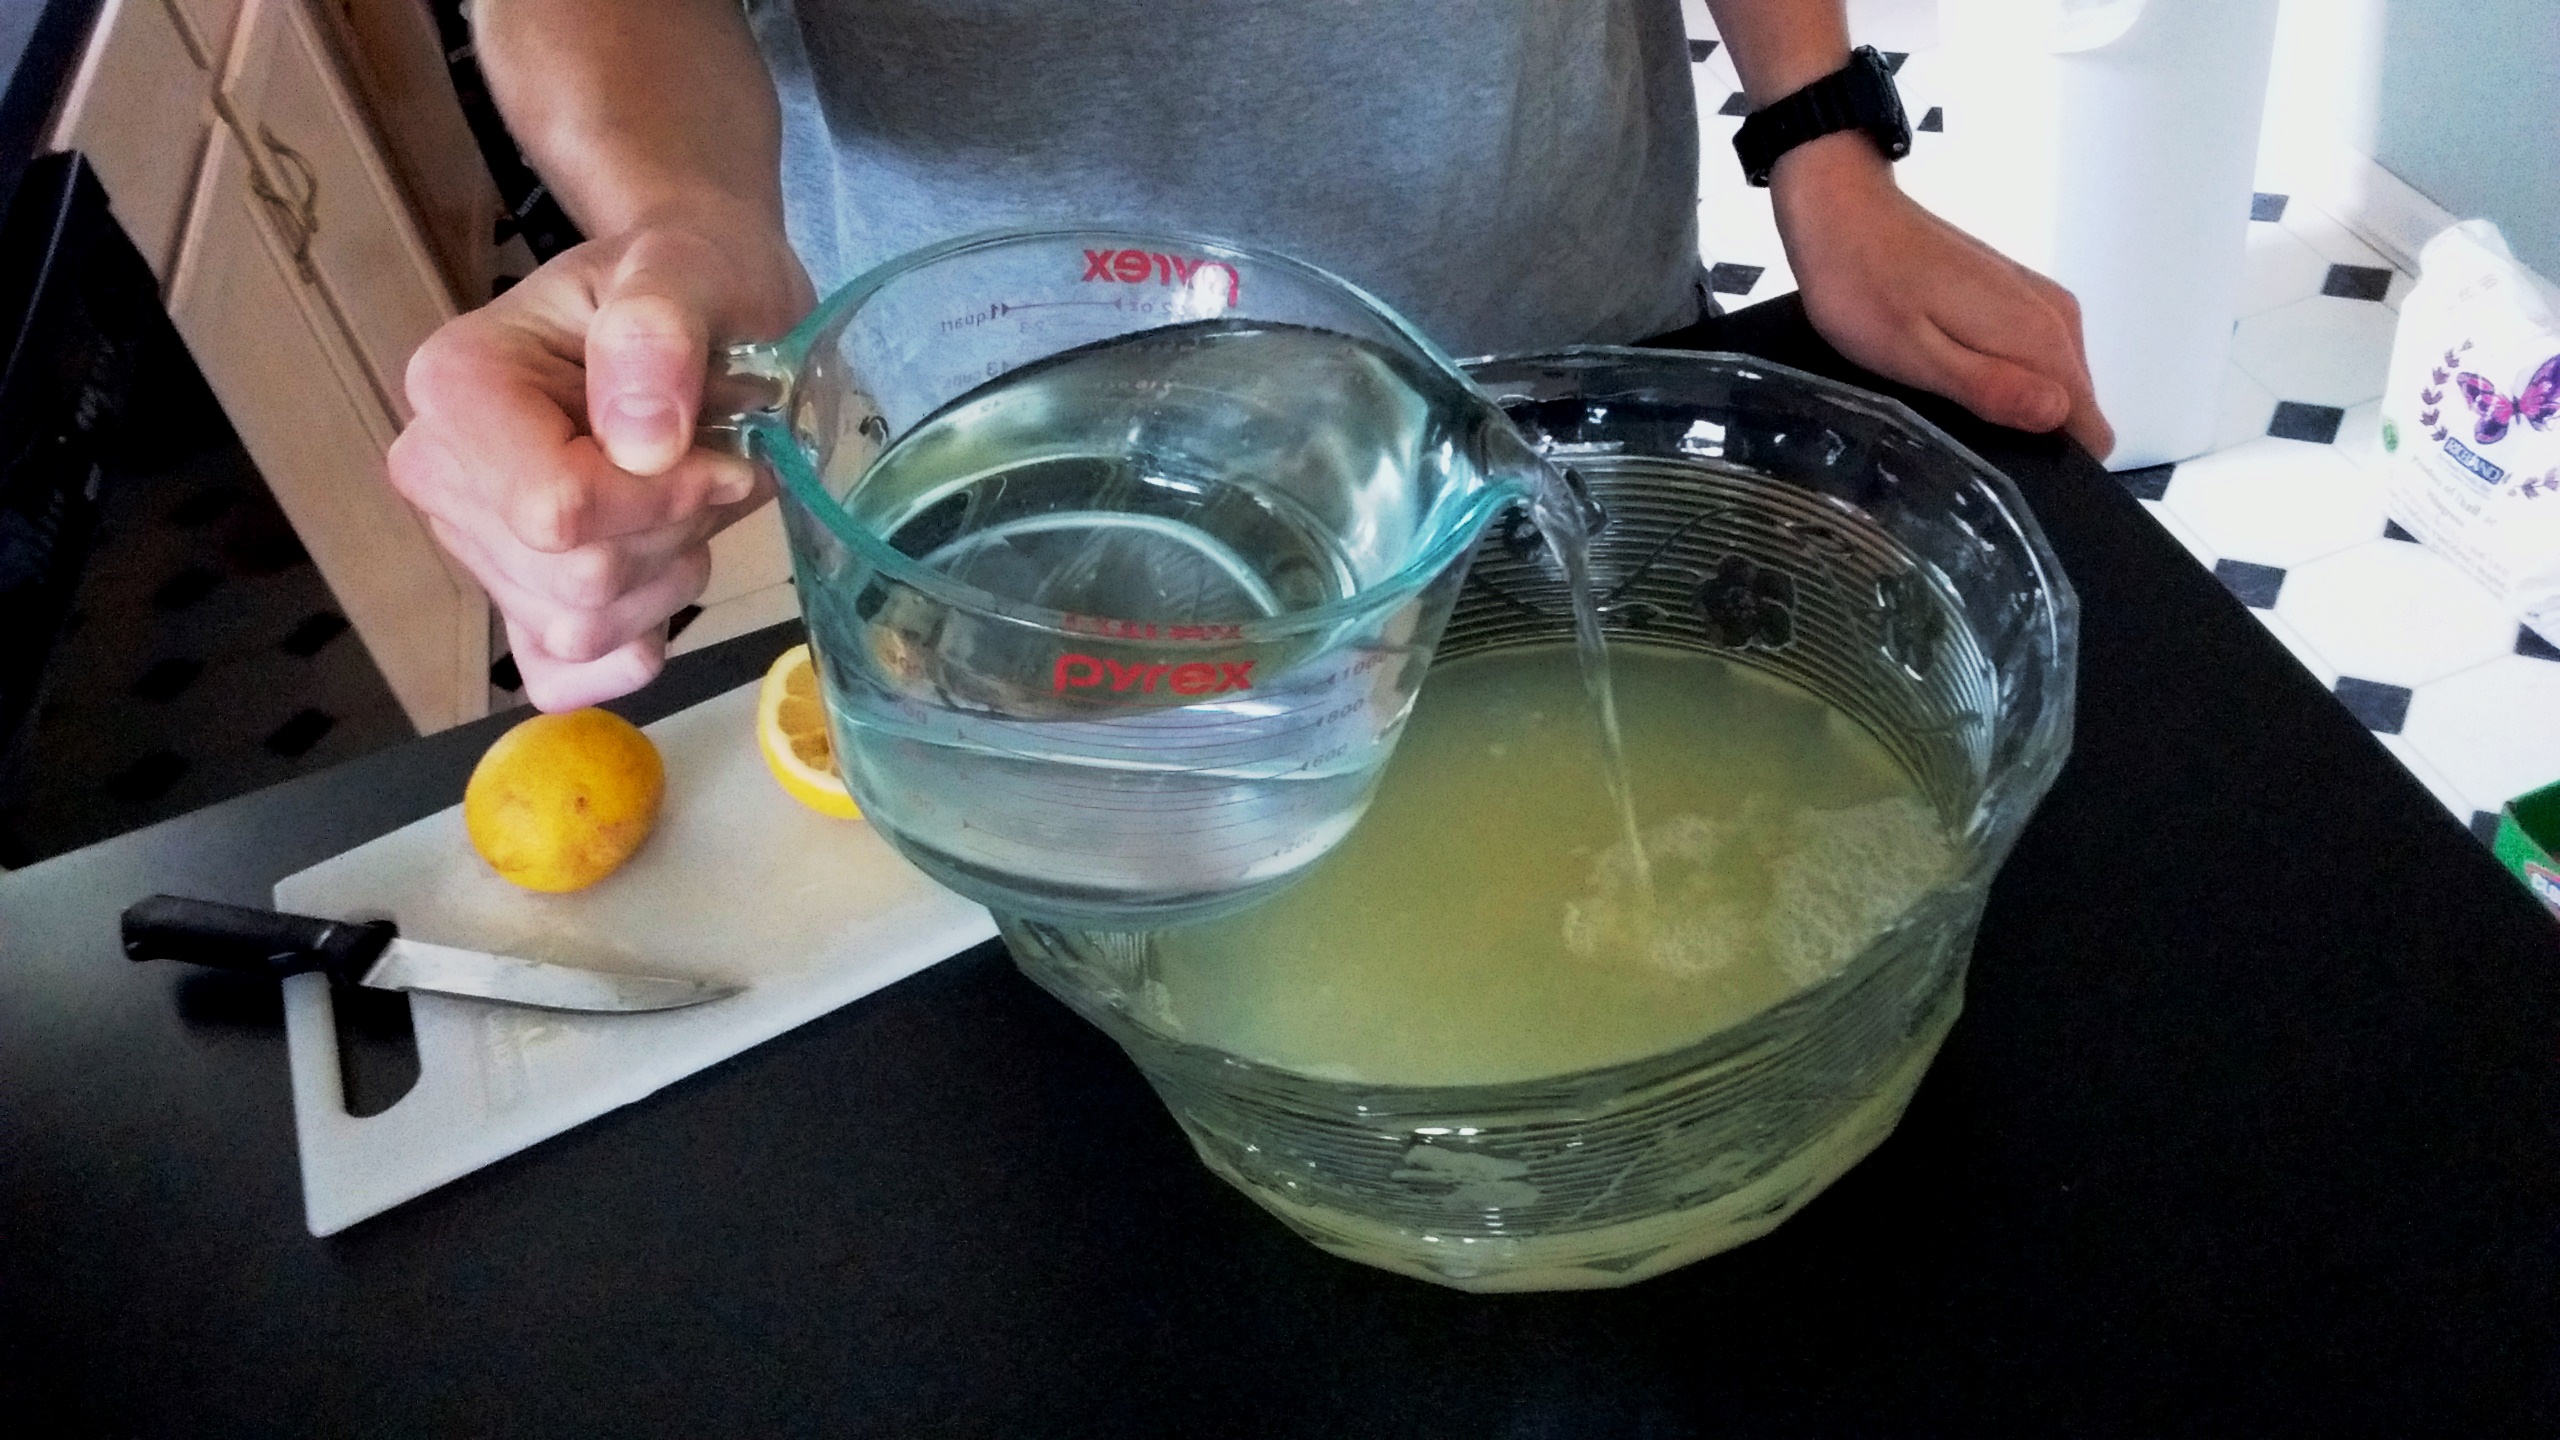
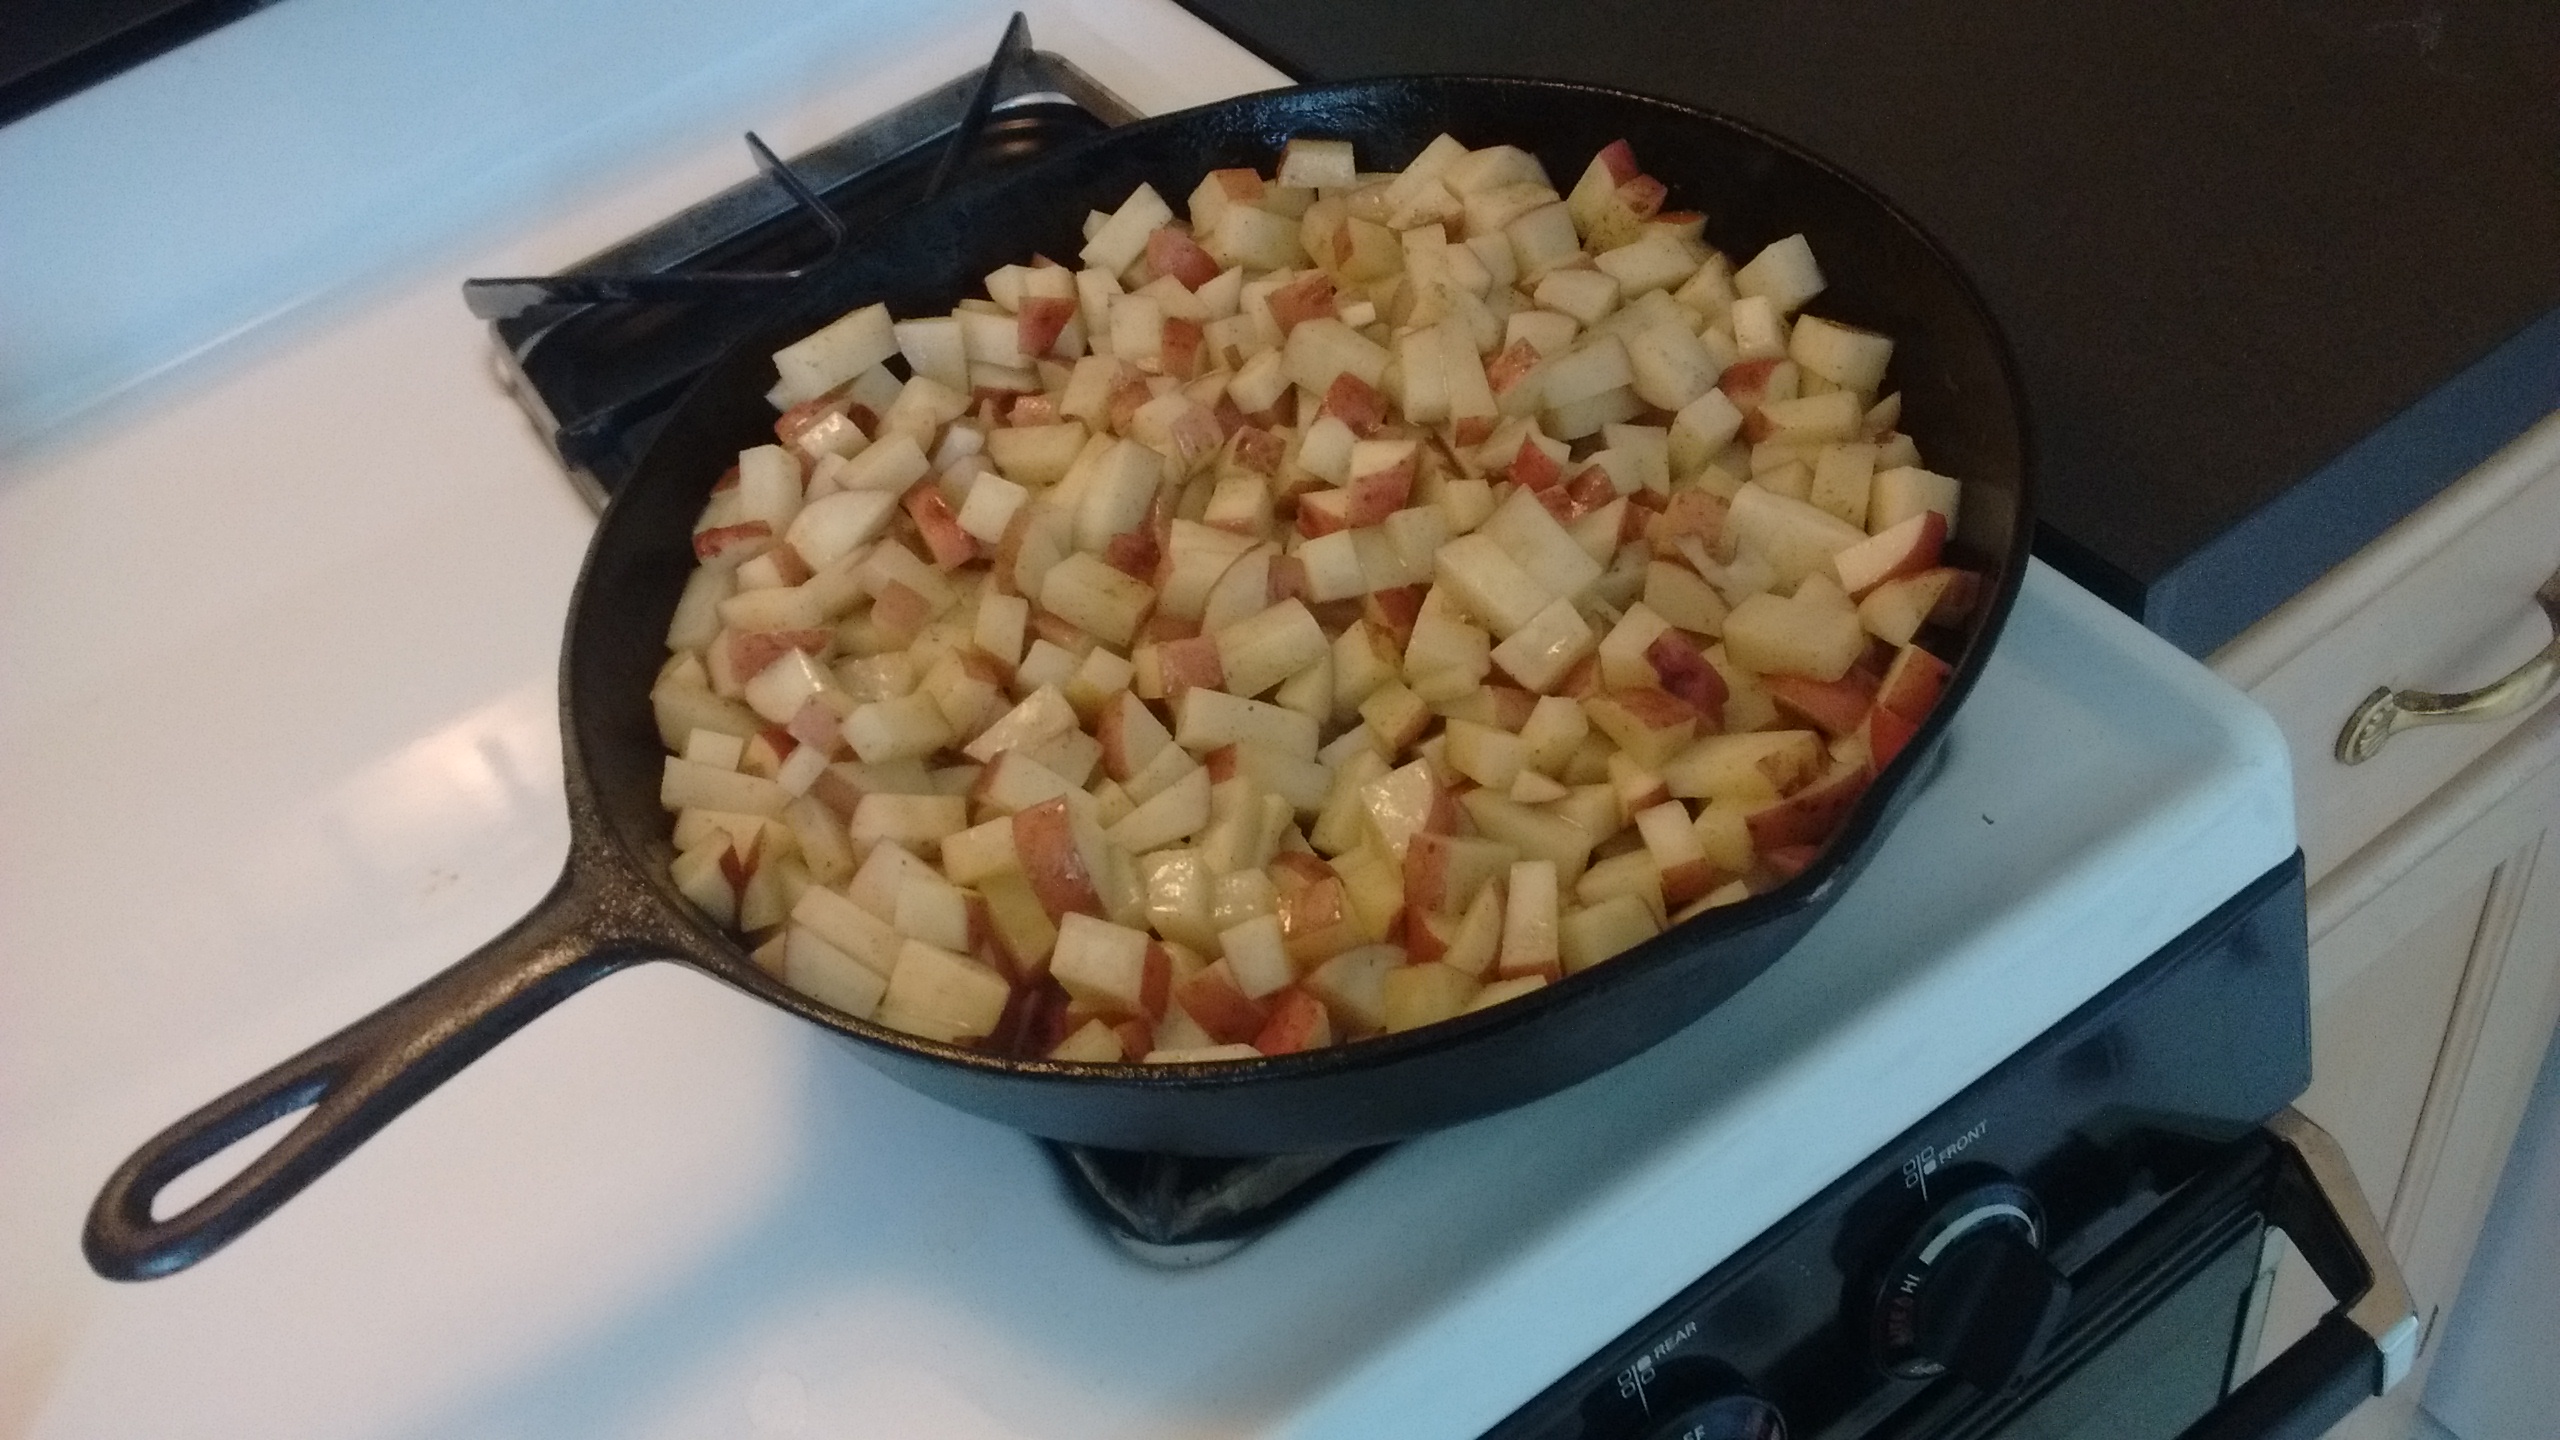
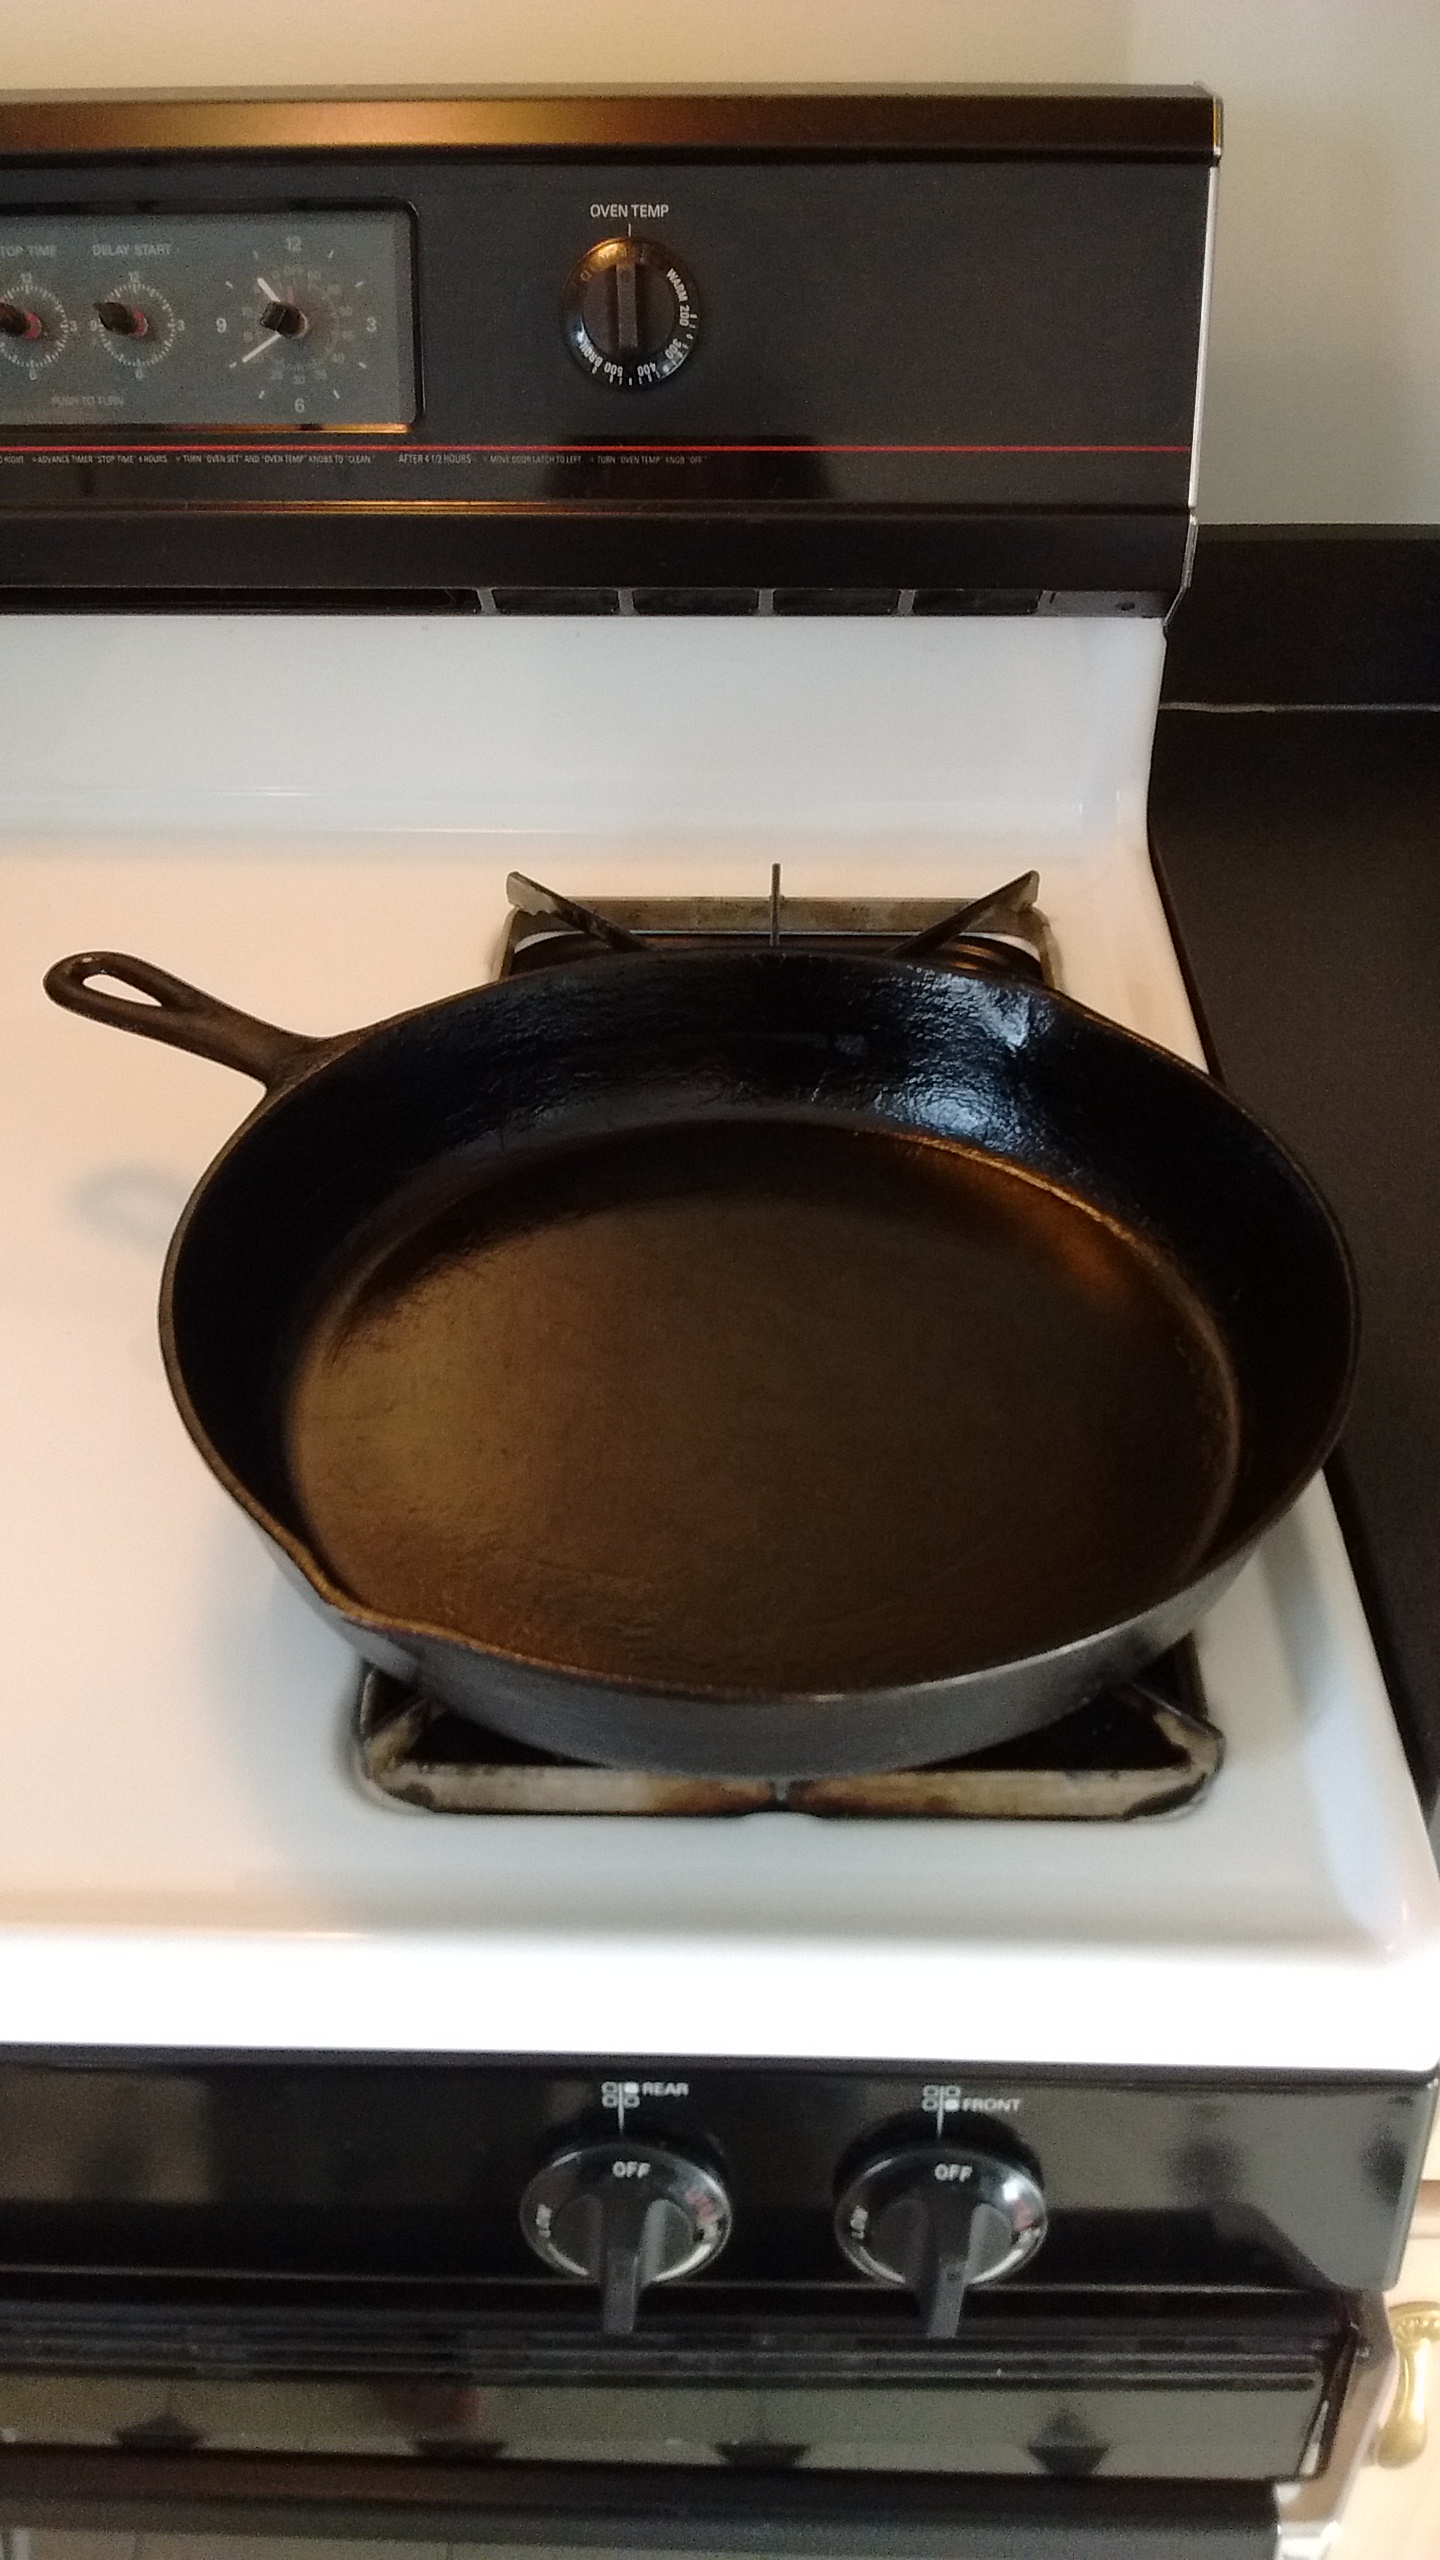
Sort and wash the apples.  Remove the stems and blossom ends.  Do not pare or core the apples.  Cut them into small pieces.  Add the water, cover, and bring to a boil on high heat.  Stir occasionally to prevent scorching.  Reduce the heat and simmer the mixture for 20 to 25 minutes, or until the apple pieces are soft.  Do not over boil or you’ll destroy the pectin, flavor, and color in the fruit.

Dampen a jelly bag and suspend over a clean bowl.  Ladle the cooked apples and liquid into the jelly bag and allow the juices to drip through on their own.  Pressing out the juice will result in cloudy jelly.  If a fruit press is used, pass the juice through a jelly bag to reduce cloudiness.

Pour the apple juice into a flat-bottomed pot.  Add the lemon juice and sugar.  Stir thoroughly.  Boil the mixture over high heat to eight degrees above the boiling point of water (this temperature depends on where you live in regards to sea level) or until the jelly sheets from a spoon.  Remove the jelly from the heat and quickly skim off the foam.

Immediately pour the jelly into hot, sterile jars.  Be sure to leave ¼ inch headspace.  Wipe the rims with a clean, damp paper towel.  Fit a canning lid into a ring and place on the jars of jelly.  Take care to level and tighten them properly.  Process the jars in a water bath canner.  The time required will depend on the altitude at which you live:

0 – 1000 ft. for five minutes

1001 – 6000 ft. for 10 minutes

Above 6000 ft. for 15 minutes

Remove the processed jars using canning tongs.  Allow the jars to cool on several layers of towels.  During this time, you’ll hear the lids pop indicating successful canning.  You can remove the rings for reuse once the lids pop and the jars cool.  Any lid that does not pop has not sealed properly.  These jars should be cooled and refrigerated for immediate use.  This recipe yields about four to five half-pint jars of golden sweet deliciousness.

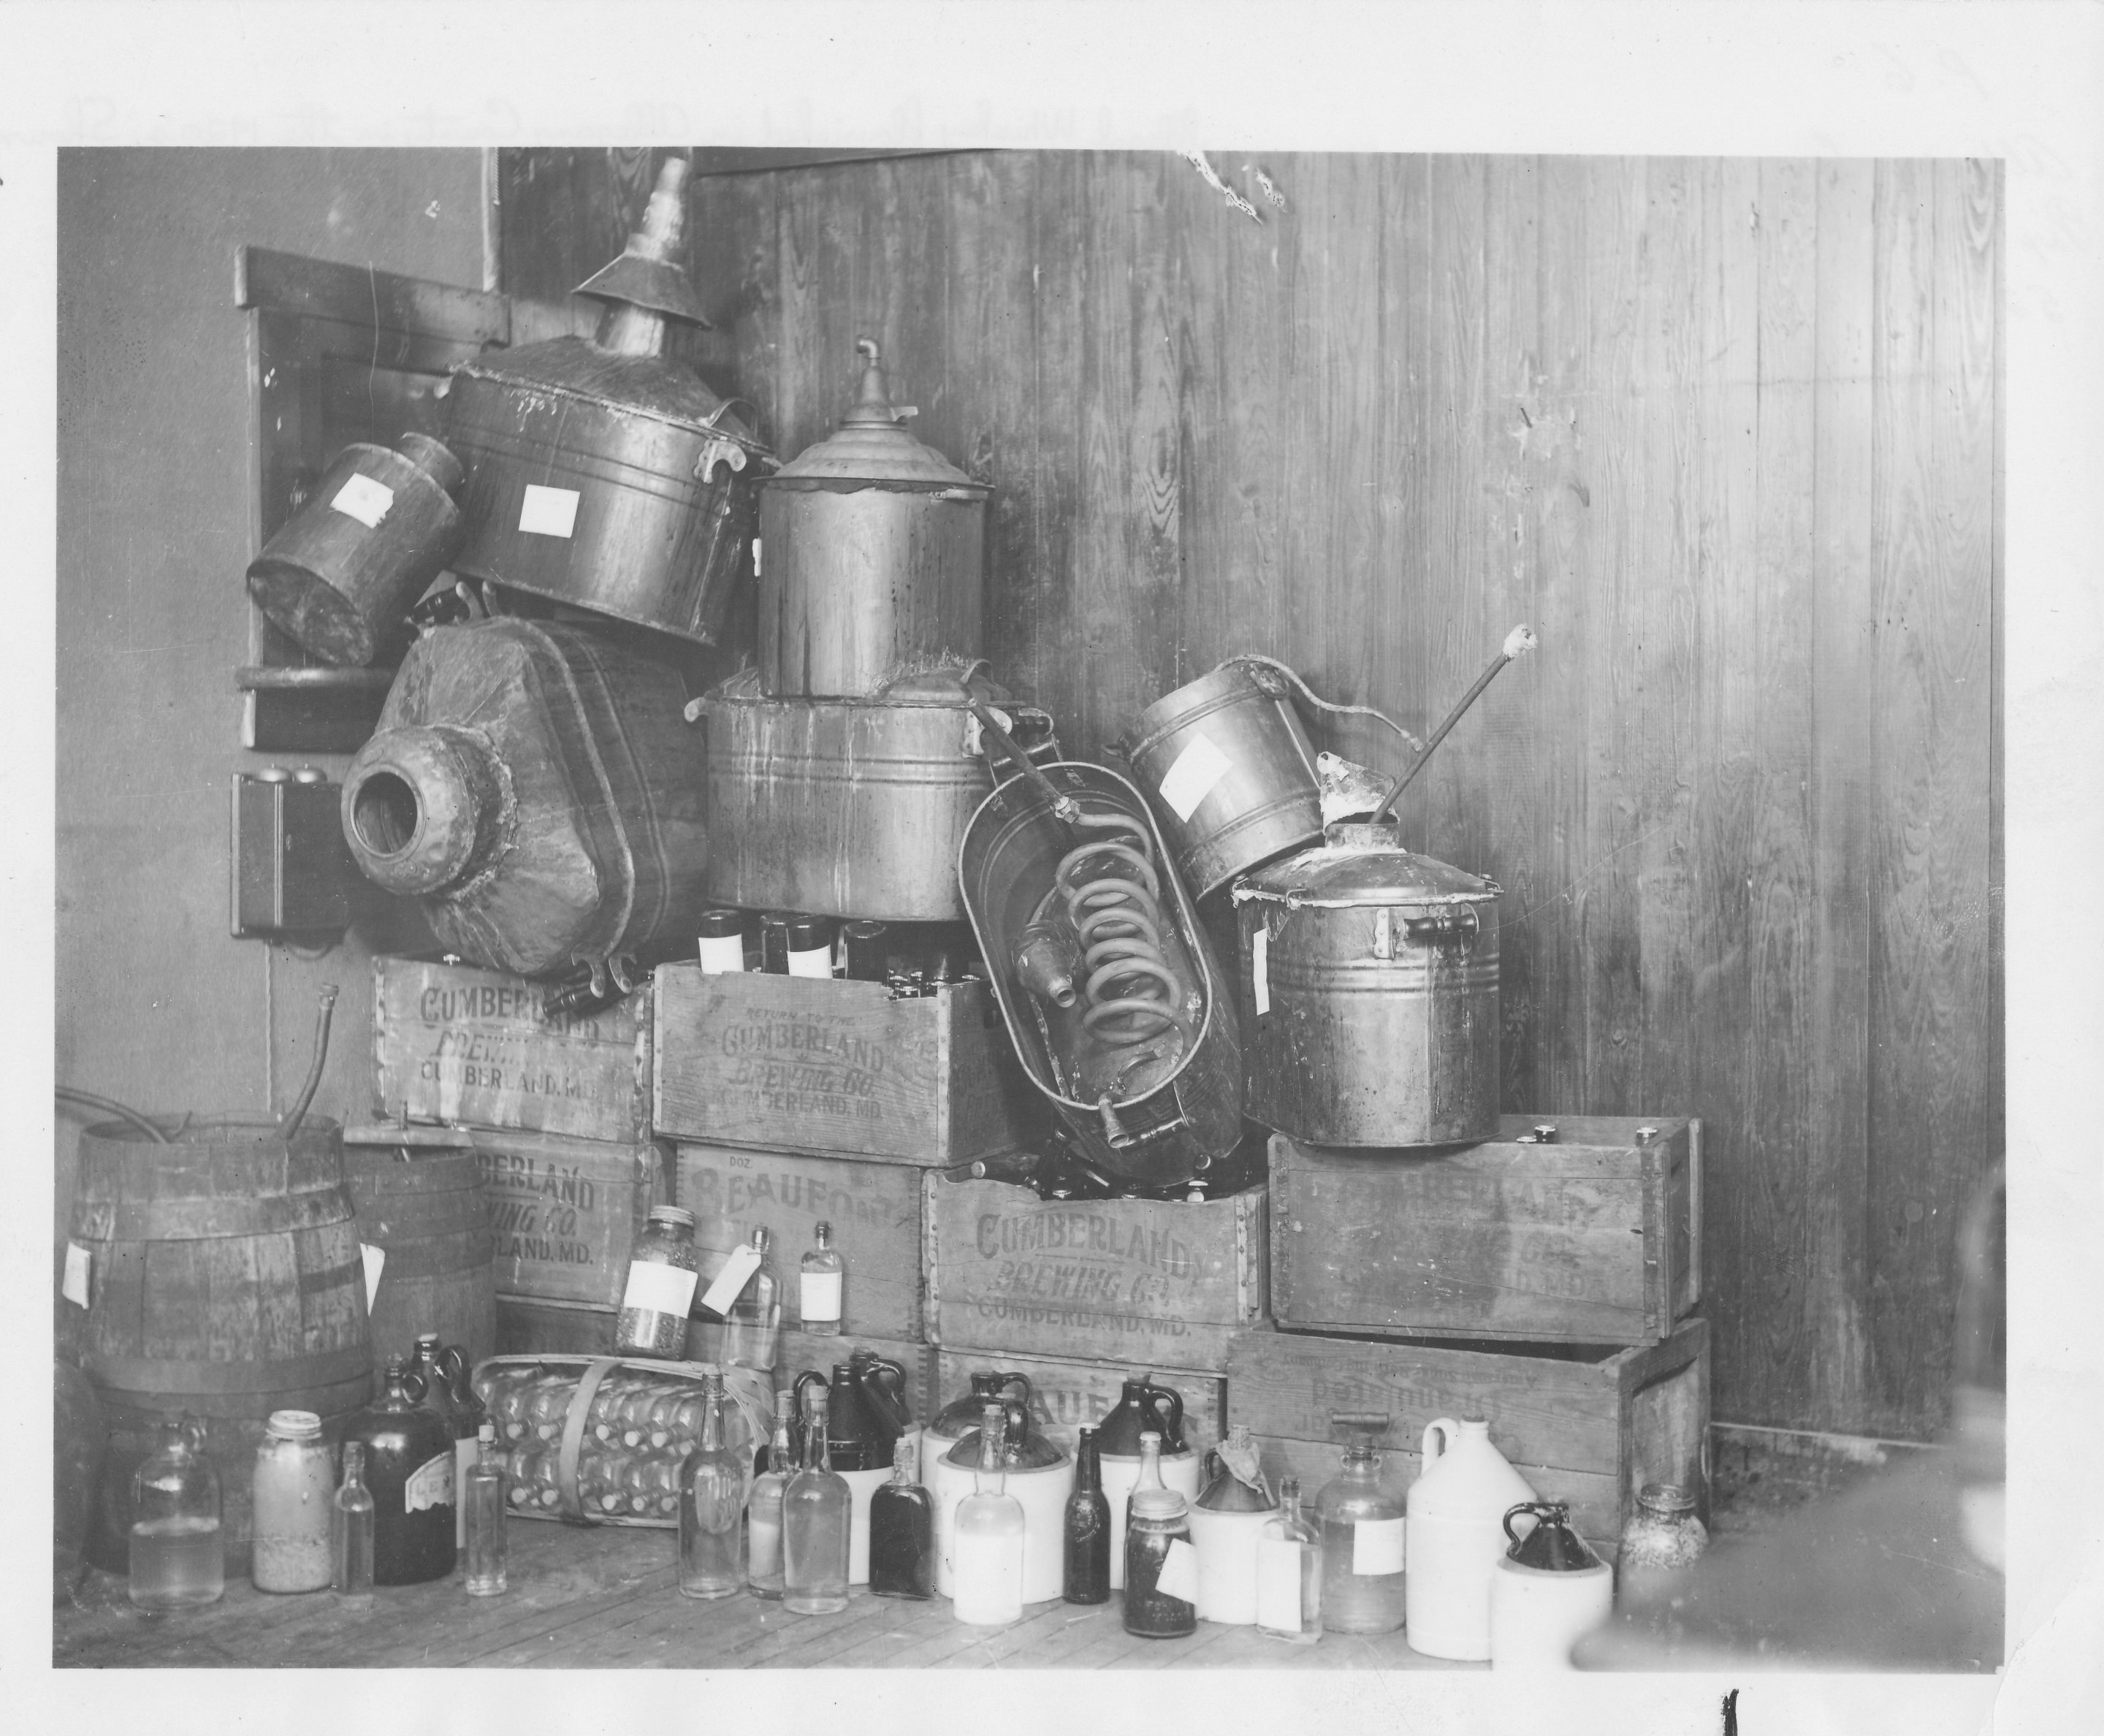
Now it’s time for the confession portion of this post.  Thinking like a modern woman, I had Collie making the apple jelly a few days before she served it for Christmas.  In my world, one would simply go to the store for apples or pull them from the refrigerator where they waited patiently to be eaten or made into something delicious.  Refrigerators for home use weren’t invented until 1913, and I seriously doubt the Welles family would have had one by 1917.  They could have had a cellar, but I never mentioned this in the description of the house, and to do so for the sake of one scene would feel contrived.

Apples will last for six to eight weeks with refrigeration, but left on a counter, they will ripen ten times faster because enzymes are much more active at room temperature, and they will only last for a week or two.  More likely, Collie would have made the jelly during the months when apples were in season.  So while I made a small culinary mistake in my novel, fortunately I discovered it prior to publication.  As I’ve always said, the research begins with the author.  It will be easy to edit this scene by having Collie say she held back one jar to use on Christmas morning.

Do The Mash

do-the-mash-1Mashed potatoes figure in to my novel, The Secrets of Dr. John Welles, in a couple places. As I mentioned when I started Edible Fiction, I love to feed people whether real or imagined. For real people, it’s because I enjoy watching them appreciate what I’ve prepared. For my characters, I have discovered that food is an extension of the scene taking place and/or their personalities.

For Marian Watley Welles, wife of Johnny’s older brother, James, she attacked several mounds of mashed potatoes tipping off her mother-in-law, Collie, to the fact that she was pregnant. In fact, Collie’s suggestion to have another helping and Marian’s willingness to comply was what made Collie so sure of her daughter-in-law’s pregnancy. What hungry first-time mother could resist one of the ultimate comfort foods?

Another instance where I employed mashed potatoes was during Prudence’s first visit to the Welles Family Farm. Along with the other items Collie prepared for dinner, mashed potatoes featured on the menu. I wished to convey a homey setting complete with all the family favorites. Prudence forced herself into this scenario, upsetting the Welles Family, because deep in her heart, it’s what she longed for.

A high starch potato like Yukon Gold or Russet makes the fluffiest, smoothest mashed potatoes. They absorb flavors well (chicken broth when boiling, dairy when mashing). Avoid waxy potatoes like Red Bliss or fingerlings which have a tendency to turn gummy or gluey upon mashing. Choose one large potato per person when deciding upon quantity. I include one or two extra potatoes in case someone wants seconds or leftovers.

I didn’t used to believe it myself, but salting the water truly makes a difference. It’s the first step toward seasoning, so don’t skip it. Also, start with cold water to ensure even cooking. On the other hand, when adding your butter and cream, they should be warm. I do this in the cooking pot while my cooked potato chunks are draining in a colander. Your potatoes will absorb all the deliciousness of the dairy and you’ll have to work them less to incorporate the butter and cream. This means lighter, creamier potatoes.

Weapon of Mash Destruction

Weapon of Mash Destruction

And since we’re on the subject of overworking mashed potatoes, put down the hand-held mixer, place the food processor back on its shelf, and tell your standing mixer you’ll see it later. These devices are too aggressive and will turn your potatoes into grainy food glue. Pull your potato masher from the drawer and gently mash your potatoes. Remember, lumps are not a bad thing in mashed potatoes; they add to the homemade quality. If you insist on completely smooth taters, non-electric ricers or food mills are the only acceptable, alternative tools.

Perfect Mashed Potatoes

Yukon Gold or Russet Potatoes

1 stick unsalted butter (This quantity for a full pot. Adjust to taste as needed.)

Sea Salt

Freshly cracked pepper (I use quad-colored peppercorns.)

Whole milk or heavy cream (Amount of liquid also dependent on quantity of potatoes.)

Choose one large potato per person. Fill a large cooking pot with cold water and about a teaspoon of salt. Wash, peel, and cut the potatoes into evenly sized chunks. Place the chunks into the water while working to keep the potatoes from turning brown or gray.

Bring the water to a boil and cook the potatoes until the biggest chunk is tender. Pierce with a paring knife to check for doneness. Drain the potatoes but do not rinse.

Melt the butter in the pot over a low heat and stir in the milk or cream. You may need to adjust the liquid based on the quantity of potatoes, but keep in mind that you want the potatoes creamy without being too dry or too runny.  Add the cooked potatoes to the butter and milk or cream.  Mash gently with a hand-held potato masher.

Season with salt and pepper. Transfer to a serving bowl.

Enjoy!

do-the-mash-3

By the Light of the Silvery Moon

by-the-light-of-the-silvery-moonJohnny Welles believed the only thing he had in common with his father was a name. The elder John Welles, although present in body, was deficient in every way possible in his youngest son’s life. His father left the parenting of Johnny and his three siblings to their stepmother, Collie. While Collie’s influence in their young lives kept them on the straight and narrow path, their father’s absence had a negative impact, especially on Johnny. The effect would have far-reaching consequences and make Johnny question as an adult which was stronger in his life: nature or nurture.

John Welles the elder’s downfall was the result of his predilection for alcohol. His poison of choice, moonshine, also known as white lightning, hooch, homebrew, mountain dew, white whiskey, and white liquor, is a high-proof, distilled spirit often produced illegally from unlicensed stills. The liquor, rarely aged in barrels and coming in at 190 proof, is typically made with corn mash.

One source stated that the term moonshine came from moonrakers, used for early English smugglers and the clandestine nature of the operations of the illegal Appalachian distillers who produced and distributed whiskey. Another stated that it was due to the fact that distillers always worked at night. I suspect it’s a little of both.

Despite its illegal status, or perhaps because of it, John Welles the elder managed to make just enough money to indulge in his favorite addiction to his own detriment and that of his family. So why was moonshine illegal then and still today? Per Michelle Tsai’s 2007 post, Why is Moonshine Against the Law?:

Because the liquor is worth more to the government than beer or wine. Uncle Sam takes an excise tax of $2.14 for each 750-milliliter bottle of 80-proof spirits, compared with 21 cents for a bottle of wine (of 14 percent alcohol or less) and $.05 cents for a can of beer. No one knows exactly how much money changes hands in the moonshine trade, but it’s certainly enough for the missing taxes to make a difference: In 2000, an ATF investigation busted one Virginia store that sold enough raw materials to moonshiners to make 1.4 million gallons of liquor, worth an estimated $19.6 million in lost government revenue. In 2005, almost $5 billion of federal excise taxes on alcohol came from legally produced spirits.

If it weren’t for the harmful effects the high proof and often poorly produced liquor has on people, I’d vote in favor of the moonshiners as our government has done such a pitiful job of handling our taxes and doesn’t deserve any more of our money.

Comfort Food

comfort-foodThe spring of 1920 sees the end of a turbulent time in the life of Johnny Welles. Three tragedies for which he feels responsible plague him until he seeks to escape the only life he’s ever known. Nothing his stepmother, Collie, or his three older siblings do helps to put Johnny’s mind at ease. Prudence Welles Mayfield, the aunt Johnny has never met, provides the solution to her nephew’s grief.

Prudence visits the Welles farm when Johnny is twelve with the express purpose of taking him to live with her in Baltimore. She has an agenda that will not only please her nephew, but will also satisfy her own hidden desires. Without waiting for an invitation to lunch, Prudence seats herself at the kitchen table to eat the simple, delicious food Collie prepared and reveal her plan.

I had fried okra in mind as a side dish when I wrote the scene above. It’s amazingly simple to make, but tastes incredible. The great thing about okra is that it can be canned for frying and enjoyed in the middle of winter or any other time the vegetable is out of season.  Simply open a jar, don’t rinse it, and proceed with the following recipe.

Collie’s Fried Okra

1 lb. fresh okra (choose small, bright green pods free of rust or black spots)

1 egg

Tabasco

1 c cornmeal

3 T flour

1 ½ t sea salt

½ t black pepper

⅛ t cayenne

Dash of garlic powder, optional

Peanut and/or canola oil for frying

Bring about one inch of oil up to 400° in an electric skillet or in a cast iron skillet with a thermometer to gauge the temperature.

Wash the okra and pat dry. Trim both ends and cut into ½ inch pieces. Mix the cornmeal, flour, salt, pepper, and cayenne. Add garlic powder to this step if using. Toss the dry ingredients with a fork to blend.

Break the egg into a bowl and add several hearty dashes of Tabasco. Beat the egg thoroughly. Dip one-third of the okra in the beaten egg and toss to coat. Transfer the okra to the dry mixture and stir to ensure the pieces are thoroughly covered.

Carefully float the coated okra in the heated oil in small batches. Allow them to cook on one side then turn them to finish cooking on the other. When the coating is golden brown, transfer the okra to a paper towel-lined plate to drain. Repeat with the remaining okra.

Season with more sea salt if desired. Keep the okra warm in a baking dish in the oven while cooking in batches. Serve warm.

Enjoy!

comfort-food-4

When Life Gives You Lemons

When Life Gives You Lemons 3In June of 1920, Prudence Welles Mayfield picked up her nephew, John, to take him to Baltimore to live with her.   The event proved to be a difficult time for her and her sister-in-law, Collie Mercer Welles.

Collie, the midwife who delivered John, raised him from the day he was born when his mother died due to complications from childbirth. She knew the opportunity to live and attend school in Baltimore would be one she could never provide for her youngest child, but the thought of letting him go broke her heart. For Prudence, anxiety came from her insecurities about parenting her nephew when she had absolutely no experience. A dose of guilt also plagued her because she alone knew her intentions weren’t as altruistic as they appeared on the surface.

When Life Gives You Lemons 1The two women were never close and barely tolerated each other at best. The only thing they had in common was their deep, abiding love for John. They would never let him see them quarrel over his upbringing. And yet, a gentle tug of war went on just below the surface as they vied for John’s affections. Collie’s last ditch effort to lure her young son back to his family and life on the farm was the simple picnic she sent with Prudence and John for the trip to Baltimore. She hoped her good cooking, the favorite dishes John grew up eating, would produce a change of heart in the boy. Included with the meal was a Mason jar of lemonade, sweet and chilled, the perfect taste memory that would hopefully send John fleeing from his rich aunt and back into Collie’s waiting hug.

My own memories of lemonade began with that made by my Aunt Ann for family picnics. I remember she served it in a large brown crock; such an unusual container for a kid who grew up with Country Time Lemonade drink mix and Tupperware pitchers. I’ll never forget the first time I tasted Aunt Ann’s lemonade, lightly sweet and refreshing, as delicious as any food item on the picnic table at our family gathering.

The following recipe is the one that I had in mind when I wrote the above-mentioned scene. It’s every bit as wonderful as what my Aunt Ann made, and I hope you and your family will enjoy it.

Homemade Lemonade

6 – 8 large lemons, enough for 1 c of juice

1 c sugar, I use raw

1 c water

8 c water

Squeeze enough lemons for one cup of juice and set aside. Cut remaining lemons into slices to float on the lemonade. Mix the sugar and one cup of water in a saucepan over medium heat. Stir until the sugar is dissolved and the mixture is heated through. Do not boil or scorch. Allow the sugar syrup to cool completely.  Raw sugar will produce a darker syrup and a deeper yellow lemonade, but it absolutely will not alter the flavor.

To prepare the lemonade, pour the lemon juice in a large glass bowl or crock, stir in the cooled sugar syrup and the 8 c of water. Float lemon slices on the surface. Stir thoroughly, cover with plastic wrap, and chill for at least an hour in the refrigerator.

For individual servings, fill glasses with ice and a slice of lemon. Ladle the lemonade over this and serve.  For a pitcher or beverage dispenser, fill the container with ice layered with lemon slices, pour the lemonade over this, and serve.  The ice will melt into the lemonade and dilute the tangy/sweet mixture to the perfect flavor.

When Life Gives You Lemons 2

One Potato, Two Potato

Fried PotatoesI’ve heard the Irish are fond of their potatoes, but I suspect Americans are a close second when bestowing favoritism on tubers.  Baked, fried, roasted, or mashed, potatoes are not only a staple, they are comfort food.  This is probably what midwife Collie Mercer had in mind as she prepared a celebratory breakfast including fried potatoes for the Welles family to mark the arrival of the newest sibling, John.  Not to mention the hearty meal would sustain them on that cold December morning.

Fried potatoes are one of those dishes you learn to prepare by watching your mother or grandmother.  Recipes for fried potatoes probably exist but really all one needs is a little know-how.  Russets, America’s most popular potato type, are good for frying.  I use a mushroom brush to scrub the skins as I rinse them under cold water.  You can peel them if you choose.  One to two potatoes per person is plenty depending on the appetite of your guests and what else you may be serving.

Cut the potatoes into half-inch chunks and place them in a bowl of salted cold water until the task is complete.  This will keep the potatoes from turning an unbecoming shade of gray.  Drain the chunks and pat dry.

Grab your cast iron skillet as the non-stick variety will not get hot enough.  Peanut oil is the best for frying, but I imagine Collie made hers in butter.  When I use butter, it is unsalted.  In either case, the skillet should be hot enough that the oil will ripple on the surface without smoking or the butter will melt quickly and bubble.

Add the potatoes but don’t overcrowd the skillet.  Brown until crispy on the edges then flip the potatoes and repeat on the other side.  You can cover the potatoes at first, but be sure to remove the lid for the last bit of browning or they will be soggy.  Garlic, onions, and red or green peppers make tasty additions to this humble dish.  Season with salt and pepper to taste and serve hot.  Slices and shreds can be prepared in exactly the same way.

Enjoy!

Hammin’ It Up

Lyla Welles had one mission in life: protect her children from the hard hand of their father. So when her youngest child, John, was born on a cold December morning in 1907, the delivery-weakened mother worried that she wouldn’t have the strength to see her goal through.

Oblivious to his wife’s concerns, John Welles the elder saw the birth of his fourth child, third son, as cause for celebration. He indulged his appetite by breakfasting on the good food prepared by the midwife, Collie Mercer.

The following recipe is the one I had in mind when I wrote the above-mentioned scene for my novel, The Secrets of Dr. John Welles. While many people enjoy ham, redeye gravy is somewhat of an acquired taste. The salty flavor is enhanced by the strong coffee, and although redeye is thinner than other breakfast gravy, it’s quite rich.

Enjoy!

Ham Steak and Redeye Gravy

1 bone-in, fully cooked ham steak, approximately 1 lb.

½ c strong black coffee

¼ c water

2 T unsalted butter

Salt and pepper to taste

Heat a 12-inch, cast iron skillet on high heat until it is hot. Carefully test for degree of warmth with your hand above the skillet. Place the ham steak in the skillet once it is heated all the way across. Brown the ham steak on both sides. There should be a nice quantity of drippings and ham tidbits in the bottom of the skillet. Don’t burn this or the meat.

Once the ham steak is heated through, remove it to a platter and place in a warm oven. Add the butter, coffee, and water to the skillet and gently scrape the skillet to loosen any browned pieces. Season with salt and pepper to taste. Stir gently until the gravy is reduced by at least one-third. A gentle boil is acceptable, but take care not to scorch the gravy, or it will taste burnt.

Pour the gravy over the ham steak on the platter and serve.

Hammin' It Up

Juicy and Delicious

Egg On My Face

What could be more delicious or simple than a fried egg? There is so much about the egg that I could say (the history of eggs, uses in different cultures, health benefits, recipes, etc.) but won’t. There are tons of websites devoted to the creation of the perfect fried egg including debates on cast iron versus non-stick skillets. There are sites encouraging the incorporation of the fried egg into everything from bowls of rice and/or veggies to plopping it down on top of ciabatta bread and tomatoes then sprinkling with feta cheese and arugula, thus elevating the humble fried egg to a snazzy dinner item. And don’t get me started on the various methods of frying with absurd names like “animal style” and “press down.” One ill-informed person even suggested that the perfect fried egg wouldn’t have crispy brown edges. Seriously? That’s the best part.

I guess I’m old school and harken back to the days when the toughest decision one had to make about fried eggs was whether or not you wanted the yolk hard or soft. This simplicity of thought is where my mind drifted as I wrote the scene in my novel, The Secrets of Dr. John Welles, when midwife Collie Mercer makes a celebratory breakfast for the Welles family in honor of the new baby she has just delivered.

The Welleses lived on a farm, so naturally eggs were part of their diet in some fashion on a daily basis. I imagine nothing fancier than scrambled or fried eggs ever appeared on the Welles children’s plates, not even an omelet. But I also know that the eggs were prepared with love. And while a wide variety of foods may not have been an option, no boxes of colorful cereal or flaky croissants, the children were no doubt raised with an appreciation for an abundance of good food prepared simply.

There isn’t an exact recipe involved with this post. In many ways, the preparation of a great fried egg is a combination of common knowledge and simple logic with a dash of familial preference for good measure.

The Perfect Fried Egg

Fresh eggs – we obtain ours from a neighbor down the street

Butter

Salt & pepper

Cast Iron Skillet – our preference at the Gibson household

Pre-heat a cast iron skillet on the stove. Melt about ½ T of butter in the pan per egg until it bubbles. Don’t brown or burn the butter. Crack your eggs directly into the skillet, spacing evenly around the circumference depending on the quantity of eggs and size of the skillet.

Break the yolks at this point if you want them hard. Allow the underside to set up before flipping them to continue cooking on the other side. They are done when the yolk it set and the edges reach desired crispness.

Or, when the underside of the white turns opaque, you can pour a little water in the pan and cover to steam your eggs to doneness. This is usually done for a soft yolk. No flipping required.

Season the cooked eggs with salt and pepper to taste. Serve hot and enjoy!

Cast Ironclad Alibi

One of my most prized possessions is the cast iron skillet I inherited from my beloved Grandma Smith. The skillet is twelve inches in diameter and easily weighs as much as my Kia Spectra. I have to use both hands to lift it, and if it weren’t so unwieldy, it would make one heck of a weapon.

I know I surprised Grandma when I asked her if I could have the skillet when she broke up housekeeping. She was leaning toward giving rest-home living a try about a year after my Grandpa had passed. I assured her there was no rush and that I’d wait until she was completely ready to part with it.

“What do you want that ole thing for?” she asked and laughed.

I explained to her that is was infused with memories of her and all the delicious things she ever cooked in it. She smiled sweetly, I imagine still somewhat amazed that I’d asked for it, and said okay.

The day my father brought it home to me was actually kind of a sad day. Grandma was still with us, but her days of clomping about the kitchen (she wasn’t exactly light on her feet) and directing the creation of large meals for family gatherings were over.

Unfortunately, I let the pan sit for many years because I was too intimidated to use it. I wasn’t sure I could live up to my Grandma’s reputation as a great cook. Besides, I had a shiny set of Revere Ware Copper Bottom pots and pans. They were dishwasher safe; the cast iron skillet was not.

So, Grandma’s skillet languished in my stove, setting off the fire alarms every time I forgot to remove its oil-preserved self from the oven prior to preheating. I’m ashamed to say that I moved it to the storage shelves in the basement. Its presence was replaced with a non-stick skillet from my mother.

A couple of years ago when I began writing my novel, The Secrets of Dr. John Welles, the skillet drifted back to the edges of my memory. As I mentioned in a previous blog post (Edible Fiction), I love to feed people, both real and imagined. One of my characters, Collie Mercer, is responsible for a great deal of the food mentioned in my novel. Without realizing it, every time I wrote about Collie cooking, without even stating it, I pictured her using a large, cast iron skillet exactly like my Grandma’s.

Black Beauty with a gleaming coat of oil.

Black Beauty with a gleaming coat of oil.

Long story short, the skillet, re-seasoned and currently in use, now reigns supreme in my kitchen. I never thought I could fall in love with a cooking implement, but I have. Who knew that cast iron was not only healthier for you, but the non-stick qualities put the new skillets to shame? And keeping it seasoned is not the chore I initially believed it to be.

There is so much about cast iron that I want to share with you, but I’ll direct you to two books, The Cast Iron Skillet Cookbook by Sharon Kramis & Julie Kramis Hearne, and The New Cast Iron Skillet Cookbook: 150 Fresh Ideas for America’s Favorite Pan by Ellen Brown. What I love about these books, besides the delicious recipes, is the sentiment the authors express for the cast iron cookware they inherited.

So, whether you’re starting out with a brand new piece of cast iron, rescuing an old relic from the back of someone’s cupboards, or just pulling out Grandma’s skillet to use for making dinner, get your hands on a piece of cast iron and fall in love with cooking all over again.

Sweet Distractions From Life

IMG_20151010_184243495[1]Collie Mercer is the type of woman who believed that children should be protected from all that is bad in the world. This is exactly what she did for the four Welles siblings in my novel, The Secrets of Dr. John Welles.

Whether shielding them from the overly harsh discipline of their oft drunk father, news of the Great War in Europe, or details of the Flu Pandemic, Collie worked hard to ensure peace for the children she was raising.

Her tactics could be as simple and comforting as a batch of homemade molasses cookies. Of course, any of Collie’s delicious recipes supplied the distraction and reassurance her stepchildren needed as she brought them together time and again to the table as a family.

When I wrote the scene involving Collie’s molasses cookies, I had a soft cookie in mind but no recipe. I don’t care for crisp molasses cookies, and while I enjoy the chewy version, I adore the soft ones best. Thanks to my friend, Gayle Hoffman, I finally have a recipe for soft molasses cookies such as Collie would have offered that are tender, delicious, and easy to make.

Enjoy!

Gayle Hoffman’s Soft Molasses Cutout Cookies

1 c shortening (I used unsalted butter)

½ c sugar (I used raw)

½ c packed brown sugar

2 eggs

1 c dark molasses

5 ½ c flour

1 T baking soda

1 ½ t ginger

1 t cinnamon

¾ t salt

½ c water

Preheat your oven to 350°. I worked with a KitchenAid stand mixer.

Cream the shortening or butter and both sugars about five minutes. Add the eggs one at a time. Beat in the molasses.

Combine and sift the flour, baking soda, ginger, cinnamon, and salt. Add to the cream mixture by large spoonsful, mixing well and scraping down the sides of the bowl as needed. I suggest adding the water alternately with the dry mixture as the batter thickens. When completely mixed, it should be soft and pliable.

Cover or wrap the dough and refrigerate for at least three hours. This will make for easier handling and rolling.

Divide the dough into four sections and refrigerate the other three to keep the dough firm. Roll one section at a time, approximately 3/8” thick, on a surface dusted with a half flour/half powdered sugar mixture. Cut with your favorite cutter.

Bake at 350° for 10 – 11 minutes. You may need to adjust the baking time depending on how large or small your cut cookie is.  Allow to cool on a rack and dust with more powdered sugar.  An alternate topping would be to dust with sanding sugar prior to baking.  Store in an airtight container. Freezes well.

IMG_20151010_174815685[1]

%d bloggers like this: