Doughnuts and Dilemmas

The summer of 1949 was a time of trial and error for Dr. John Welles as he moved forward in his relationship with diner owner, Bea Turner.  Unbeknownst to the doctor, a secret from Bea’s past was about to spill over into his life and drastically change the course of their association.  Already Bea had begun dealing with the misfortune headed their way, but for Dr. Welles, the decisions he made regarding the woman he loves would resurface years later in a most unwelcome way.

On the day after Bea’s bad luck returned, she tried to hurry her patrons along so she could take action to protect herself.  She offered them homemade doughnuts to take along to their jobs at the railyards, but her plan backfired, and the men stayed around drinking their coffee and eating Bea’s delicious baked goods.

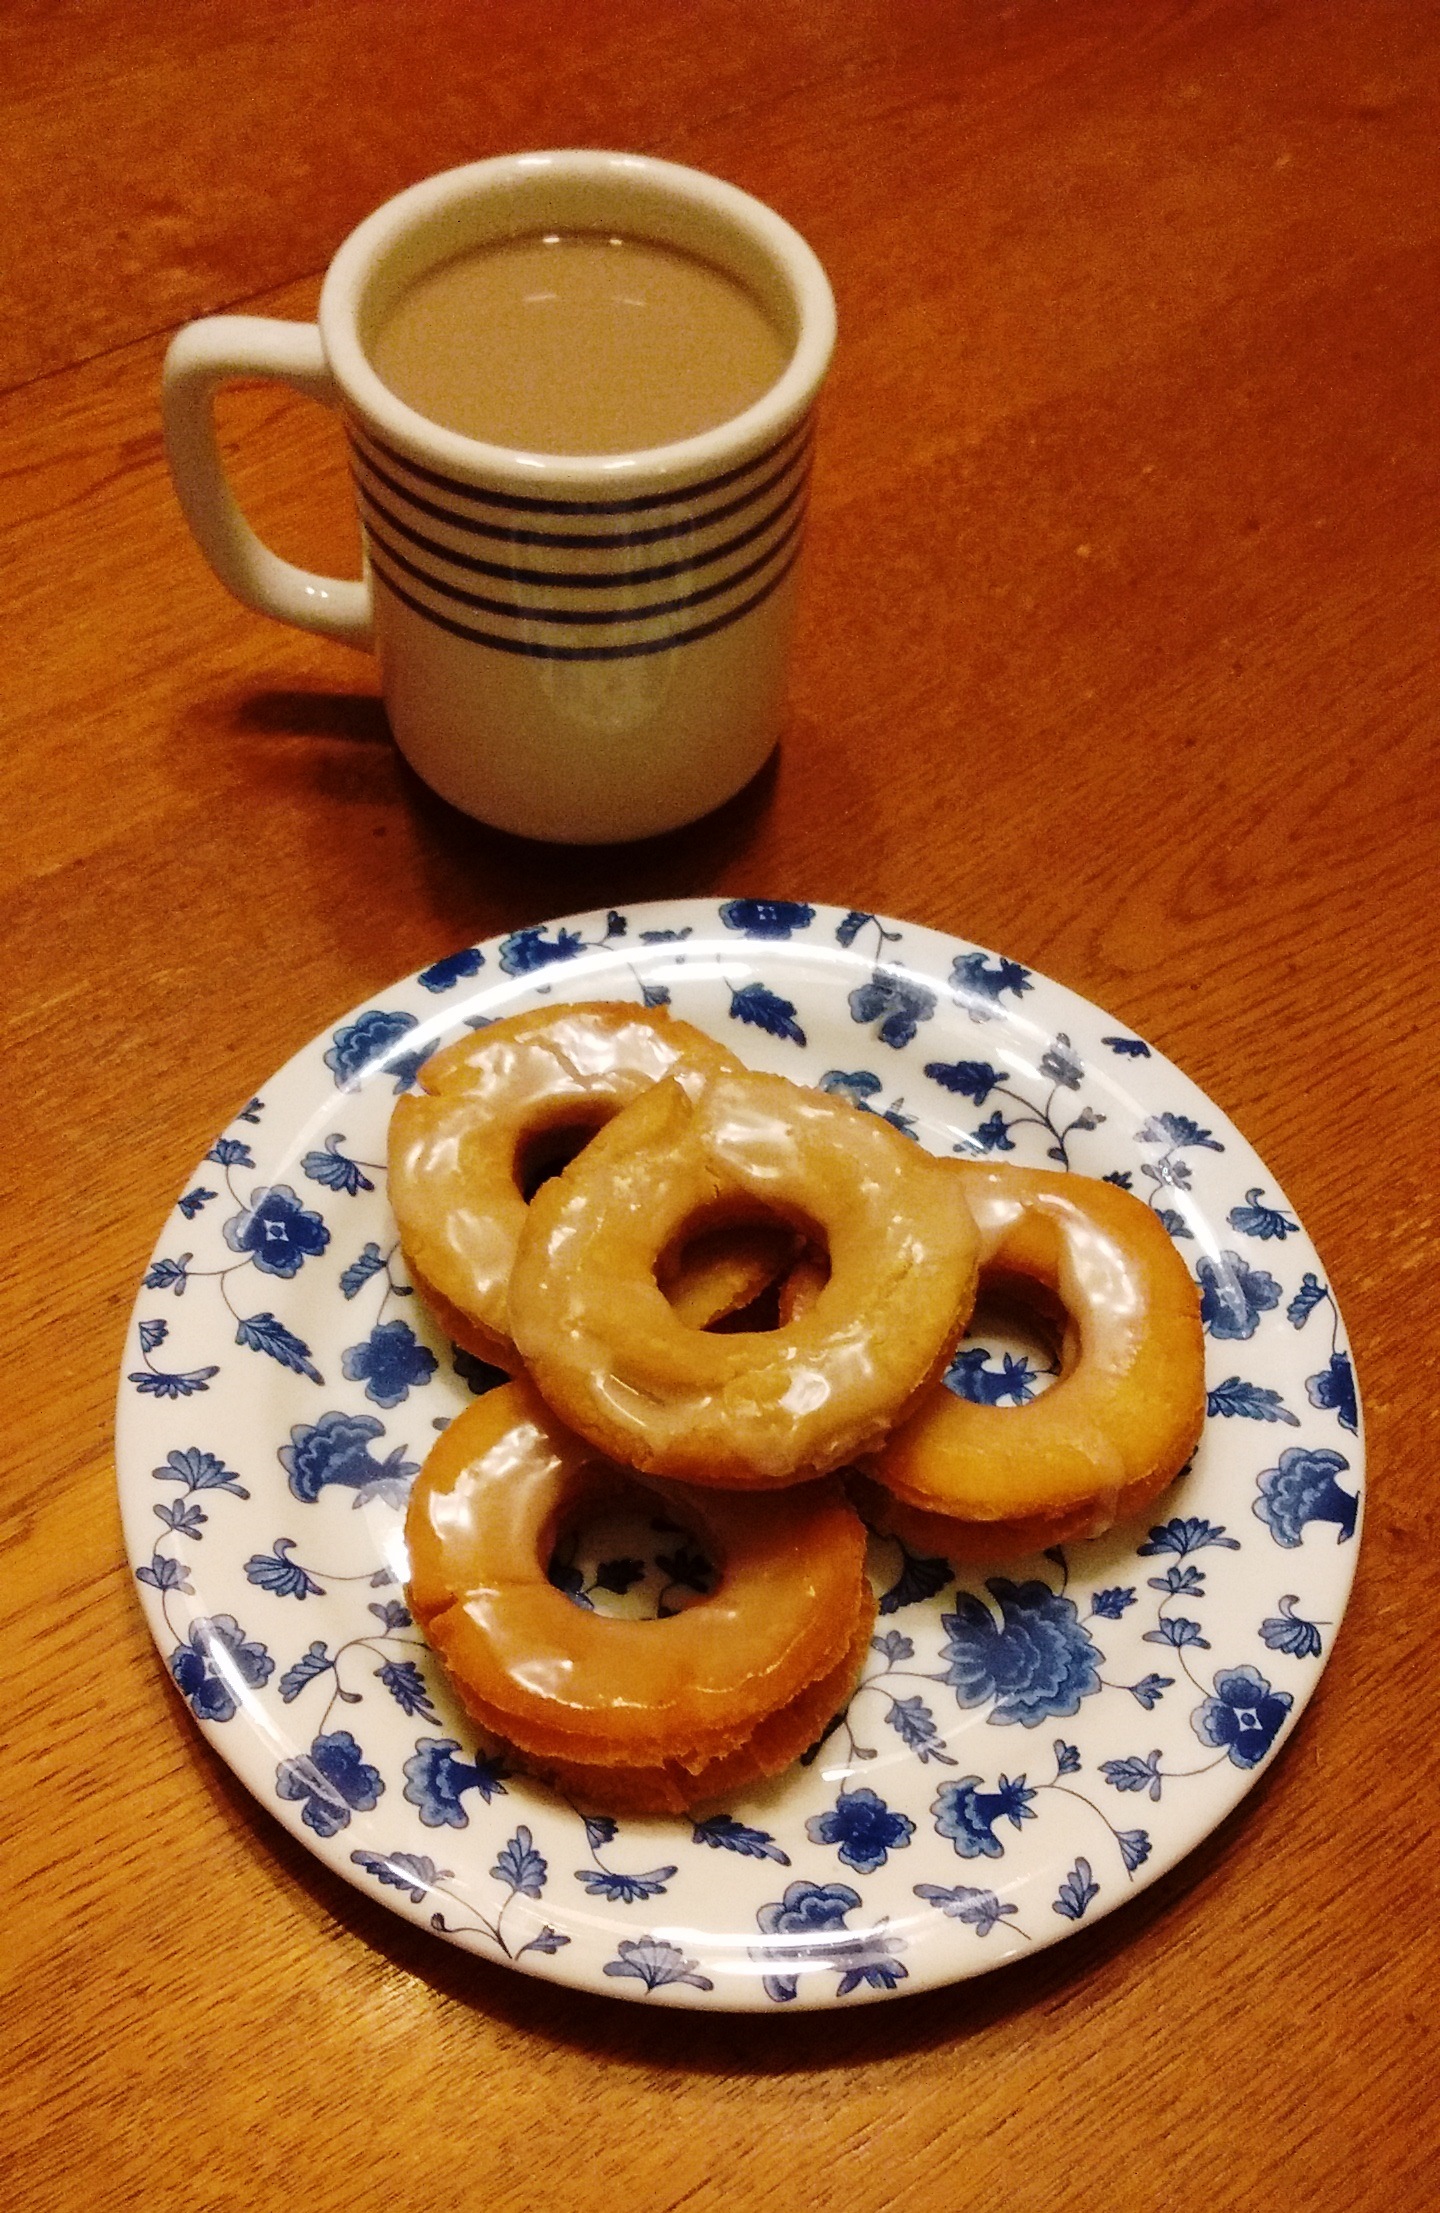
The following recipe is the one I had in mind when I wrote the above-mentioned scene.  I love a simple cake doughnut unadorned by glazes, frosting, sprinkles, or any topping, but these can be enjoyed however you choose.

Bea Turner’s Homemade Doughnuts

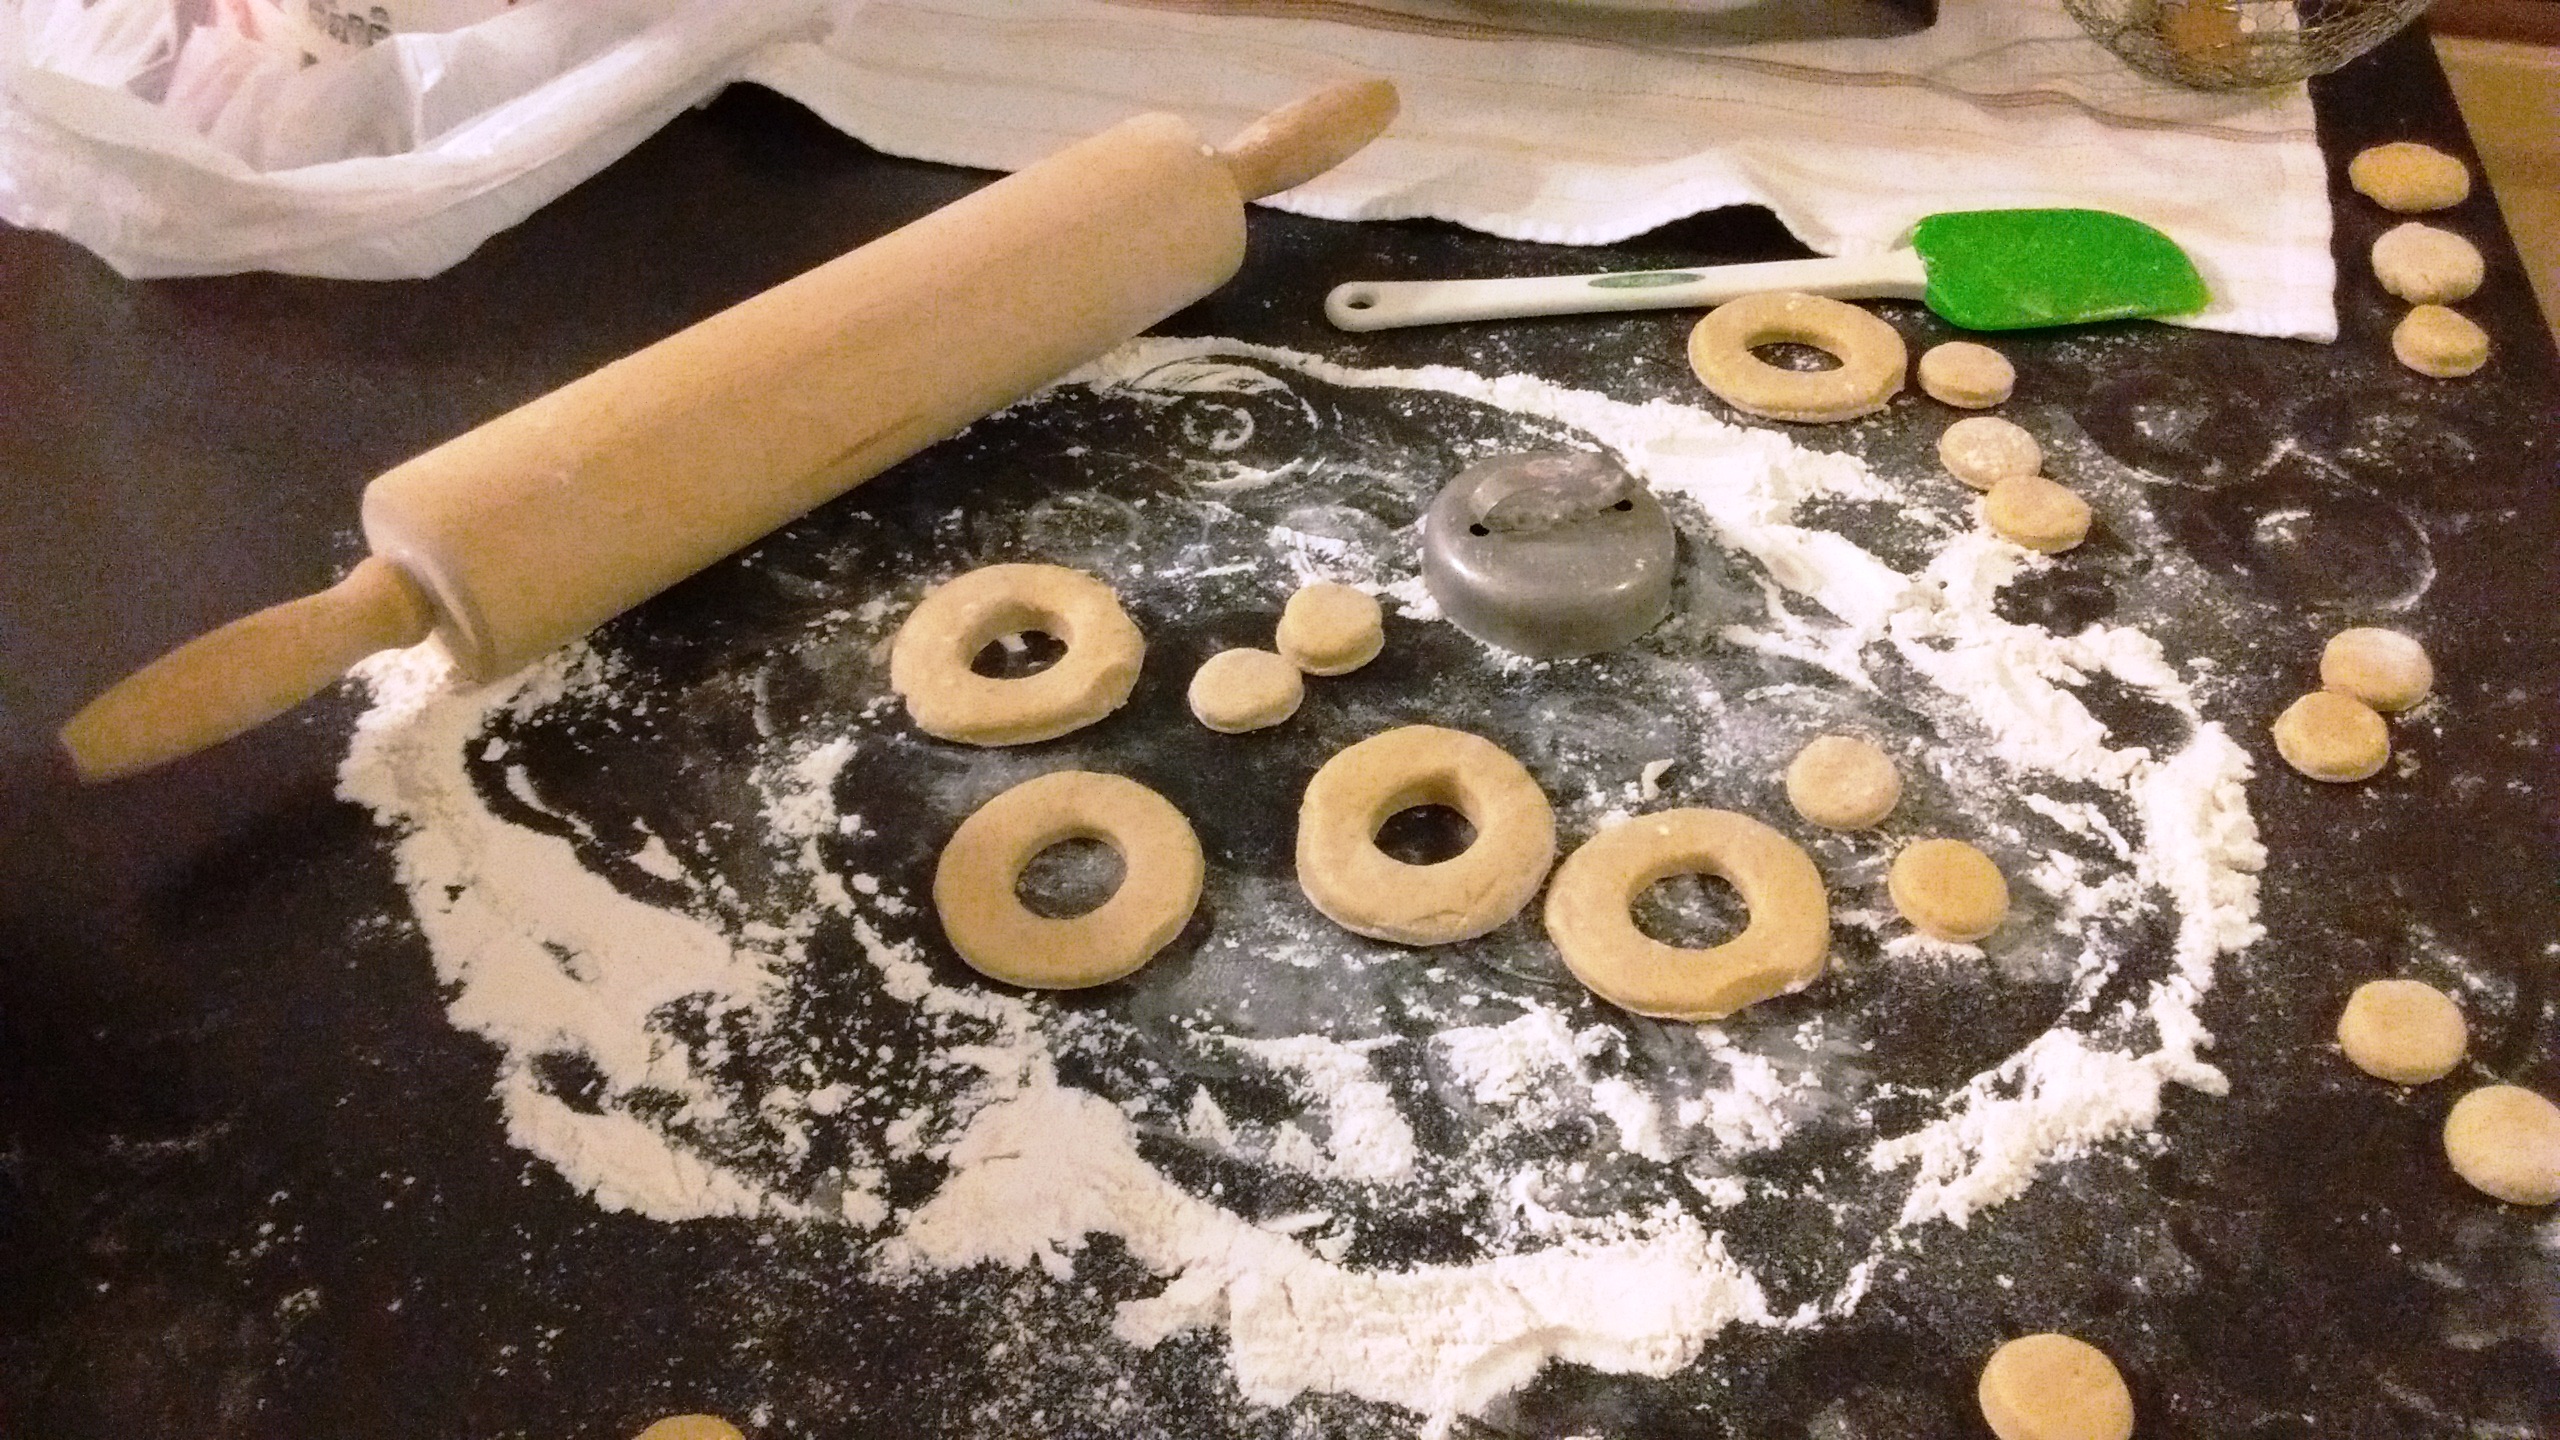
1 c sugar (I used raw)

2 t baking powder

1 ½ t salt

½ t nutmeg

½ t cinnamon

¼ c unsalted butter, melted

1 t vanilla

1 c buttermilk

4 c flour

Peanut oil for frying

I used a stand mixer for this recipe because the dough is quite heavy and sticky.

Combine the sugar, baking powder, salt, cinnamon, and nutmeg in the bowl of the mixer.  Add the melted butter, eggs, vanilla, and buttermilk.  Mix well until all ingredients are combined.  Add one cup of flour at a time, mixing well between each addition.  The dough should be soft and sticky but firm enough to handle.

Cover the dough with plastic wrap and chill in the refrigerator for one hour.  Remove the chilled dough from the refrigerator and heat about one inch of peanut oil to 360° in a large skillet.  (I used my electric skillet to maintain a constant heat, but you can do this in cast iron with a candy thermometer.)

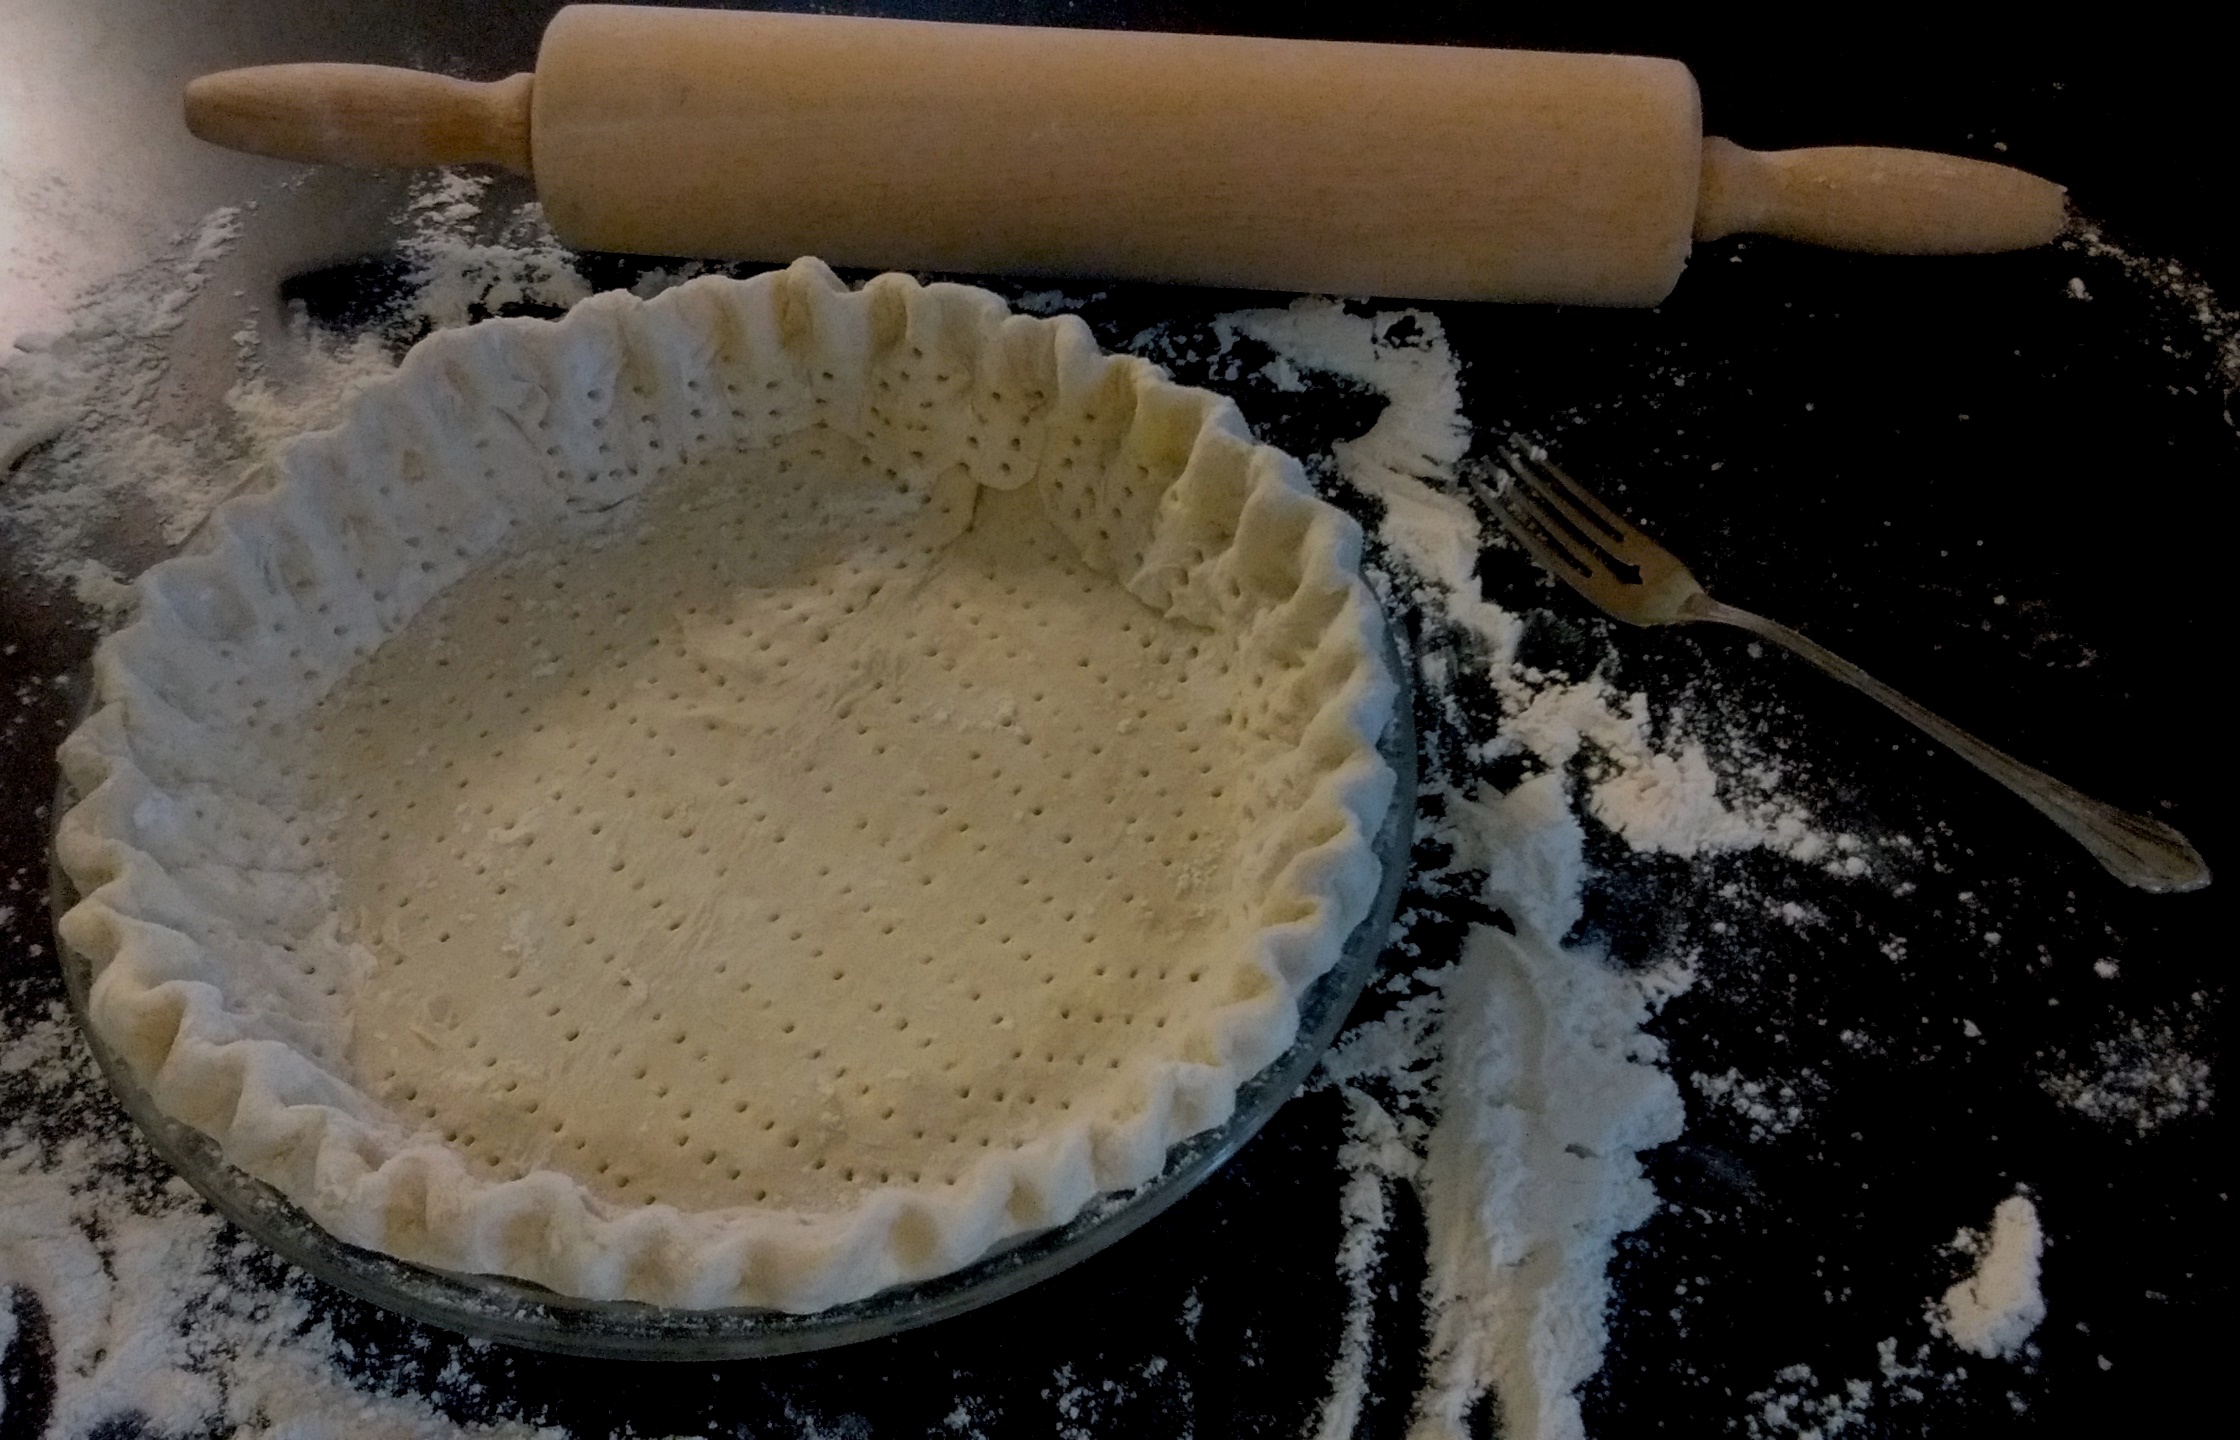
Work with half the dough and roll it out on a floured surface to about half-inch thickness.  Cut out doughnuts using a doughnut cutter.  (You may also use a biscuit cutter, but you’ll need to improvise for cutting the hole.  A cap from a two-liter pop bottle will do in a pinch.)

Gently place the doughnuts in batches in the hot oil using a slotted spoon or bamboo-handled skimmer, sometimes called a Chinese strainer.  Fry for two to three minutes total turning them over a couple of times as they begin to puff.  When the doughnuts are golden brown, remove them from the hot oil with a slotted spoon and place them on a paper towel or paper bag covered cooling rack.

Warm doughnuts can be tossed in cinnamon sugar, glazed, iced with melted chocolate, and topped with sprinkles.

Enjoy!

It’s What Liv Ordered

In May of 1951, diner owner, Bea Turner, was asked to make a birthday cake for Toby Bruce Robishaw who was turning one.  Toby’s mother, Liv, was an extravagant woman who loved to make a show of everything she did.  Her son’s first birthday party was no exception.

The people Liv invited to Toby’s party were simple folk living in the hills of West Virginia.  They had simple tastes and probably expected a simple dessert such as Crazy Cake.  However, Liv used the occasion of her son’s birthday to show off yet again.  The cake she came up with is lovely, but it was completely lost on the birthday guests.

The following recipe is the one I had in mind for the above-mentioned scene taking place in my novel, The Secrets of Dr. John Welles.  By tweaking portions of other recipes, I created a cake suitable for the splashy tastes of Liv Barrette Robishaw.

Now don’t get me wrong; the cake is delicious.  It’s not what one would serve at a child’s party.  Here’s a passage from my novel describing exactly what Liv requested of Bea:

Three, double-layer cakes were divided by pillars with plastic circus animals placed in the space between.  Red and blue icing crisscrossed the edges of the cake in every direction.  A handful of colorful flags exploded out of the top layer.  Every inch of the cake not already taken up with decoration had a piece of candy pressed into the icing like a gingerbread house.

Liv’s outlandish request is what prompted Bea to say, “It’s what Liv ordered.”  Bea’s statement was offered as an explanation and apology to the townsfolk who understood completely.

The quantities listed below will make one layer of the cake I described above.

Hazelnut Cake

12 oz. hazelnuts

2 t baking powder

6 egg yolks

5/8 c white sugar

6 egg whites

Toast the hazelnuts in a 350° oven for 10–15 minutes or until lightly golden in color.  Cool completely.  Remove the skins from the toasted nuts by placing in a tea towel and briskly rubbing them together or place them in a colander and swirl them around to remove the skins.  Grind the hazelnuts until very fine.  Add baking powder and set aside.

Preheat the oven to 325°.  Thoroughly grease and flour a 9-inch springform pan.

In a large mixing bowl, use a hand-held electric mixer to combine the egg yolks with the sugar until pale yellow in color.  Beat in the ground hazelnuts.  This mixture will be extremely heavy and sticky.

Wash your beaters to remove any traces of fats.  In a separate bowl, beat room temperature egg whites until stiff peaks form.  Carefully whisk 1/3 of the egg whites into the yolk mixture to lighten the batter.  Fold in another 1/3 of the egg whites taking care not to delate them.  Fold in the remaining 1/3 of the egg whites until no streaks of batter remain.

Gently pour into the prepared 9-inch springform pan.  Bake in a preheated oven for 60 minutes or until the top of the cake springs back when lightly tapped.  Cool completely on wire rack.

Cinnamon Crème Filling

1 c heavy cream, chilled

1 c powdered sugar

1 ½ t ground cinnamon

1 t vanilla

Chill a metal bowl and the beaters of a hand-held mixer in the freezer for ten minutes.  Pour the heavy cream into the chilled metal bowl and beat on high speed with a hand mixer until the cream is frothy.  Slowly add the powdered sugar, cinnamon, and vanilla.  Continue beating until stiff peaks form.

Place the bowl of cinnamon crème filling in the refrigerator until needed or use immediately.

Whipped Buttercream Frosting

3 c powdered sugar

2 sticks unsalted butter, at room temperature

3 T heavy cream

2 t vanilla

Beat the butter, heavy cream, vanilla, and one cup of powdered sugar with a hand mixer until they are completely combined.  Add the remaining two cups of powdered sugar one cup at a time.  Blend well after each addition.  The lighter weight of this buttercream frosting is perfect for the delicate hazelnut cake.

You can use this frosting immediately or chill for later use.

Assembling the Cake

Once the cake has cooled completely, cut it in half horizontally.  Place the bottom half (cut side up) on a cake stand  and spread the Cinnamon Crème Filling generously over the top with a spatula or knife to within ¼ inch of the cake edge.  Place the top layer of cake (cut side down) over the filling, taking care to position it correctly.

Using a knife or spatula, ice the top of the cake with the Whipped Buttercream Frosting.  Do not drag the frosting too hard across the cake.  Level the top with icing and proceed to ice the sides until they are completely covered.  Wipe any icing smears from the edge of the cake stand with a clean, damp cloth.  Chill for at least an hour before serving.

Enjoy!

SIDE NOTE:  If you’ve never folded egg whites into batter, I strongly suggest you watch the video I’ve provided.  It’s a delicate process, but don’t be daunted by it.  Regardless of how you whip your egg whites, it’s the folding process the chef demonstrates that is of the utmost importance.

The Art of Folding

‘Til Death Us Do Part

In the summer of 1964, Dr. John Welles and Bea Turner attended the wedding of a couple that never expected to marry. Many hardships had paved the way to the happy couple’s nuptials, but they put every adversity behind them as they celebrated their special day. Everything that came before their marriage and whatever would come after only served to strengthen the bond that existed between two people truly in love. All of Addison came out to join in the joyous occasion making it a day the bride and groom would never forget.

The wedding cake I had in mind for the couple had to be completely homemade. Box mixes wouldn’t do, and the grandiose cakes created by bakers to satisfy the whims of brides today wouldn’t be believable. Unfortunately, neither my mother nor I had a recipe for a homemade white cake. Scandalous, I know.

My Internet research led me to a website with a cake that, from the recipe, looked as if it would suffice. I don’t have a problem with giving credit and linking back to the originator of a recipe, so I contacted the owner of the site requesting permission to do so. Unfortunately, I never heard back, and I’m not a recipe thief. This forced Mom and me to rework the recipe to our liking and present it as our own. Not a problem since we always tweak a new recipe the minute we find it anyhow.

The most important requirement: the cake had to taste homemade. You wouldn’t think that would be a difficult task since we weren’t using a prepackaged mix, but our cake had to capture the essence of the above-mentioned scene. How does one bake hope, beauty, richness, longing, humbleness, elegance, era, location, and love into a cake? Follow our recipe and find out.

Timeless Wedding Cake

3 sticks unsalted butter, softened

3 c granulated sugar (I used raw necessitating the need to pulverize the larger crystals in a food processor to ensure incorporation during the creaming process. Don’t skip this step; it’s worth it. You’ll be glad you did once you taste the cake.)

5 eggs at room temperature

3 c flour and more for dusting the cake pans

¼ t salt

2 t baking powder

½ c buttermilk at room temperature

½ c whole milk at room temperature

2 t vanilla extract –OR– 1 t vanilla and 1 t lemon

Preheat your oven to 350° F. Spray three nine-inch round cake pans with nonstick spray and dust evenly with flour. Make sure to coat all the edges, and tap out any excess flour.

In a stand mixer, cream the softened butter and sugar until it is very light in color and fluffy. Add the eggs one at a time taking care not to over beat after each addition or you’ll end up with a tough cake.

Combine the milks and vanilla in a glass measuring cup and whisk. Sift the flour, baking powder, and salt together. Add the dry ingredients to the butter/sugar mixture alternately with the wet ingredients. Begin and end with the dry ingredients. A rule of thumb for this process is to add one-third of the dry ingredients, one-half of the wet, another third of the dry, the remaining half of the wet, and the last third of the dry.

Mix on a medium speed until well combined, taking care to stop the mixer and scrape down the sides of the bowl as needed. Evenly distribute the batter between the three cake pans. The batter will be thick, almost like a pound cake batter, so use an off-set spatula to level the tops. All three cakes should bake on the same level of your oven, somewhere near the middle. Carefully shift position of the pans from front to back midway through baking.

Bake for 25 to 30 minutes, or until a knife inserted in the center of the cake comes out clean. The top of the cakes should not jiggle, and a light crust will have formed on the top. Cool for five minutes in the pans, and then remove the cakes to a wire rack to continue cooling.

Bourbon Soaking Syrup

1 c water

1 c raw sugar

2 T bourbon (I recommend Woodford Reserve)

Combine the sugar and water in a large saucepan and bring to a boil over a high heat. When at the boil, the syrup is done. Remove from the heat and stir in the bourbon. Set aside to cool. The syrup will thicken as it cools. Brush the cooled bourbon syrup on the top of the cooled cake layers.  If you like thicker syrup, cook longer until more water has evaporated, but take care not to burn the sugar, or it will taste scorched.

Buttercream Frosting

1 c unsalted butter, softened

3 c powdered sugar

2 t vanilla extract

2 T whipping cream

In a stand mixer, cream the butter with one cup of powdered sugar on a low speed. Scrape the bowl as needed and add the remaining two cups, one at a time. Increase the speed to medium and beat for three minutes. Mix in the vanilla and whipping cream. Beat an additional minute, adding cream by the tablespoon if needed, to achieve a spreadable consistency.  If you enjoy a thicker layer of frosting between your cake layers, consider doubling the recipe.

Assembling:

Place one layer of completely cooled, bourbon-soaked cake on a stand or plate and ice the top of the cake to the edges. Place the second layer directly on top of the first and repeat the icing process. Add the final layer of cake and ice accordingly. Use the remaining frosting to ice the sides of the cake. The bourbon soak will add a layer of flavor and keep the cake moist longer.

I knew we had achieved success with our recipe when my sister-in-law took a bite and said, “Oh…this just tastes old-fashioned.”

Enjoy!

A Sour and Sweet Situation

a-sour-and-sweet-situation-3The first time Dr. John Welles meets diner owner Bea Turner, he’s entangled in an embarrassing misunderstanding between himself and the town police officer. People in Addison had stopped to watch the encounter, but the situation became unbearable when John spied the voluptuous brunette sauntering toward him and Officer Boyce.

John would come to know Bea quite well in later years, but at the moment, he wished she had chosen another time to deliver a lemon meringue pie to the burly cop. Bea’s laughter upon departure only worsened the doctor’s humiliation; he believed he hadn’t made a good first impression.

When I choose lemon meringue pie for the above-mentioned scene, I didn’t realize how perfectly the dessert complimented what took place. John’s attitude toward life had turned sour, but in the hands of Bea Turner, he would know sweetness again.

Bea Turner’s Lemon Meringue Pie

Single Crust:

1 c flour

¼ t salt

1 stick unsalted butter, cold and diced into ¼-inch pieces

½ c cold water with an ice cube

To make a bottom crust, combine the flour, salt, and butter. Work with your hands until the flour and butter combine to make pea-sized pieces. Add the water a tablespoon at a time and work through until you can form a ball. Wrap the dough ball in plastic wrap and chill for twenty minutes in the refrigerator.

a-sour-and-sweet-situationPreheat oven to 425°. Roll the dough on a floured surface to fit a nine-inch pie plate. Crimp the edges and prick the bottom and sides of the shell with a fork. Line the pie shell with aluminum foil or parchment paper and fill with pie weights or baking beans. Bake at 425° for 10 minutes, remove the baking weights and continue cooking for 10 minute in 5 minute increments or until the crust is golden brown. Remove from the oven and place on a cooling rack.

Filling:

1 cup of sugar (I used raw)

2 T flour

3 T cornstarch

¼ t salt

1 ½ c water

2 lemons, juiced and zested

1 t vanilla

2 T unsalted butter

4 egg yolks, beaten

Combine the sugar, flour, cornstarch, and salt in a saucepan. Whisk to combine thoroughly. Add the water, lemon juice, lemon zest, and vanilla. Cook the mixture over a medium-high heat, stirring frequently, until it comes to a boil. Stir in the butter. In the thinnest thread possible, slowly pour the egg yolks into the hot mixture directly where you are whisking vigorously. This will keep the eggs from cooking and becoming scrambled eggs in your lemon filling. Continue cooking while stirring constantly until the mixture thickens. Strain the lemon filling through a wire mesh sieve to remove any pieces of zest. Pour into the baked pie shell.

Meringue:

4 egg whites

6 T sugar (I used white as the raw is too coarse for this step)

Pinch of cream of tartar

Whip the egg whites on a high speed until foamy. Gradually add the sugar and a pinch of cream of tartar, and continue whipping until stiff peaks form. Spread the meringue over the pie and seal at the edges of the crust. Set the meringue in a 425° oven for eight minutes or until it is golden brown. Cool the pie on a wire rack until you can handle the edges of the pie plate and serve warm, or chill the pie in the refrigerator for a couple hours and serve cold.

Enjoy!

Tips for success:

Chill the beaters and bowl in which you will beat the egg whites for meringue

That pinch of cream of tartar is what will keep your egg whites from breaking down and becoming watery

If you must buy citrus out of season, and you don’t want to risk pricey eggs and butter on bitter fruit, I suggest a test batch of lemonade to see how the lemons are doing. Another trick if you absolutely must make lemon meringue pie when lemons aren’t in season is a teaspoon of pure lemon extract to help take the edge off. I prefer having faith in my lemons, but that’s not always possible. Makes me wonder why so much lemonade sells in the summer!

Here’s a wonderful article on choosing citrus and when it’s in season

Bean There, Done That

bean-there-done-thatI probably have as many memories of my mother telling me how she ate brown beans and cornbread as a child as she does instances of eating them. From what I understand, the humble meal was a staple among those living in West Virginia who were not financially well-off. Sometimes, they only had sliced white bread with their beans. To hear her tell it, though, you’d think she had eaten a meal fit for a queen such was her childhood love of brown beans and cornbread. Even her cousin, Ellen, and my Great Aunt Edie, also a former resident of West Virginia, speak of the meal as if it was manna from Heaven.

I grew up eating brown beans and cornbread though not with as much enthusiasm as my mother. They were okay, but as a child of the seventies, hotdogs, grilled cheese, and Kraft macaroni and cheese rounded out much of my diet. Besides, I was a somewhat finicky eater as a kid, and my appreciation for brown beans and cornbread didn’t develop until I was an adult. Now when Mom makes a pot of brown beans and a skillet of cornbread, you can bet my family, her cousin, Aunt Edie, and other relatives will trail in throughout the dinner hour to dine on the simple fare.

With all that being said, it just made sense to have Bea Turner serve brown beans and cornbread at the diner she owned. My protagonist, John Welles, had to eat them at least once during his sojourn in West Virginia. Even though the meal is mentioned only once in my novel, I suspect Dr. Welles developed a love for brown beans and cornbread and probably ate them quite often.

The recipe for brown beans is kind of like those for apple pie, meatloaf, or macaroni and cheese. Every family has their version of how the old familiar dish should taste. Often, finances dictated what went into the pot. At its most basic, brown beans were cooked in water with either a piece of salt pork or dollop of bacon grease, salt and pepper. I’m going to provide a recipe that is a little more elegant but not alter it so much that connoisseurs of the dish won’t recognize it.

Bea Turner’s Brown Beans

1 – 2 lb. bag of brown beans

2 – 14.5 oz. cans beef broth

2 – 14.5 oz. cans chicken broth

1 large carrot, diced

1 sweet onion, diced

1 – 2 stalks celery, diced

1 t thyme

1 T parsley

Dash of garlic powder

Couple dashes of Worcestershire sauce

Salt and pepper to taste

½ stick butter

⅛ c olive oil

Cover the beans with enough cold water to allow for absorption and soak overnight. Drain and wash the next day. Place the beans in a Dutch oven with all the remaining ingredients and bring to a boil. Reduce to a simmer and cook for 1 1/2 hours. Test for doneness at this point, and cook in thirty minute increments until the beans are tender, probably no more than 2 – 2 ½ hours total cooking time.

Ladle the beans over slabs of cornbread and serve.

Enjoy!

Masking the Truth

Clove Gum 2Everything seemed peaceful for Dr. John Welles in August of 1952. Despite a lifetime of dealing with secrets, whether keeping them for the sake of a loved one or generating secrets of his own, Dr. Welles believed he had finally found sanctuary in the hills of West Virginia. But it wasn’t to be.

By helping Bea Turner, who had become quite dear to him, John made a deal with the representatives of evil itself: the Ku Klux Klan. In his naiveté, he underestimated how truly wicked the Klan was and promised a favor in return to be fulfilled at the Klan leader’s whim. The day the favor was called in set John on his most destructive path so far. He turned to alcohol as a stabilizing factor in his downward spiraling life, yet he was unable to retain any sort of control. Alcohol claimed Dr. Welles for its own, and by submitting to the influence, he continued to lose what was dear to him.

One way the doctor kept people from discovering his alcoholism was to chew strong clove gum. Although I never mentioned brands, I always had Adams Clove Gum in mind for John when masking his drinking. He wouldn’t have been the first to do so.

Clove gum was first manufactured by the Thomas Adams Company in 1914. After working as a photographer and glassmaker, Adams tried his hand at inventing. The only thing he invented of any worth was achieved in the 1850s. While working as a secretary to the Mexican President, Antonio López de Santa Anna, the pair attempted the business venture of using chicle as a cheap alternative to expensive rubber tires. After a year of trying, the project was abandoned, and Adams eventually realized he could use chicle to produce a better type of chewing gum. He formed a company that by the late-1880s was making gum sold across the country.

In 1899, Thomas Adams became part of a new company called American Chicle Company which merged the six largest American chewing gum manufacturers. He remained a member on its board of directors until 1905 when he died. American Chicle Company was renamed Adams in 1997, and The Adams Company has since been acquired by Cadbury. Today it is known as Cadbury Adams. Cadbury Adams continues to use the same packaging used in 1914 to capitalize on the nostalgia factor, and the formula has remained essentially the same as well.

Commercial production of gum dates only to the mid-1800s making clove gum one of the oldest, continuously sold flavored gums on the market. It was especially popular in the Prohibition era, when people believed that they could cover up the scent of alcohol on their breath by chewing it.

Every few years, Adams Clove Gum makes an appearance on the market and is scooped up by longtime fans ensuring that candy and gum sellers run out quickly. The Internet helps when looking for new suppliers, however, my recent tour around the Internet didn’t reveal any sources at the moment.

While many young people today haven’t heard of clove gum, among its devotees, Thomas Adams will forever be remembered as the father of the modern day chewing gum industry.

Bea’s Diner-Open For Business

In the summer of 1948, Dr. John Welles is the newest resident in Addison-on-Gauley, West Virginia. He’s still reeling from his brief experience during World War II, the effects of which will haunt him for many years, and seeks refuge in the small town tucked away in the Appalachian Mountains. His role as the new doctor provides the perfect camouflage for the emotional scars he carries and allows him to hide behind his mask of professionalism. Only one person in the town can’t be fooled.

Bea's DinerBea Turner, the voluptuous, cigarette smoking diner owner, takes a fancy to John which he returns in kind. They become close during his initial trip into town, an event that makes John the butt of an unexpected joke, and their relationship grows through many hardships and trials. Their love for each other is recognized in town as something akin to marriage. They alone believe they’ve kept their liaison under the radar.

The sassy restauranteur serves John a bacon sandwich and tomato soup for lunch during his first visit. He doesn’t enjoy the meal surrounded by the more gossipy members of the town, but having Bea in his presence eases the awkwardness. The biggest surprise comes at the end of lunch when somehow John gets stuck with the entire check.

Bacon sandwiches are easy to make and don’t require a recipe. Two slices of your favorite bread toasted to your desired darkness, add as many slices of cooked bacon as you prefer, top with lettuce, tomato, and mayo—Viola! Bacon sandwich. I’m sure there are people who choose other condiments, vegetables, dressing, relishes, and those who leave off everything except the bacon. Really, the humble bacon sandwich is a matter of preference.

As for the tomato soup, while the majority of the items on Bea Turner’s menu are homemade, one place she cuts corners is by using good ole Campbell’s Tomato Soup. She is, after all, the only employee in her own restaurant.

I’ll not enter the debate on the sodium levels in canned soups and how Campbell’s added high fructose corn syrup to their soup to appease the American sweet tooth. I’d like to believe that during the summer of 1948, when John visited Bea’s diner, the soup was wholesome and tasty and the can wasn’t lined with bisphenol-A.

As recently as 2012, Campbell’s Tomato Soup still ranked as one of the top ten selling dry grocery items in U.S. grocery markets. It’s fairly healthy, too, for canned, modern industrial food. No fat, no cholesterol, no fake colors or flavors, laced with minerals, iron and Vitamin C. A two-serving can is only 270 calories before adding a bacon sandwich as a side.

There are organic choices on the market now as well as lower-sodium varieties and those made without high fructose corn syrup. Whichever option you choose, remember to add a tasty bacon sandwich, or the traditional grilled cheese, and enjoy your meal.

%d bloggers like this: