The Secret in the Sauce

The Secret in the SauceGarland Griffin is an intelligent, beautiful young woman with a secret that’s going to change the course of John Welles’s life. When Garland and John first meet at the University of Maryland, where both are pursuing studies to become doctors, the pair develops an instant rivalry over grades. A chance encounter at a speakeasy leaves the duo unsure of where they stand with each other, but it is the unwelcome growing attraction they feel that catches both off their guard.

Over a tulip sundae at the soda shop, Garland observes John and his two best friends, Sam and Claude, and comes to the decision that although she’s experiencing feelings for her fellow student, what she needs is John’s presence in her life as cover for her dark secret.

The following recipe for hot fudge sauce is the one I had in mind when I wrote the above-mentioned scene. There are other delicious toppings I could have chosen for Garland, but she needed a selection as dark and sultry as herself.

Hot Fudge Sauce

⅔ c heavy cream

½ c light corn syrup

⅓ c dark brown sugar

¼ c Dutch-processed cocoa powder

¼ t sea salt

¾ c bittersweet chocolate (chopped and divided in half if using blocks. I used Ghirardelli chips.)

2 T unsalted butter

2 t vanilla

Bring the heavy cream, light corn syrup, dark brown sugar, cocoa, salt, and half the bittersweet chocolate to a boil in a saucepan over a medium-high heat, stirring constantly. Reduce the heat to low to maintain a simmer. Bubbles should rise slowly to the surface. Stir occasionally to keep from scorching the sauce. Cook for five minutes.

Remove from the heat and add the remaining chocolate, butter, and vanilla. Stir until smooth. Cool in the saucepan or a shallow dish for 20 to 30 minutes before transferring to an airtight container for storage in the refrigerator. The sauce will last for two weeks. Reheat in a saucepan on the stove over low heat or in the microwave for 30 second increments until it is pourable but thick.

Enjoy!

Bea’s Diner-Open For Business

In the summer of 1948, Dr. John Welles is the newest resident in Addison-on-Gauley, West Virginia. He’s still reeling from his brief experience during World War II, the effects of which will haunt him for many years, and seeks refuge in the small town tucked away in the Appalachian Mountains. His role as the new doctor provides the perfect camouflage for the emotional scars he carries and allows him to hide behind his mask of professionalism. Only one person in the town can’t be fooled.

Bea's DinerBea Turner, the voluptuous, cigarette smoking diner owner, takes a fancy to John which he returns in kind. They become close during his initial trip into town, an event that makes John the butt of an unexpected joke, and their relationship grows through many hardships and trials. Their love for each other is recognized in town as something akin to marriage. They alone believe they’ve kept their liaison under the radar.

The sassy restauranteur serves John a bacon sandwich and tomato soup for lunch during his first visit. He doesn’t enjoy the meal surrounded by the more gossipy members of the town, but having Bea in his presence eases the awkwardness. The biggest surprise comes at the end of lunch when somehow John gets stuck with the entire check.

Bacon sandwiches are easy to make and don’t require a recipe. Two slices of your favorite bread toasted to your desired darkness, add as many slices of cooked bacon as you prefer, top with lettuce, tomato, and mayo—Viola! Bacon sandwich. I’m sure there are people who choose other condiments, vegetables, dressing, relishes, and those who leave off everything except the bacon. Really, the humble bacon sandwich is a matter of preference.

As for the tomato soup, while the majority of the items on Bea Turner’s menu are homemade, one place she cuts corners is by using good ole Campbell’s Tomato Soup. She is, after all, the only employee in her own restaurant.

I’ll not enter the debate on the sodium levels in canned soups and how Campbell’s added high fructose corn syrup to their soup to appease the American sweet tooth. I’d like to believe that during the summer of 1948, when John visited Bea’s diner, the soup was wholesome and tasty and the can wasn’t lined with bisphenol-A.

As recently as 2012, Campbell’s Tomato Soup still ranked as one of the top ten selling dry grocery items in U.S. grocery markets. It’s fairly healthy, too, for canned, modern industrial food. No fat, no cholesterol, no fake colors or flavors, laced with minerals, iron and Vitamin C. A two-serving can is only 270 calories before adding a bacon sandwich as a side.

There are organic choices on the market now as well as lower-sodium varieties and those made without high fructose corn syrup. Whichever option you choose, remember to add a tasty bacon sandwich, or the traditional grilled cheese, and enjoy your meal.

When Life Gives You Lemons

When Life Gives You Lemons 3In June of 1920, Prudence Welles Mayfield picked up her nephew, John, to take him to Baltimore to live with her.   The event proved to be a difficult time for her and her sister-in-law, Collie Mercer Welles.

Collie, the midwife who delivered John, raised him from the day he was born when his mother died due to complications from childbirth. She knew the opportunity to live and attend school in Baltimore would be one she could never provide for her youngest child, but the thought of letting him go broke her heart. For Prudence, anxiety came from her insecurities about parenting her nephew when she had absolutely no experience. A dose of guilt also plagued her because she alone knew her intentions weren’t as altruistic as they appeared on the surface.

When Life Gives You Lemons 1The two women were never close and barely tolerated each other at best. The only thing they had in common was their deep, abiding love for John. They would never let him see them quarrel over his upbringing. And yet, a gentle tug of war went on just below the surface as they vied for John’s affections. Collie’s last ditch effort to lure her young son back to his family and life on the farm was the simple picnic she sent with Prudence and John for the trip to Baltimore. She hoped her good cooking, the favorite dishes John grew up eating, would produce a change of heart in the boy. Included with the meal was a Mason jar of lemonade, sweet and chilled, the perfect taste memory that would hopefully send John fleeing from his rich aunt and back into Collie’s waiting hug.

My own memories of lemonade began with that made by my Aunt Ann for family picnics. I remember she served it in a large brown crock; such an unusual container for a kid who grew up with Country Time Lemonade drink mix and Tupperware pitchers. I’ll never forget the first time I tasted Aunt Ann’s lemonade, lightly sweet and refreshing, as delicious as any food item on the picnic table at our family gathering.

The following recipe is the one that I had in mind when I wrote the above-mentioned scene. It’s every bit as wonderful as what my Aunt Ann made, and I hope you and your family will enjoy it.

Homemade Lemonade

6 – 8 large lemons, enough for 1 c of juice

1 c sugar, I use raw

1 c water

8 c water

Squeeze enough lemons for one cup of juice and set aside. Cut remaining lemons into slices to float on the lemonade. Mix the sugar and one cup of water in a saucepan over medium heat. Stir until the sugar is dissolved and the mixture is heated through. Do not boil or scorch. Allow the sugar syrup to cool completely.  Raw sugar will produce a darker syrup and a deeper yellow lemonade, but it absolutely will not alter the flavor.

To prepare the lemonade, pour the lemon juice in a large glass bowl or crock, stir in the cooled sugar syrup and the 8 c of water. Float lemon slices on the surface. Stir thoroughly, cover with plastic wrap, and chill for at least an hour in the refrigerator.

For individual servings, fill glasses with ice and a slice of lemon. Ladle the lemonade over this and serve.  For a pitcher or beverage dispenser, fill the container with ice layered with lemon slices, pour the lemonade over this, and serve.  The ice will melt into the lemonade and dilute the tangy/sweet mixture to the perfect flavor.

When Life Gives You Lemons 2

Everything Is Just Peachy

IMG_20160704_095721821Ah, the humble peach: sweet and juicy and the pride of Georgia. This year while perusing Facebook, I came across a post announcing the arrival of The Peach Truck. I would have passed right by it because there are stands all over our area selling peaches except that this truck was stopping at two well-known garden centers in the area. For some reason, that seemed incredibly important to me. If a truck loaded with peaches would announce its arrival at places with which I was familiar, I should probably check it out. Besides, I love peaches and the price per pound was phenomenal.

So, twenty-five pounds of peaches later, I had to come up with a way to use them. I must admit, the reason for my purchase had to do with a scene from my novel, The Secrets of Dr. John Welles, during which the midwife, Collie Mercer, served a humongous celebratory breakfast in honor of my protagonist’s birth. For whatever reason, I chose to have her serve canned peaches. I was probably thinking they would be extra special for breakfast and somewhat dessert like. Of course, in keeping with my posts for Edible Fiction, I have been preparing the foods from my novel and sharing the recipes on my blog. I have never in my life canned peaches. In fact, I’ve never canned anything.

IMG_20160704_103204029Thankfully, my mother canned when I was a child. I remember all-day canning sessions of tomatoes, pickles, corn relish, and applesauce. She used a pressure canner, but my darling husband, William, supplied me with a water bath canner which was much less intimidating to a novice such as me. My best friend, Emily, provided all the canning jars I would need. I picked up new lids and rings, and I was ready to can.

The best part is that even if you don’t have a brilliant, experienced mother to fall back on, The National Center for Home Food Preservation offers detailed instructions for canning, drying, freezing, smoking, curing, and pickling foods. One simply cannot go wrong by accessing the wealth of knowledge provided here. Useful charts and step by step processes will guide you through preparation, various methods, quantities, etc. I direct you to this site in lieu of a recipe because you may choose to make larger batches than I did. One thing I will warn you though: canning is addictive. I’m already making plans for next year’s batch of peaches as well as other fruits and veg to can throughout the year.

Everything Is Just Peachy

One Potato, Two Potato

Fried PotatoesI’ve heard the Irish are fond of their potatoes, but I suspect Americans are a close second when bestowing favoritism on tubers.  Baked, fried, roasted, or mashed, potatoes are not only a staple, they are comfort food.  This is probably what midwife Collie Mercer had in mind as she prepared a celebratory breakfast including fried potatoes for the Welles family to mark the arrival of the newest sibling, John.  Not to mention the hearty meal would sustain them on that cold December morning.

Fried potatoes are one of those dishes you learn to prepare by watching your mother or grandmother.  Recipes for fried potatoes probably exist but really all one needs is a little know-how.  Russets, America’s most popular potato type, are good for frying.  I use a mushroom brush to scrub the skins as I rinse them under cold water.  You can peel them if you choose.  One to two potatoes per person is plenty depending on the appetite of your guests and what else you may be serving.

Cut the potatoes into half-inch chunks and place them in a bowl of salted cold water until the task is complete.  This will keep the potatoes from turning an unbecoming shade of gray.  Drain the chunks and pat dry.

Grab your cast iron skillet as the non-stick variety will not get hot enough.  Peanut oil is the best for frying, but I imagine Collie made hers in butter.  When I use butter, it is unsalted.  In either case, the skillet should be hot enough that the oil will ripple on the surface without smoking or the butter will melt quickly and bubble.

Add the potatoes but don’t overcrowd the skillet.  Brown until crispy on the edges then flip the potatoes and repeat on the other side.  You can cover the potatoes at first, but be sure to remove the lid for the last bit of browning or they will be soggy.  Garlic, onions, and red or green peppers make tasty additions to this humble dish.  Season with salt and pepper to taste and serve hot.  Slices and shreds can be prepared in exactly the same way.

Enjoy!

Hammin’ It Up

Lyla Welles had one mission in life: protect her children from the hard hand of their father. So when her youngest child, John, was born on a cold December morning in 1907, the delivery-weakened mother worried that she wouldn’t have the strength to see her goal through.

Oblivious to his wife’s concerns, John Welles the elder saw the birth of his fourth child, third son, as cause for celebration. He indulged his appetite by breakfasting on the good food prepared by the midwife, Collie Mercer.

The following recipe is the one I had in mind when I wrote the above-mentioned scene for my novel, The Secrets of Dr. John Welles. While many people enjoy ham, redeye gravy is somewhat of an acquired taste. The salty flavor is enhanced by the strong coffee, and although redeye is thinner than other breakfast gravy, it’s quite rich.

Enjoy!

Ham Steak and Redeye Gravy

1 bone-in, fully cooked ham steak, approximately 1 lb.

½ c strong black coffee

¼ c water

2 T unsalted butter

Salt and pepper to taste

Heat a 12-inch, cast iron skillet on high heat until it is hot. Carefully test for degree of warmth with your hand above the skillet. Place the ham steak in the skillet once it is heated all the way across. Brown the ham steak on both sides. There should be a nice quantity of drippings and ham tidbits in the bottom of the skillet. Don’t burn this or the meat.

Once the ham steak is heated through, remove it to a platter and place in a warm oven. Add the butter, coffee, and water to the skillet and gently scrape the skillet to loosen any browned pieces. Season with salt and pepper to taste. Stir gently until the gravy is reduced by at least one-third. A gentle boil is acceptable, but take care not to scorch the gravy, or it will taste burnt.

Pour the gravy over the ham steak on the platter and serve.

Hammin' It Up

Juicy and Delicious

Pop On Over, Love

IMG_20160607_085149863[1]By June of 1948, Dr. John Welles still hadn’t overcome his experiences during World War II. The haunting memories were more than he bargained for. Further gnawing at his conscience was the fact that his service had been quite brief. The worst part, though, was the secret John brought home from the war.

In his efforts to bury the painful truth of what took place in France, John became increasingly distanced from his family and friends. They were patient and loving in return, waiting for John to open up on his own terms. All except his Aunt Prudence.

Prudence had never been one to sit back and wait for things to happen. She always made her own outcome to her satisfaction, and this was exactly what she intended to do with John. Unfortunately, her well-meaning endeavors didn’t produce the results she had hoped for. She argued with her nephew until John simply shut down. Still, Prudence never backed off where he was concerned.

Into the middle of this family struggle stepped Lucia, Prudence’s sassy cook since the days of John’s boyhood. She knew her employer turned close friend had John’s best interests at heart, but sometimes Prudence’s tactics were too harsh, especially for a man still reeling from the effects of war.

One morning, over a breakfast of popovers, Lucia offered the sage advice that helped John make the first positive decision in his life since returning from Europe. Prudence hated to admit that her cook was right, but she didn’t press the issue.

The following recipe for popovers is the one I had in mind when writing the above-mentioned scene for my novel, The Secrets of Dr. John Welles. The recipe has been in my mother’s recipe box since her high school home economics days. Popovers are incredibly simple to make, and they taste delicious fresh from the oven with butter.

Enjoy!

Lucia’s Popovers

1 c all-purpose flour

½ t salt

1 c milk

2 eggs

Preheat the oven to 425° F

Thoroughly butter 5 – 9 custard cups. Mix all ingredients with a beater until smooth. Do not overbeat the batter or the volume will be reduced.

Fill the greased custard cups half full. Bake for 40 minutes. Resist the urge to peak or the popovers may fall. Check after 40 minutes. The popovers should be golden brown.

Serve warm with butter.

Egg On My Face

What could be more delicious or simple than a fried egg? There is so much about the egg that I could say (the history of eggs, uses in different cultures, health benefits, recipes, etc.) but won’t. There are tons of websites devoted to the creation of the perfect fried egg including debates on cast iron versus non-stick skillets. There are sites encouraging the incorporation of the fried egg into everything from bowls of rice and/or veggies to plopping it down on top of ciabatta bread and tomatoes then sprinkling with feta cheese and arugula, thus elevating the humble fried egg to a snazzy dinner item. And don’t get me started on the various methods of frying with absurd names like “animal style” and “press down.” One ill-informed person even suggested that the perfect fried egg wouldn’t have crispy brown edges. Seriously? That’s the best part.

I guess I’m old school and harken back to the days when the toughest decision one had to make about fried eggs was whether or not you wanted the yolk hard or soft. This simplicity of thought is where my mind drifted as I wrote the scene in my novel, The Secrets of Dr. John Welles, when midwife Collie Mercer makes a celebratory breakfast for the Welles family in honor of the new baby she has just delivered.

The Welleses lived on a farm, so naturally eggs were part of their diet in some fashion on a daily basis. I imagine nothing fancier than scrambled or fried eggs ever appeared on the Welles children’s plates, not even an omelet. But I also know that the eggs were prepared with love. And while a wide variety of foods may not have been an option, no boxes of colorful cereal or flaky croissants, the children were no doubt raised with an appreciation for an abundance of good food prepared simply.

There isn’t an exact recipe involved with this post. In many ways, the preparation of a great fried egg is a combination of common knowledge and simple logic with a dash of familial preference for good measure.

The Perfect Fried Egg

Fresh eggs – we obtain ours from a neighbor down the street

Butter

Salt & pepper

Cast Iron Skillet – our preference at the Gibson household

Pre-heat a cast iron skillet on the stove. Melt about ½ T of butter in the pan per egg until it bubbles. Don’t brown or burn the butter. Crack your eggs directly into the skillet, spacing evenly around the circumference depending on the quantity of eggs and size of the skillet.

Break the yolks at this point if you want them hard. Allow the underside to set up before flipping them to continue cooking on the other side. They are done when the yolk it set and the edges reach desired crispness.

Or, when the underside of the white turns opaque, you can pour a little water in the pan and cover to steam your eggs to doneness. This is usually done for a soft yolk. No flipping required.

Season the cooked eggs with salt and pepper to taste. Serve hot and enjoy!

Spread the Love

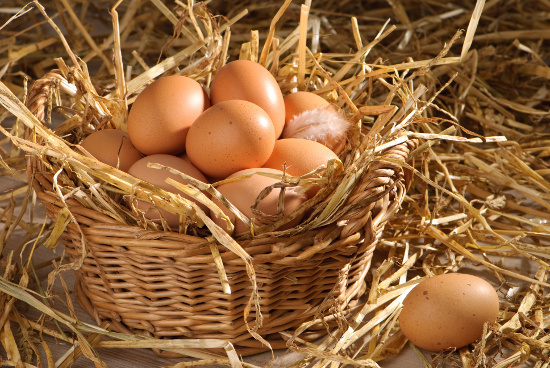
One of my earliest memories of butter includes sitting on the carpet in the kindergarten classroom, all of us in a large circle, passing a massive canning jar from person to person as we shook the sealed jar full of whipping cream as hard as our little arms could manage. We’d been told that this would produce butter. I remember my skepticism, but since I loved butter, I gladly took part and watched the magic unfold.

It’s funny how many of my food memories are attached to my Grandma Smith, but I believe her kitchen is where I developed my love of butter.Butter versus Margarine There was something different about the sunshine yellow block that sat in her cut glass butter dish. It was lighter, sweeter than the golden-colored sticks of ‘butter’ we used at home. As a young child, any yellow, creamy substance that one spread on toast or crackers was referred to as butter. My mother provided the explanation of the difference, and I learned the definition of margarine. It wouldn’t be until decades later that I learned what an evil substance margarine is, but I digress.

Grandma Smith would bring me packets of real butter from restaurants where she had dined. Nothing against my mother, but she used margarine for years until I finally convinced her to switch. Glory be–my taste buds rejoiced and food became so much tastier.

Where is all this leading you ask? To my novel, The Secrets of Dr. John Welles, of course. I’ve already established that as an author, I love to feed my fictional characters. Twice I reference butter specifically, once in conjunction with biscuits and again with cornbread, but what I want my readers to understand without mentioning it every time is that butter is my fictional characters’ ingredient of choice when it comes to cooking and baking.

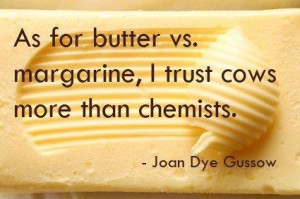
As I wrote the scenes involving food and envisioned the preparation, butter was always in the picture, sitting in a crock or dish, just within reach of the experienced hands that would lovingly incorporate it into the recipe. I’ll spare you the debate on the health benefits of butter versus margarine and simply say don’t fear butter and all things in moderation.

To sum up this post, I made butter with my son because I wanted him to experience how easy and fun it is. The added step of washing the butter is new for me based on research for this post. The instructions for this activity follow. I highly recommend doing this with your kids because the memories you’ll make are priceless.

Enjoy!

Homemade Butter

2 c whipping cream (Raw cream from grass-fed cows is recommended, but store bought organic will work as well. This quantity will yield approximately ½ c of butter.)

sea salt

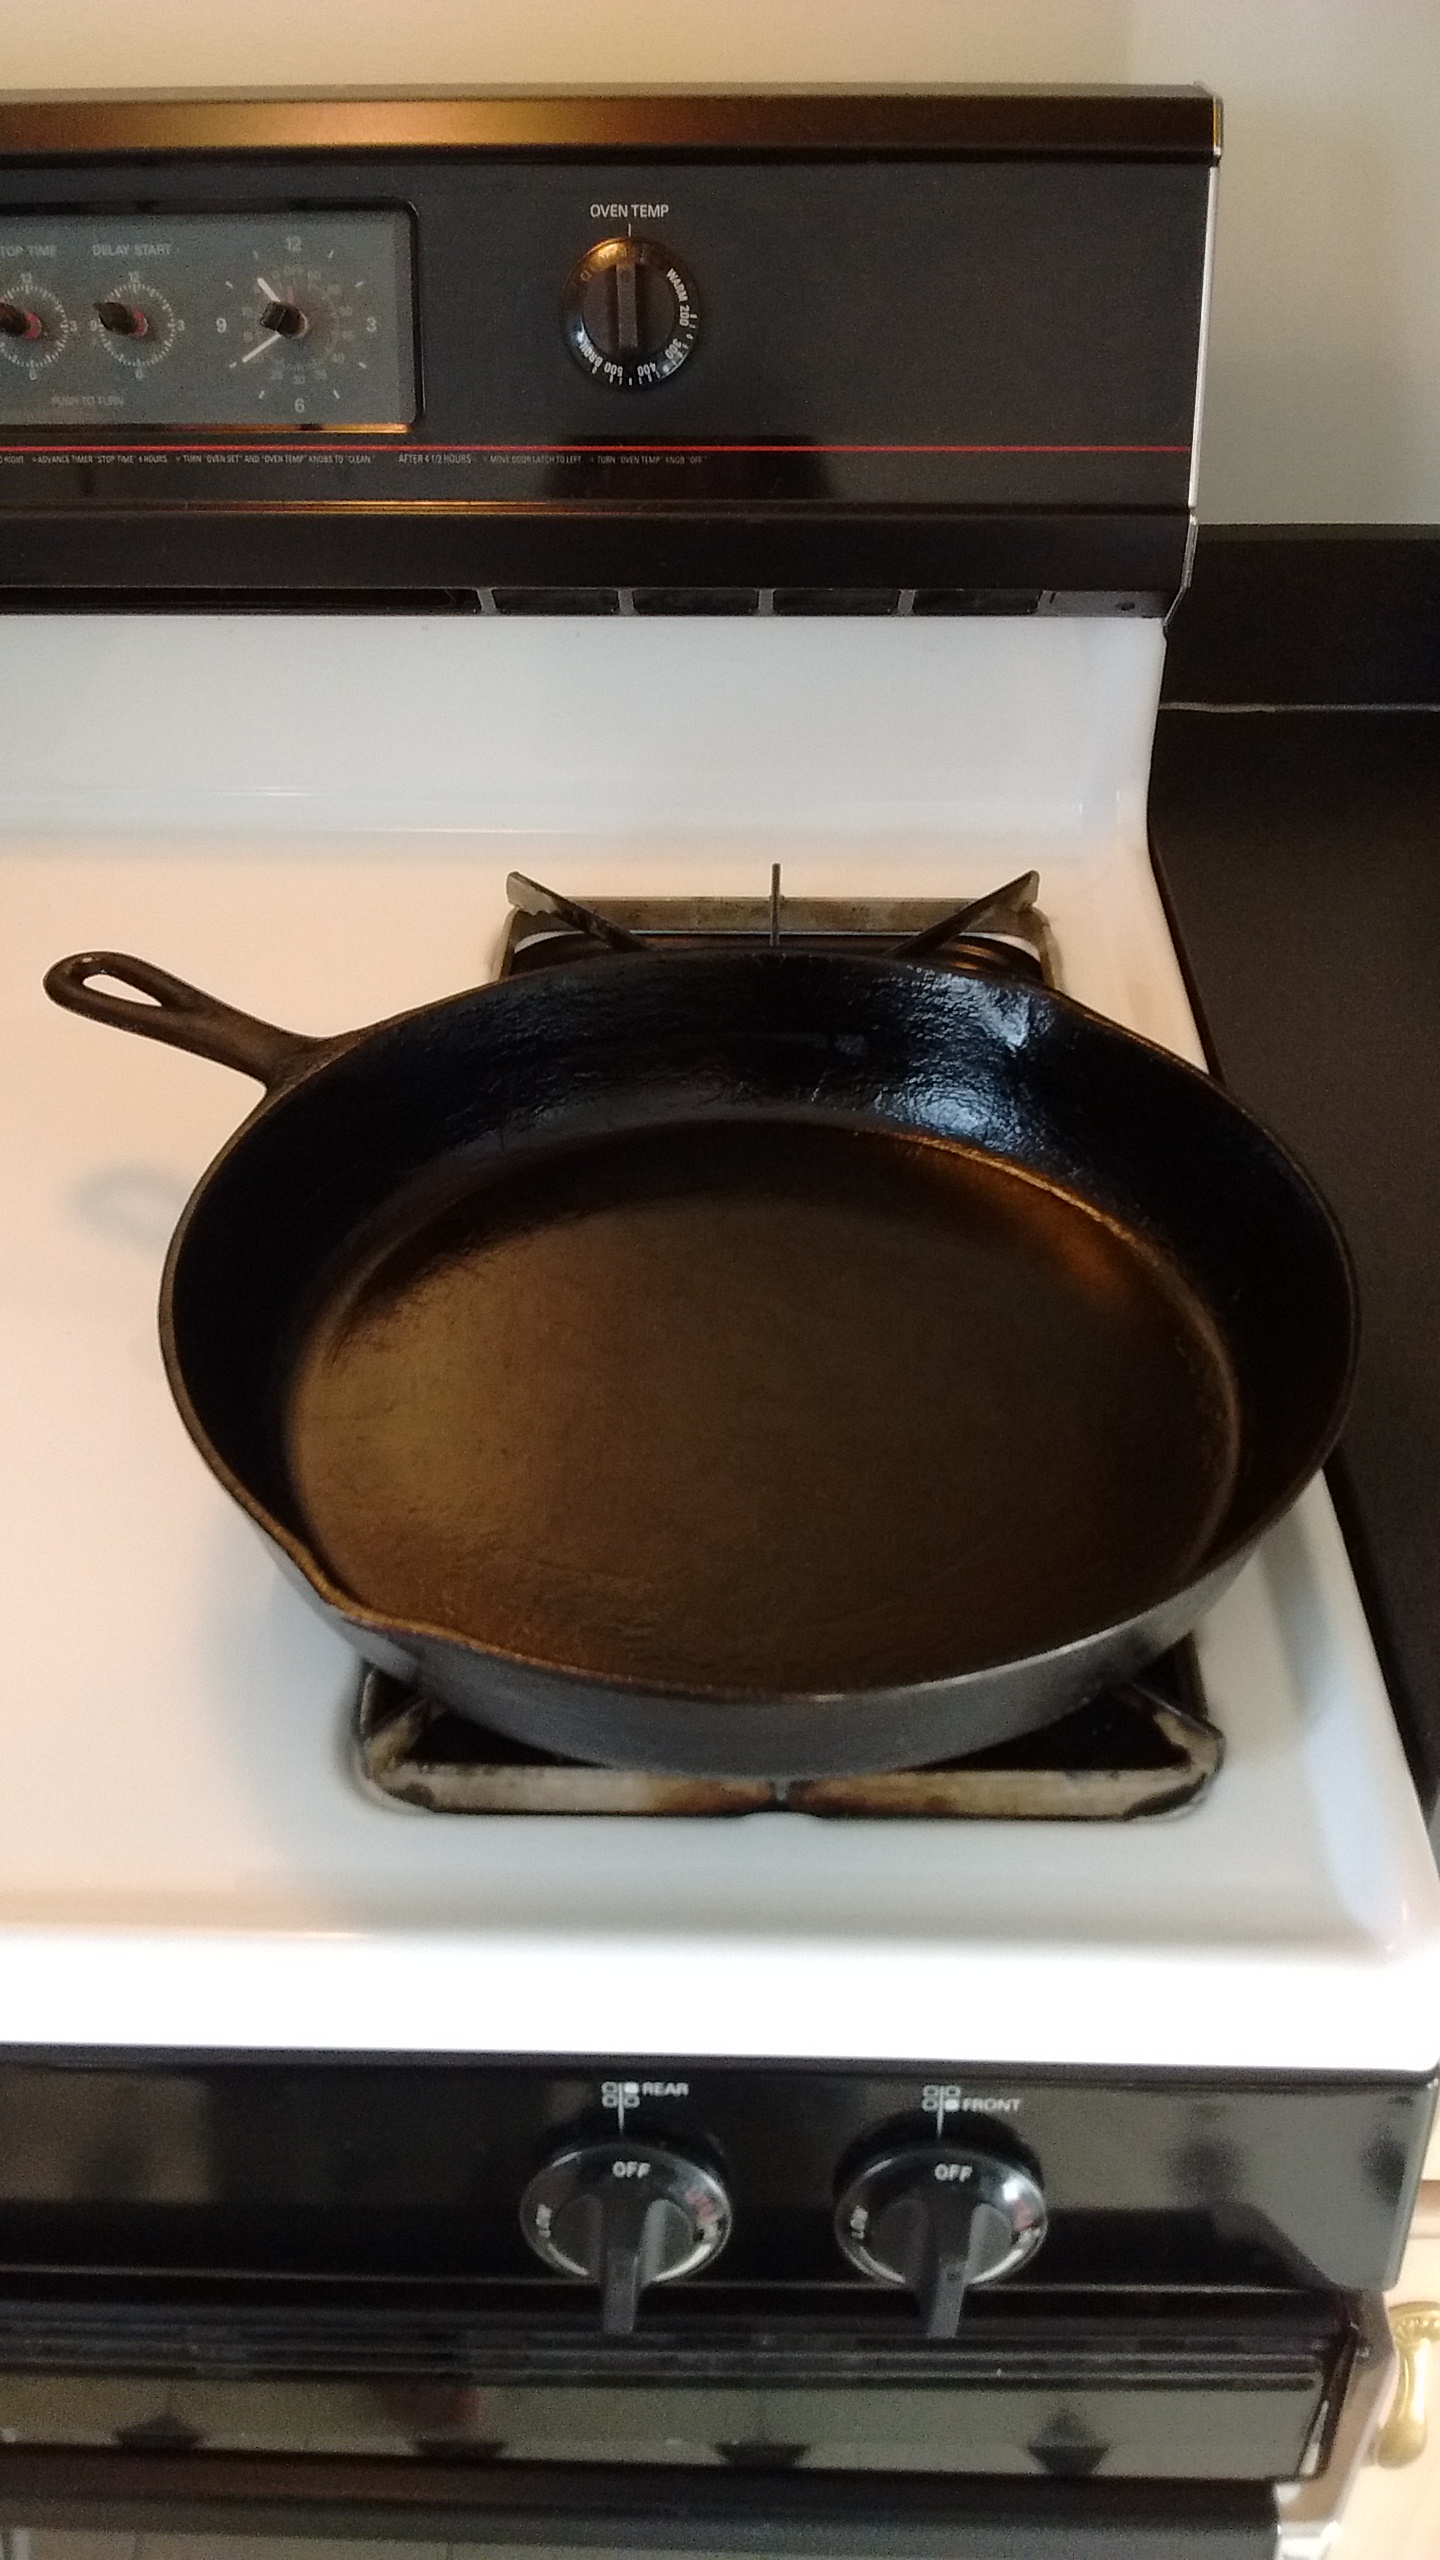
I used a stand mixer with a wire attachment for this process and chilled the bowl and wire attachment prior to using.

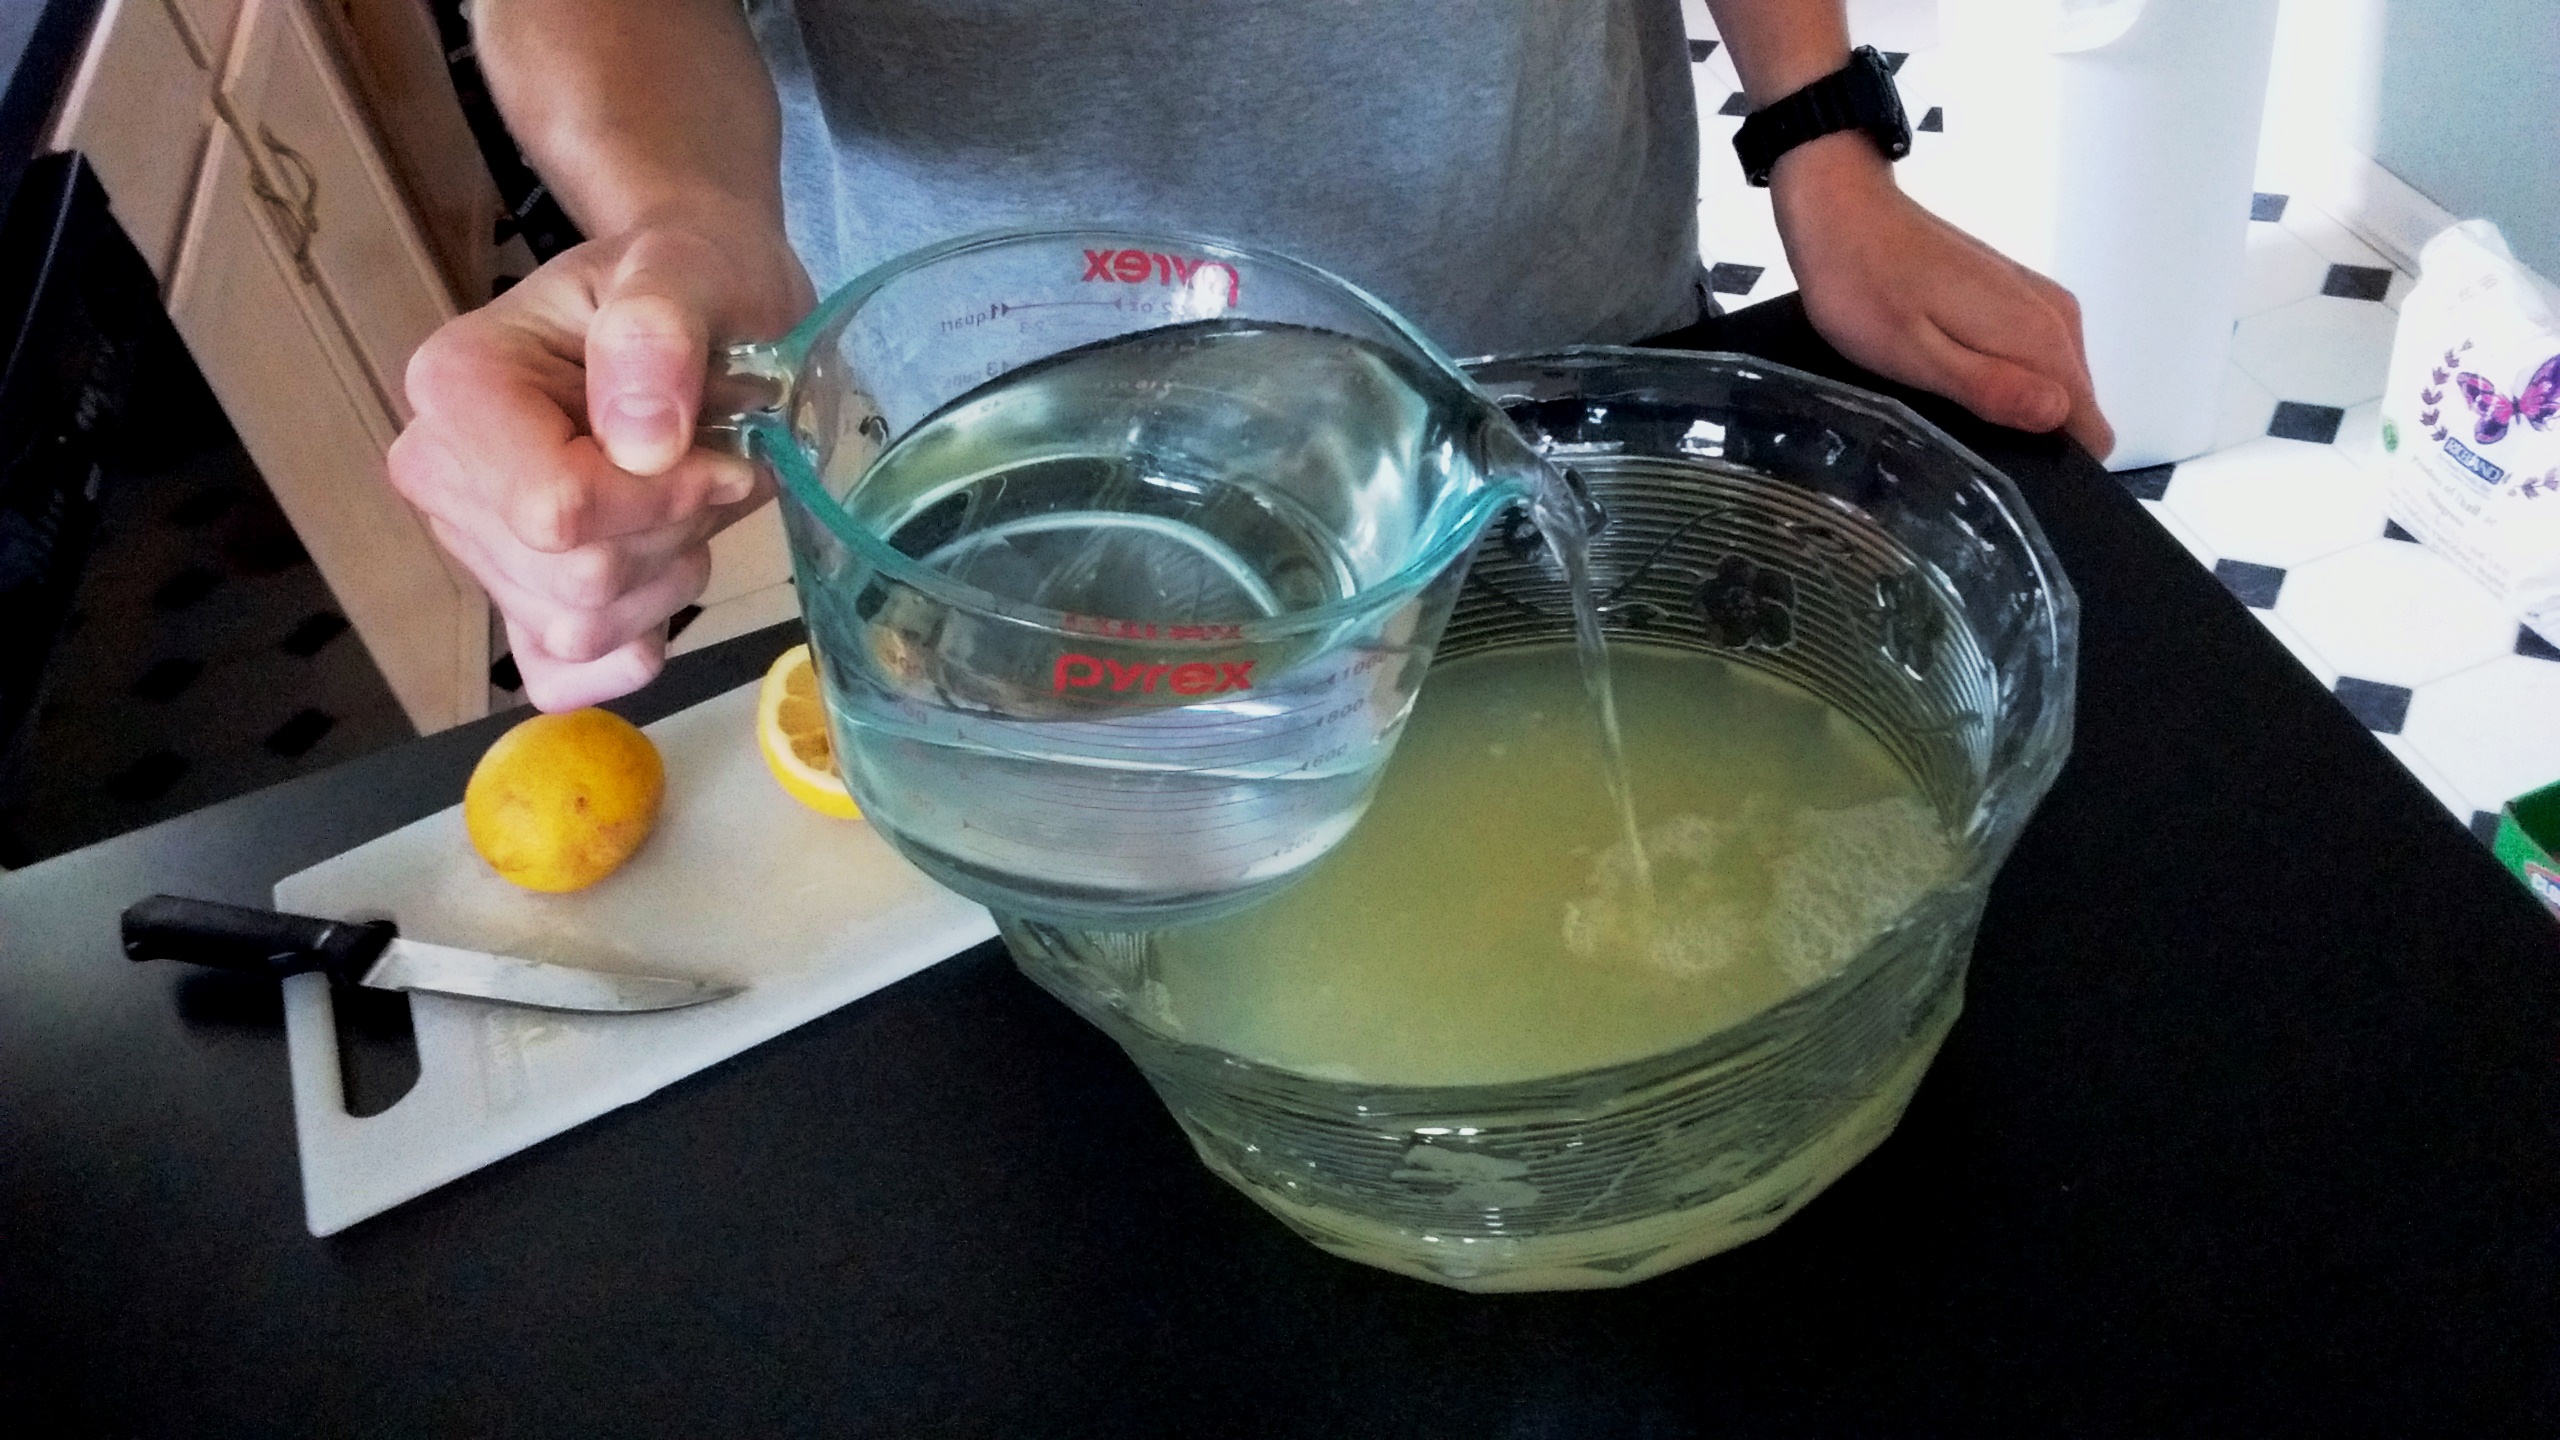
Pour the cream into your mixing bowl, filling the bowl halfway so it does not overflow as air is whipped into the cream. Mix on a medium-low speed to prevent splashing. As the cream thickens, you can turn it up to medium.

This process should take about 15 minutes but can vary depending on how much cream you are using and what type if mixer you have. Whipped cream will develop first. When the whipped cream begins to deflate, watch closely as your mixture can rapidly change to butter. To prevent splashing, cover the bowl with a lightly dampened tea towel.

When the butter begins to clump and stick to the whisk, it is done mixing. Pour the mixture through a fine strainer to separate the solids, butter, from the liquids, buttermilk. If you want it to last for more than a few days, you need to wash the butter. This will remove as much buttermilk as possible to keep the butter from going rancid. Put the butter back in your mixing bowl and cover with clean, cold water.

Use a large spoon to press the butter into the sides of the bowl. The water will become cloudy as the buttermilk is removed from the butter. Pour off the cloudy water and add more fresh. You can repeat this process until the water stays clear. Stir in a large pinch of amount of sea salt for every ½ c of butter.

Store in refrigerator or at room temperature if you will use it within a week or two.

Cast Ironclad Alibi

One of my most prized possessions is the cast iron skillet I inherited from my beloved Grandma Smith. The skillet is twelve inches in diameter and easily weighs as much as my Kia Spectra. I have to use both hands to lift it, and if it weren’t so unwieldy, it would make one heck of a weapon.

I know I surprised Grandma when I asked her if I could have the skillet when she broke up housekeeping. She was leaning toward giving rest-home living a try about a year after my Grandpa had passed. I assured her there was no rush and that I’d wait until she was completely ready to part with it.

“What do you want that ole thing for?” she asked and laughed.

I explained to her that is was infused with memories of her and all the delicious things she ever cooked in it. She smiled sweetly, I imagine still somewhat amazed that I’d asked for it, and said okay.

The day my father brought it home to me was actually kind of a sad day. Grandma was still with us, but her days of clomping about the kitchen (she wasn’t exactly light on her feet) and directing the creation of large meals for family gatherings were over.

Unfortunately, I let the pan sit for many years because I was too intimidated to use it. I wasn’t sure I could live up to my Grandma’s reputation as a great cook. Besides, I had a shiny set of Revere Ware Copper Bottom pots and pans. They were dishwasher safe; the cast iron skillet was not.

So, Grandma’s skillet languished in my stove, setting off the fire alarms every time I forgot to remove its oil-preserved self from the oven prior to preheating. I’m ashamed to say that I moved it to the storage shelves in the basement. Its presence was replaced with a non-stick skillet from my mother.

A couple of years ago when I began writing my novel, The Secrets of Dr. John Welles, the skillet drifted back to the edges of my memory. As I mentioned in a previous blog post (Edible Fiction), I love to feed people, both real and imagined. One of my characters, Collie Mercer, is responsible for a great deal of the food mentioned in my novel. Without realizing it, every time I wrote about Collie cooking, without even stating it, I pictured her using a large, cast iron skillet exactly like my Grandma’s.

Black Beauty with a gleaming coat of oil.

Black Beauty with a gleaming coat of oil.

Long story short, the skillet, re-seasoned and currently in use, now reigns supreme in my kitchen. I never thought I could fall in love with a cooking implement, but I have. Who knew that cast iron was not only healthier for you, but the non-stick qualities put the new skillets to shame? And keeping it seasoned is not the chore I initially believed it to be.

There is so much about cast iron that I want to share with you, but I’ll direct you to two books, The Cast Iron Skillet Cookbook by Sharon Kramis & Julie Kramis Hearne, and The New Cast Iron Skillet Cookbook: 150 Fresh Ideas for America’s Favorite Pan by Ellen Brown. What I love about these books, besides the delicious recipes, is the sentiment the authors express for the cast iron cookware they inherited.

So, whether you’re starting out with a brand new piece of cast iron, rescuing an old relic from the back of someone’s cupboards, or just pulling out Grandma’s skillet to use for making dinner, get your hands on a piece of cast iron and fall in love with cooking all over again.