Dark, Rich Secrets

Twice in my novel, The Secrets of Dr. John Welles, I featured chocolate pie. The first time was in December of 1925 when John and his Aunt Prudence discussed the painful details surrounding his father’s death. Prudence kept trying to turn the conversation away from the truth of the situation even going so far as to use the pie as a diversion. The delicious dessert popped up again in a scene between John and his best friend’s wife, Babby, in June of 1964, as they worked through the awkwardness of not seeing each other for sixteen years.

As many of my followers already know, my food choices actually play a peripheral roll in my writing. In this case, chocolate pie is dark, not unlike the secrets about to be revealed in the above-mentioned scenes. In both cases, John’s past was dredged up for him to face yet again, and someone would try to smooth over the situation. Keep in mind that chocolate pie is exceptionally smooth. It is also rich and sweet which matched the outcome for John in his conversation with his Aunt Prudence as a young man and again with Babby as an adult.

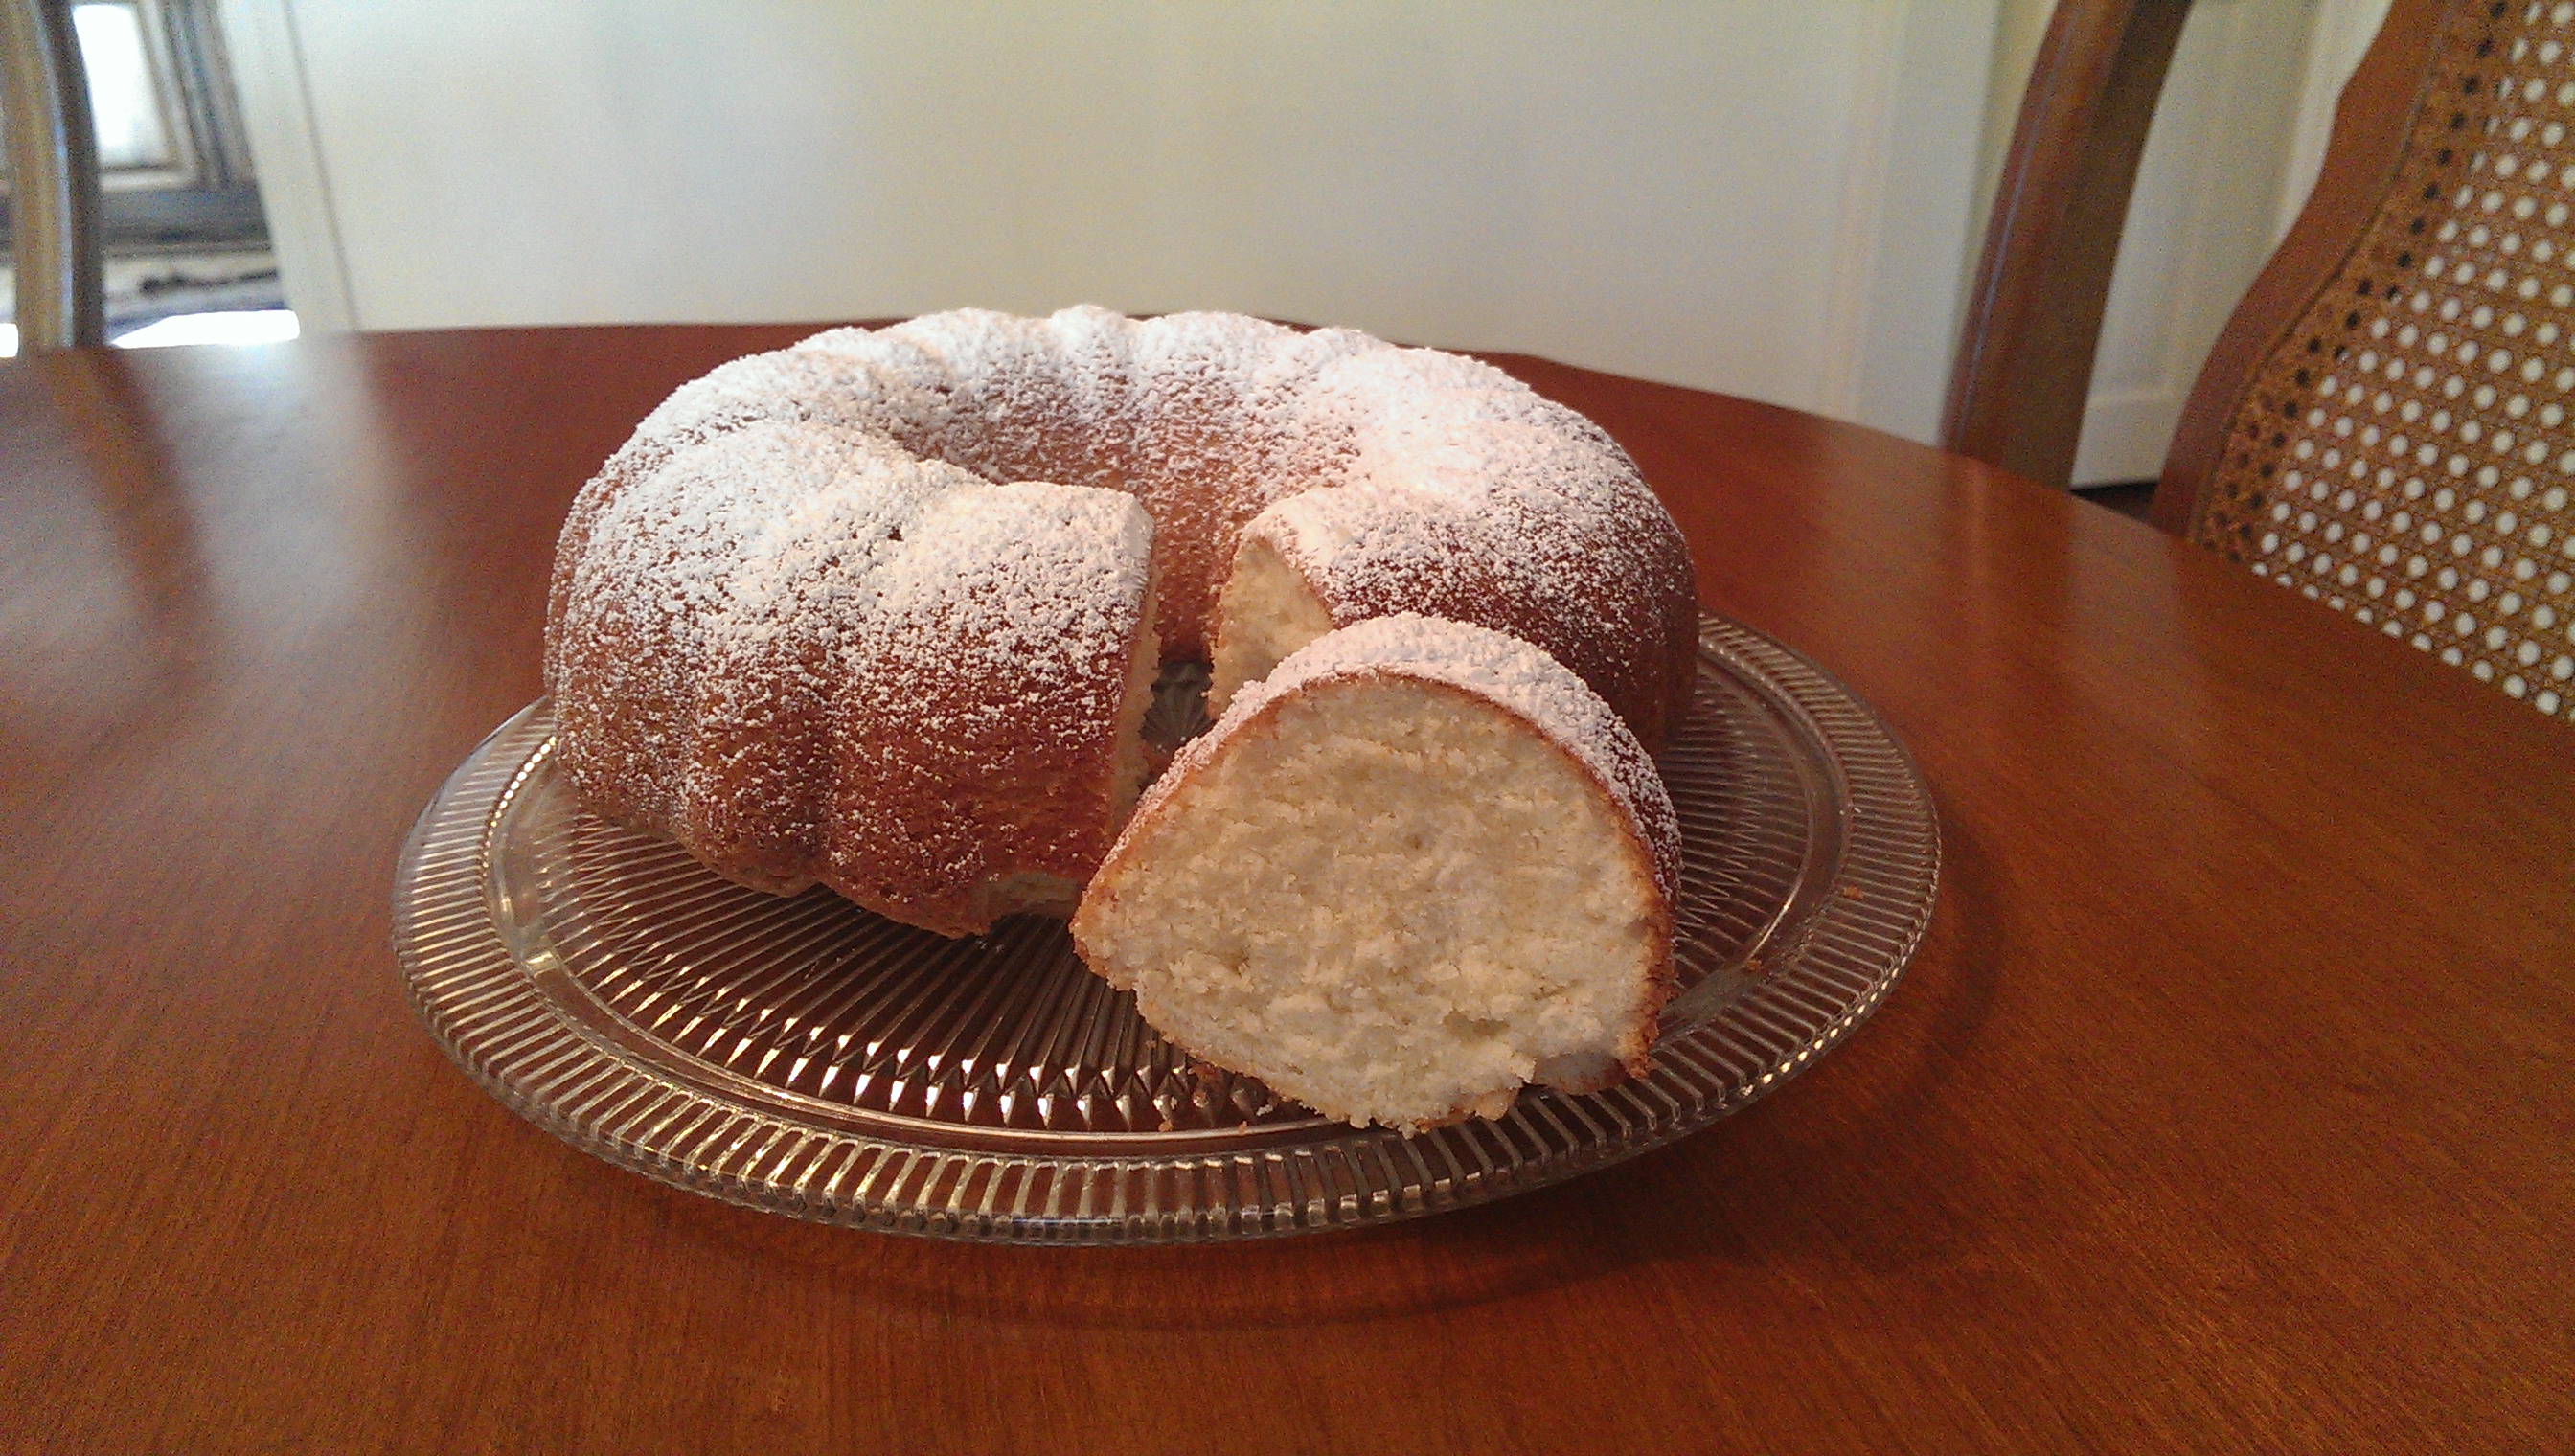
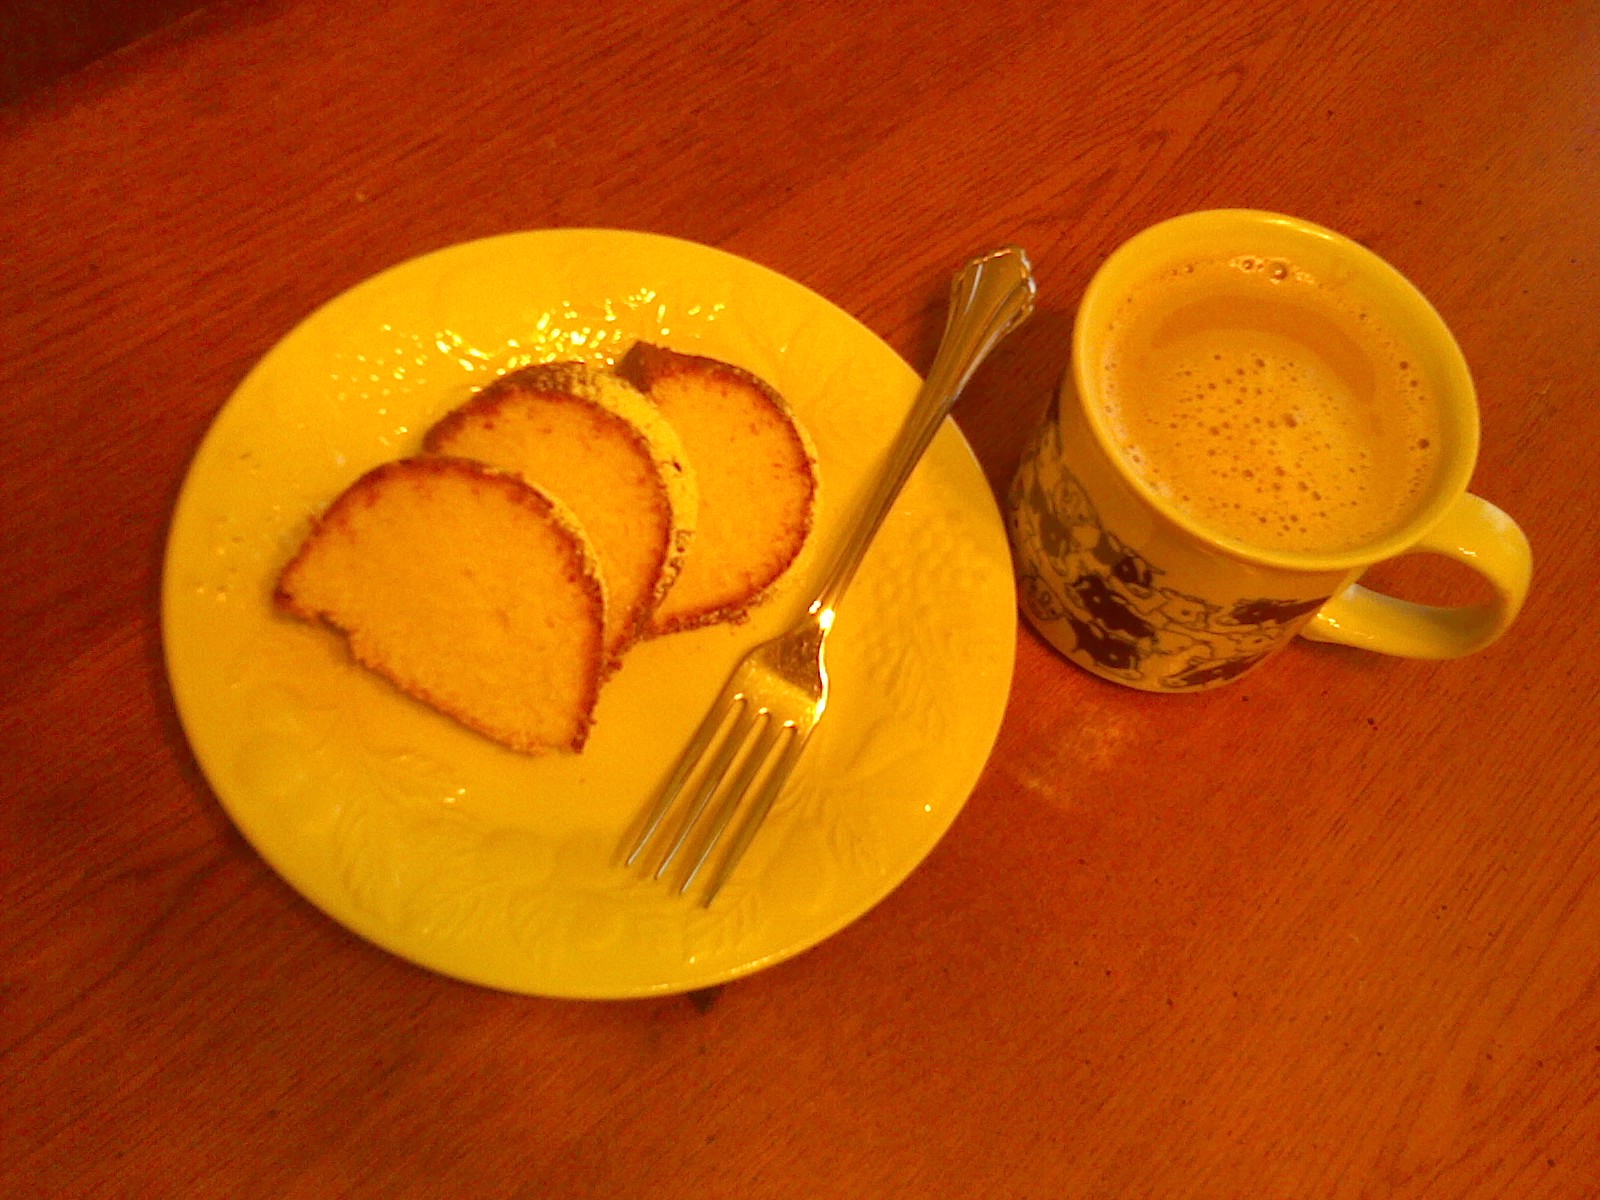
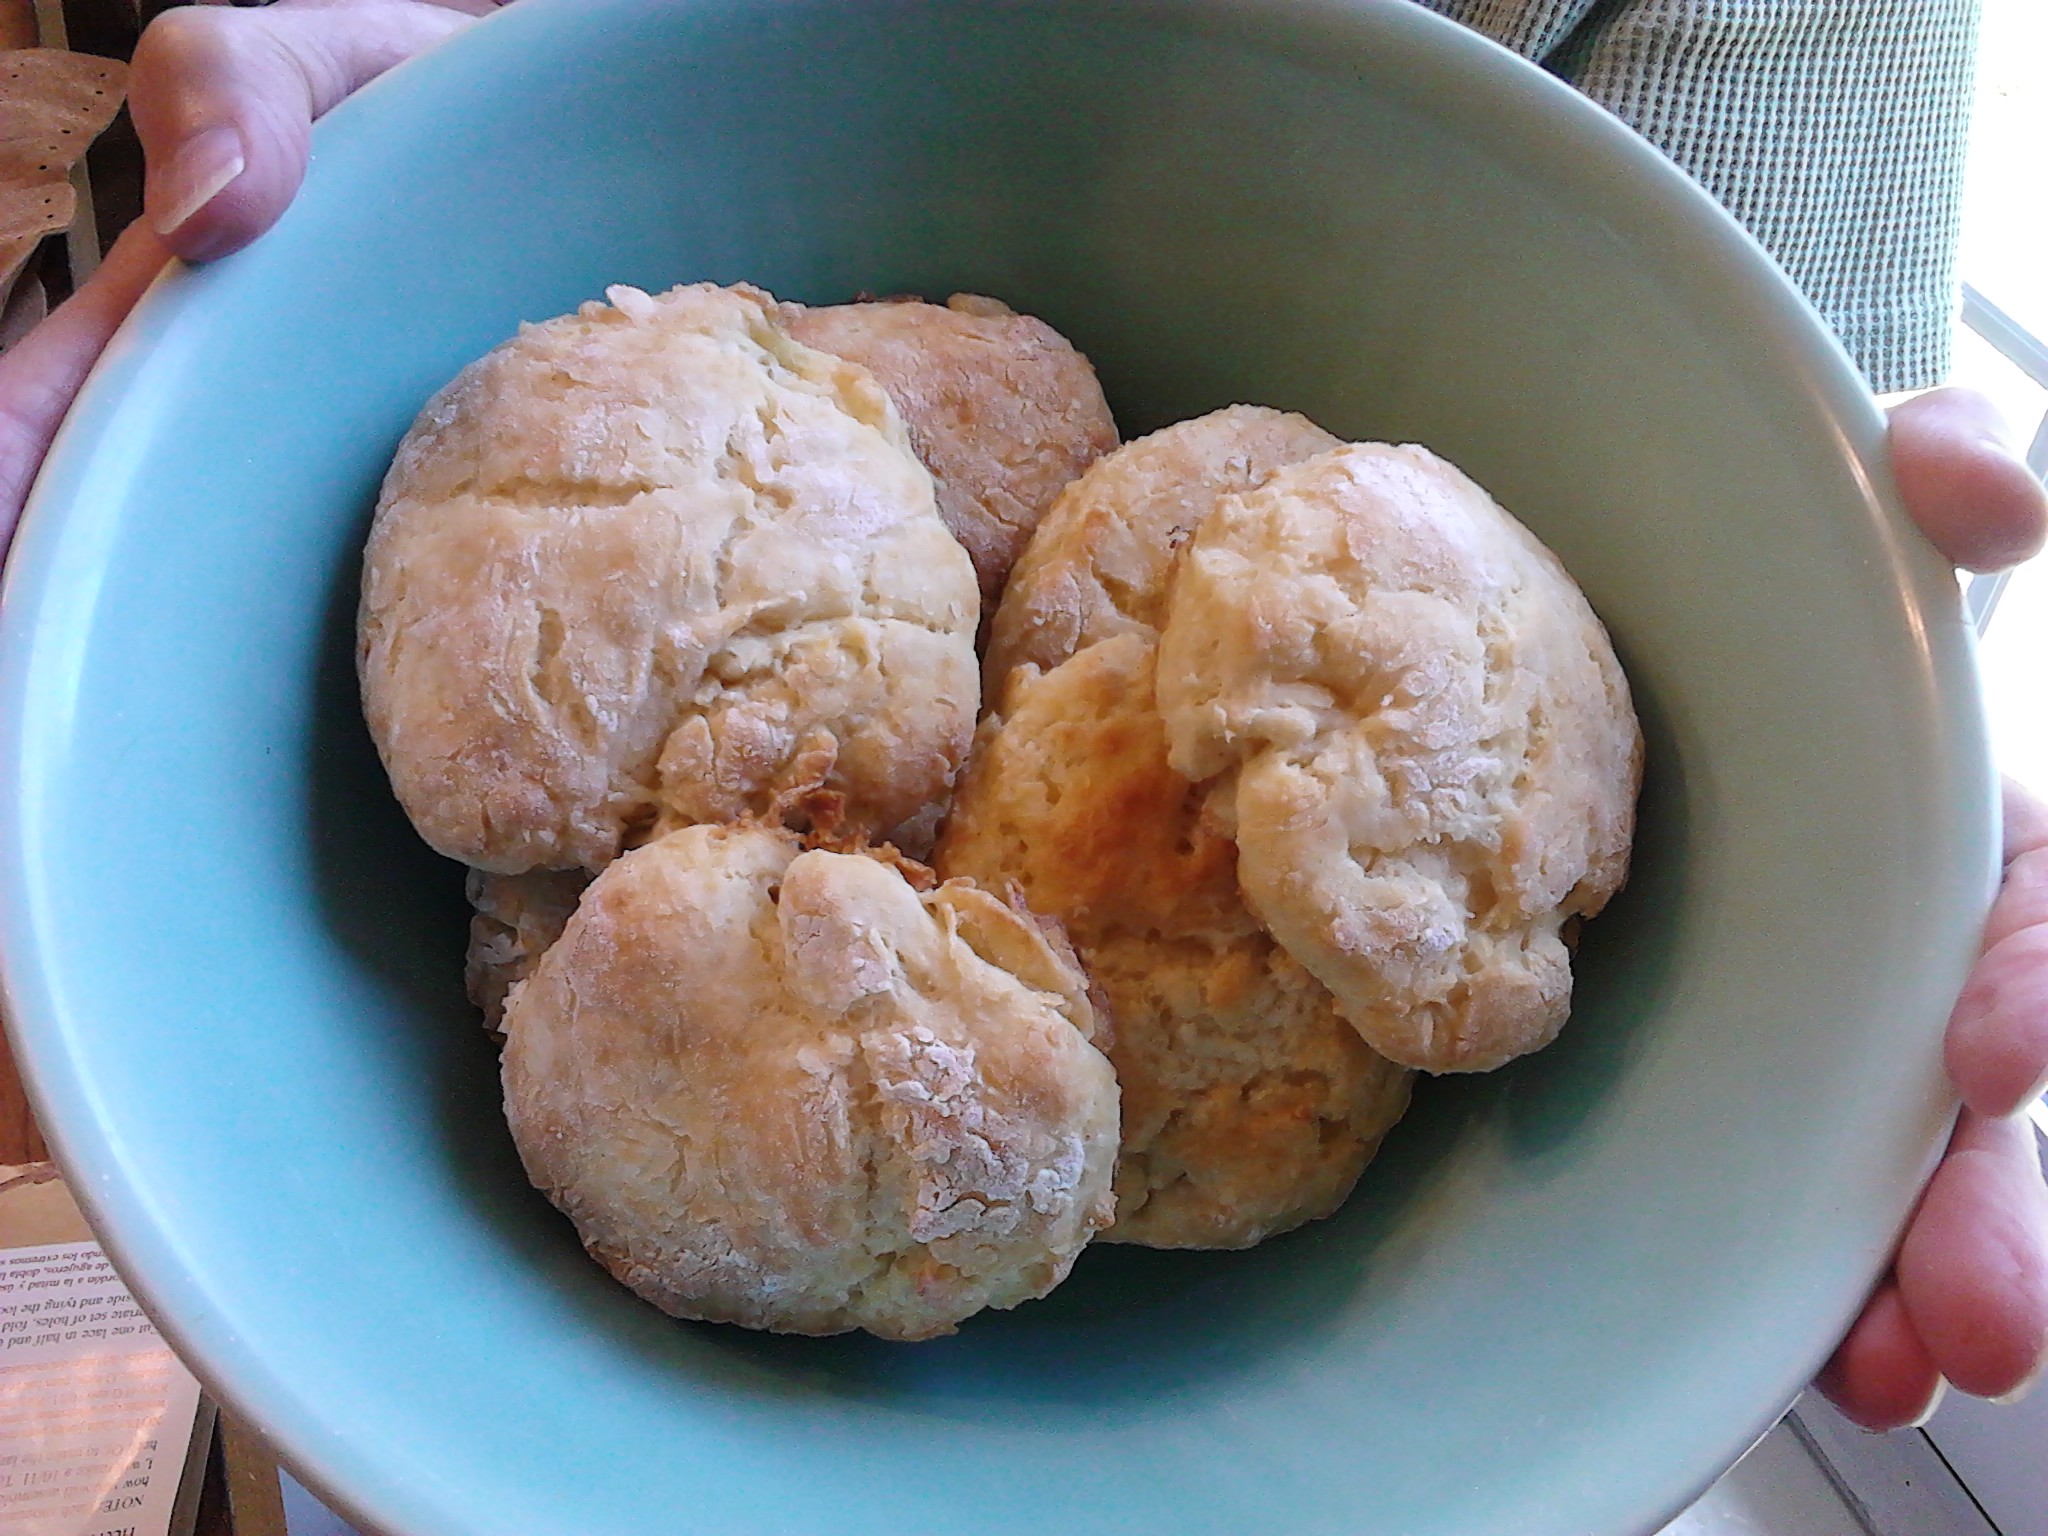
The recipe I had in mind for the chocolate pie is simple yet elegant. It is a favorite at church bakeoffs and picnics as well as a top off to any family dinner. I hope you will enjoy it as much as my characters did.

Lucia’s Chocolate Pie

Single Crust:

1 c flour

¼ t salt

1 stick unsalted butter, cold and diced into ¼-inch pieces

½ c cold water with an ice cube

To make a bottom crust, combine the flour, salt, and butter. Work with your hands until the flour and butter combine to make pea-sized pieces. Add the water a tablespoon at a time and work through until you can form a ball. Wrap the dough ball in plastic wrap and chill for twenty minutes in the refrigerator.

Preheat oven to 425°. Roll the dough on a floured surface to fit a nine-inch pie plate. Crimp the edges and prick the bottom and sides of the shell with a fork. Line the pie shell with aluminum foil or parchment paper and fill with pie weights or baking beans. Bake at 425° for 10 minutes, remove the baking weights and continue cooking for 10 minute in 5 minute increments or until the crust is golden brown. Remove from the oven and place on a cooling rack.

Pie Filling:

½ c cocoa

¼ c cornstarch

3 egg yolks, beaten

1½ c sugar (I used raw)

¼ t salt

2 c half and half

1 t vanilla

3 T unsalted butter

Sift the cocoa, cornstarch, and salt directly into a saucepan. Add the sugar** and half and half, and stir carefully to mix. Bring to a boil over a medium high heat, stirring constantly. Boil for one minute. Remove from the heat and spoon a small amount of the mixture into the egg yolks to warm them. Pour the warmed yolks in a thin stream into the saucepan taking care to stir them in thoroughly.

Return the pan to the heat and boil for two more minutes. Remove from the heat and add the butter and vanilla. Pour the mixture into the baked pie shell and allow it to cool for a few minutes before topping with a piece of waxed paper to prevent a skin from forming. Bring the pie to room temperature before placing in the refrigerator to cool completely. Whipped cream is the perfect topping for a chilled pie.

**If using granulated white sugar, sift it as well. The large crystals of raw sugar will not pass through a sifter. Simply break up any lumps before adding to the mixture.

~OR~

You can top it with meringue using the following recipe. Make the meringue while the pie is cooling on the countertop. Once topped with meringue set in the oven, you can continue cooling in the refrigerator.

Meringue:

4 egg whites

6 T sugar (I used granulated white as the raw is too coarse for this step)

Pinch of cream of tartar

Whip the egg whites on a high speed until foamy. Gradually add the sugar and a pinch of cream of tartar, and continue whipping until stiff peaks form. Spread the meringue over the pie and seal at the edges of the crust. Set the meringue in a 425° oven for eight minutes or until it is golden brown. Cool the pie on a wire rack until you can handle the edges of the pie plate and serve warm, or chill the pie in the refrigerator for a couple hours and serve cold.

Tips for success:

Chill the beaters and bowl in which you will beat the egg whites for meringue

That pinch of cream of tartar is what will keep your egg whites from breaking down and becoming watery.

Enjoy!

One Potato, Two Potato

Fried PotatoesI’ve heard the Irish are fond of their potatoes, but I suspect Americans are a close second when bestowing favoritism on tubers.  Baked, fried, roasted, or mashed, potatoes are not only a staple, they are comfort food.  This is probably what midwife Collie Mercer had in mind as she prepared a celebratory breakfast including fried potatoes for the Welles family to mark the arrival of the newest sibling, John.  Not to mention the hearty meal would sustain them on that cold December morning.

Fried potatoes are one of those dishes you learn to prepare by watching your mother or grandmother.  Recipes for fried potatoes probably exist but really all one needs is a little know-how.  Russets, America’s most popular potato type, are good for frying.  I use a mushroom brush to scrub the skins as I rinse them under cold water.  You can peel them if you choose.  One to two potatoes per person is plenty depending on the appetite of your guests and what else you may be serving.

Cut the potatoes into half-inch chunks and place them in a bowl of salted cold water until the task is complete.  This will keep the potatoes from turning an unbecoming shade of gray.  Drain the chunks and pat dry.

Grab your cast iron skillet as the non-stick variety will not get hot enough.  Peanut oil is the best for frying, but I imagine Collie made hers in butter.  When I use butter, it is unsalted.  In either case, the skillet should be hot enough that the oil will ripple on the surface without smoking or the butter will melt quickly and bubble.

Add the potatoes but don’t overcrowd the skillet.  Brown until crispy on the edges then flip the potatoes and repeat on the other side.  You can cover the potatoes at first, but be sure to remove the lid for the last bit of browning or they will be soggy.  Garlic, onions, and red or green peppers make tasty additions to this humble dish.  Season with salt and pepper to taste and serve hot.  Slices and shreds can be prepared in exactly the same way.

Enjoy!

Hammin’ It Up

Lyla Welles had one mission in life: protect her children from the hard hand of their father. So when her youngest child, John, was born on a cold December morning in 1907, the delivery-weakened mother worried that she wouldn’t have the strength to see her goal through.

Oblivious to his wife’s concerns, John Welles the elder saw the birth of his fourth child, third son, as cause for celebration. He indulged his appetite by breakfasting on the good food prepared by the midwife, Collie Mercer.

The following recipe is the one I had in mind when I wrote the above-mentioned scene for my novel, The Secrets of Dr. John Welles. While many people enjoy ham, redeye gravy is somewhat of an acquired taste. The salty flavor is enhanced by the strong coffee, and although redeye is thinner than other breakfast gravy, it’s quite rich.

Enjoy!

Ham Steak and Redeye Gravy

1 bone-in, fully cooked ham steak, approximately 1 lb.

½ c strong black coffee

¼ c water

2 T unsalted butter

Salt and pepper to taste

Heat a 12-inch, cast iron skillet on high heat until it is hot. Carefully test for degree of warmth with your hand above the skillet. Place the ham steak in the skillet once it is heated all the way across. Brown the ham steak on both sides. There should be a nice quantity of drippings and ham tidbits in the bottom of the skillet. Don’t burn this or the meat.

Once the ham steak is heated through, remove it to a platter and place in a warm oven. Add the butter, coffee, and water to the skillet and gently scrape the skillet to loosen any browned pieces. Season with salt and pepper to taste. Stir gently until the gravy is reduced by at least one-third. A gentle boil is acceptable, but take care not to scorch the gravy, or it will taste burnt.

Pour the gravy over the ham steak on the platter and serve.

Hammin' It Up

Juicy and Delicious

Baring My Writer’s Soul – Part 14

Writer's Soul 14I’ve been thinking quite a lot about my writing, and I don’t mean in quantity. Rather, I’ve been thinking a lot of different things about what my writing is or isn’t.

It started last year around November when my novel was technically finished. There were a few minor points that needed to be re-researched (is that even a word), and I had a wonderful research librarian who I met at the Conneaut D-day Reenactment assisting me. The whole process was starting to bog me down. I began to hate it, resent it, and wanted to dig a deep hole in my back yard in which I could bury my book without any witnesses.

The holidays were coming, and since much of the preparation for Thanksgiving, Hanukkah, and Christmas fell to me, I really didn’t have anything left to give my writing. I didn’t want my writing to suffer, but I felt so guilty about setting it aside. After all, what kind of writer would I be if I wasn’t writing every single day? Good question.

While wrestling with this dilemma and wanting to be able to focus on all the fun that comes with the holidays, I ran into our pastor’s wife at the local grocery store. After the usual pleasantries, she asked after my novel. I told her what I’ve already mentioned above and concluded that I wish someone would give me the permission to quit for a little while. If I could just take a break, I knew I would go back to writing in January once I was refreshed.

She looked at me and said, “Heather, I give you permission to quit.”

Even now I laugh at how easy it was for someone else to grant me the grace I needed to give myself but was unable to. And guess what? I did go back to the writing and research in January as I promised myself I would. In fact, I attacked it with renewed vigor and produced better writing than I would have had I pressed myself to go on through November and December. What’s more, I enjoyed it!

So what’s the point of this blog post you may ask? It still scares me somewhat that I took off two months of much needed rest time. There are so many writing books, and I imagine books devoted to other forms of art, that will tell you to create every day without fail. Are these people right in tasking others in this way?

Yes and no. If I said it once, I’ve said it a thousand times. You have to find out what works for you. Thankfully, the day I returned to writing coincided with Chapter 11 of Heather Seller’s book, Page After Page. The writing exercises in this chapter were wonderful for getting me back on my rails. You’ll understand this better when you read the book which I highly recommend you do.

The funny thing was, while Chapter 11 worked for me, I recalled that before the holidays, Chapter 10 flipped me out. This is the beauty of the book. The next time I read it, Chapter 10 may be exactly what my writing needs. All this to say, don’t be afraid to embrace the bad (insert chosen art form here) because you may uncover a gem on the way to the good (insert chosen art form here).

In doing so, your creativity will flow and your art will come naturally. There are going to be different amounts of flow, and that’s to be expected. Don’t despair over these days even if they extend into weeks, months, or years. Begin again in small ways, flex your creative muscles, and build up to your peak performance like an athlete training for the Olympics. You will achieve gold.

Write Happy!

In For a Penny, In For a Pound


Done and cut

It is Christmas morning, December 1917, and young John Welles is celebrating with his family. Their festivities are halted for a moment when John’s often absent, always inebriated father walks into the kitchen. John and his three siblings hold their breath until their stepmother, Collie, prepares a plate of fried eggs and a cup of coffee and sends him back to wherever he spends his days.

As a surprise for her stepchildren, Collie made pound cake and hot cocoa. She’s not the type to serve dessert for breakfast but makes an allowance for Christmas.

The following recipe is the one I had in mind when I wrote the scene above. I first tasted this particular pound cake at a work function. My co-worker, Cheryl Pandrea, really has the magic touch when it comes to making this recipe. The cake is rich, moist, and delicious. It’s perfect served with the cocoa recipe on my blog.

Cheryl’s Pound Cake

2 sticks of butter

3 cups of sugar

¼ teaspoon baking soda

6 eggs

16 ounces sour cream

3 cups flour

Preheat the oven to 325°

In a large bowl, cream the butter and the sugar. Add the baking soda and mix. Add the eggs two at a time and mix thoroughly after each. Add the sour cream and mix thoroughly. Gradually add the flour a half cup at a time, mixing well after each addition.

Grease and flour a bunt pan, be sure to get all the fluted edges. Bake the cake for 1 – 1 ½ hours or until golden brown. A tester inserted should come out clean.

Turn the cake out on a cooling rack. Let it cool until just warm or room temperature, then serve.

A Special Christmas Breakfast

A Special Christmas Breakfast

Celebrating with Buttermilk Biscuits

IMG_20140814_143324December 1907. The Welles Family has been blessed with another child. Part of the celebratory breakfast the family enjoys includes buttermilk biscuits. Collie Mercer, the midwife who helped deliver the baby, takes it upon herself to feed the family so Lyla, wife and mother, can rest. Also, a hot meal is part of Collie’s payment, and she plans to make the most of it. Her excellent cooking skills mean everyone eats well and eats hearty.

Like cornbread, everyone probably has their own version of biscuits that they enjoy the most. The following recipe is the one I had in mind when I wrote the scene above for my novel The Secrets of Dr. John Welles.

Enjoy!

Buttermilk Biscuits

Sift together:

2 c flour

1 T baking powder

1 t salt

½ t baking soda

Cut in:

5 T cold butter (I used unsalted)

Mixture should look like coarse crumbs

Add:

1 C buttermilk

Toss with a fork and form a dough ball. If mixture looks dry and/or won’t form a ball, add more buttermilk one tablespoon at a time.  Turn dough out onto a lightly floured surface. Knead a few times until smooth. Pat and form a circle of dough ¾” thick. Cut with a 3” biscuit cutter.

Bake on an ungreased baking sheet at 425 degrees for 12 – 15 minutes or until golden on top.  Serve with butter, honey, molasses, apple butter, jam, jelly.

IMG_20140806_131814

Collie Mercer’s Cornbread

Buttermilk Cornbread Ingredients

Buttermilk Cornbread Ingredients

There are probably as many recipes for cornbread as there are people. Well, at least as many as there are people in the southern part of North America. I chose the following recipe because it was the one I had in mind when I wrote my novel, The Secrets of Dr. John Welles.

The year is 1907. For the three oldest Welles children, Stanley, James, and Eunice, December will hold an extra surprise this year. They will receive an early Christmas presents in the form of a new baby brother. Each has an opinion on whether or not another sibling is a good thing for their family.

After the three children get a peek at their baby brother, the midwife, Collie Mercer, sends them off to do their chores. Collie is a brusque, but kind woman, who makes sure the children have food in their stomachs before heading out into the cold. She directs them to cornbread and buttermilk on the kitchen table with the promise of a real breakfast once they return from the barn.

I love this recipe because it is rich and moist. Usually, I serve it with butter and honey, but the recipe is also good with the inclusion of herbs or spices, cheese, green onions or chiles; whatever you choose to add to make it your own. It is great crumbled up in chili, soaking up the broth from brown beans, or toasted and served with apple butter.

Enjoy!

Served With Butter & Honey

Served With Butter & Honey

Collie Mercer’s Cornbread

6 tablespoons unsalted butter, melted

1 cup cornmeal

3/4 cup all-purpose flour

2 tablespoons sugar (I use raw)

1 1/2 teaspoons baking powder

1/2 teaspoon baking soda

1 teaspoon salt

2 large eggs, lightly beaten

1 1/2 cups buttermilk

Cooking Spray

Preheat the oven to 425 degrees F. Lightly grease an 8-inch baking dish.

In a large bowl, mix together the cornmeal, flour, sugar, baking powder, baking soda, and salt.

In a separate bowl, mix together the eggs, buttermilk, and butter.

Pour the buttermilk mixture into the cornmeal mixture and fold together until there are no dry spots (the batter will still be lumpy). Pour the batter into the prepared baking dish.

Bake until the top is golden brown and tester inserted into the middle of the corn bread comes out clean, about 20 to 25 minutes. Remove the cornbread from the oven and let it cool for 10 minutes before serving.

%d bloggers like this: